How to Set Up a QR Code Upload Online for Your Event
Learn how to create a QR code upload online for weddings, parties, and conferences. Build a branded upload page, nail the mobile UX, test it, and manage
The wedding is over, the group chat is overflowing, and the couple still knows they've missed most of the good photos. One guest has the shots from the dance floor, another has the grandparents during dinner, and someone's phone contains the only clear video of the speeches. Weeks later, those files are still scattered across forty phones.
A QR code upload online flow fixes the collection point. Guests scan one code, open a browser page, and send their photos and videos into one event gallery. The difficult part isn't generating the square pattern. It's making the handoff after the scan fast enough, obvious enough, and trustworthy enough that people finish.
Table of Contents
- Why a QR Code Upload Beats the Group Chat
- How a QR Code Upload Online Actually Works
- Creating Your Branded Upload Page and QR Code
- Designing the Mobile Upload Experience Guests Actually Finish
- Where to Place Your QR Code for Maximum Scans
- Testing Your Upload Flow Before the Big Day
- Turning Event Uploads Into Shared Memories
Why a QR Code Upload Beats the Group Chat
A group chat feels convenient because everyone already has one. In practice, it creates a messy stream of compressed images, unrelated messages, duplicate files, and guests who never join. You also have to identify who has the missing photos, ask them to send the files, and hope they remember after the event has faded from their attention.
A shared album solves some of that, but often adds an account requirement or app friction. A browser upload page removes that extra commitment. Guests use the camera already built into their phones, choose media from the camera roll, and submit it without learning a new system.
QR codes fit this behavior because guests already recognize them as a way to open a link. A 2026 forecast projects that 102.6 million people in the United States will scan QR codes in that year, roughly one in three Americans, compared with about 99.5 million projected scanners in 2025. The same QR code statistics report says more than 2.2 billion people worldwide actively scan QR codes. Those figures are projections and reported global estimates, not a guarantee that every guest will scan yours, but they explain why the interaction feels familiar.
Practical rule: Treat the QR code as an invitation to contribute, not as the product itself. The page guests reach determines whether memories arrive.
The complete flow has several decisions behind it:
- Destination: Build a mobile upload page before creating the code.
- Presentation: Add the event name, recognizable branding, and a clear instruction.
- Placement: Put the code where guests naturally pause and can hold up a phone.
- Handoff: Remove unnecessary taps, permissions confusion, and account prompts.
- Control: Decide whether uploads appear immediately or wait for host approval.
- Aftercare: Keep the same link useful for the finished gallery.
That approach works for a wedding, but it also suits birthday parties, graduations, conferences, festivals, and team events. The principle is consistent: capture the photo at the moment the guest thinks, “Someone should have this,” before it gets buried in the phone's camera roll.
How a QR Code Upload Online Actually Works
The QR code doesn't contain the uploaded photos. It contains a web address. When a guest scans it, the phone opens that address and the browser handles the rest of the interaction.
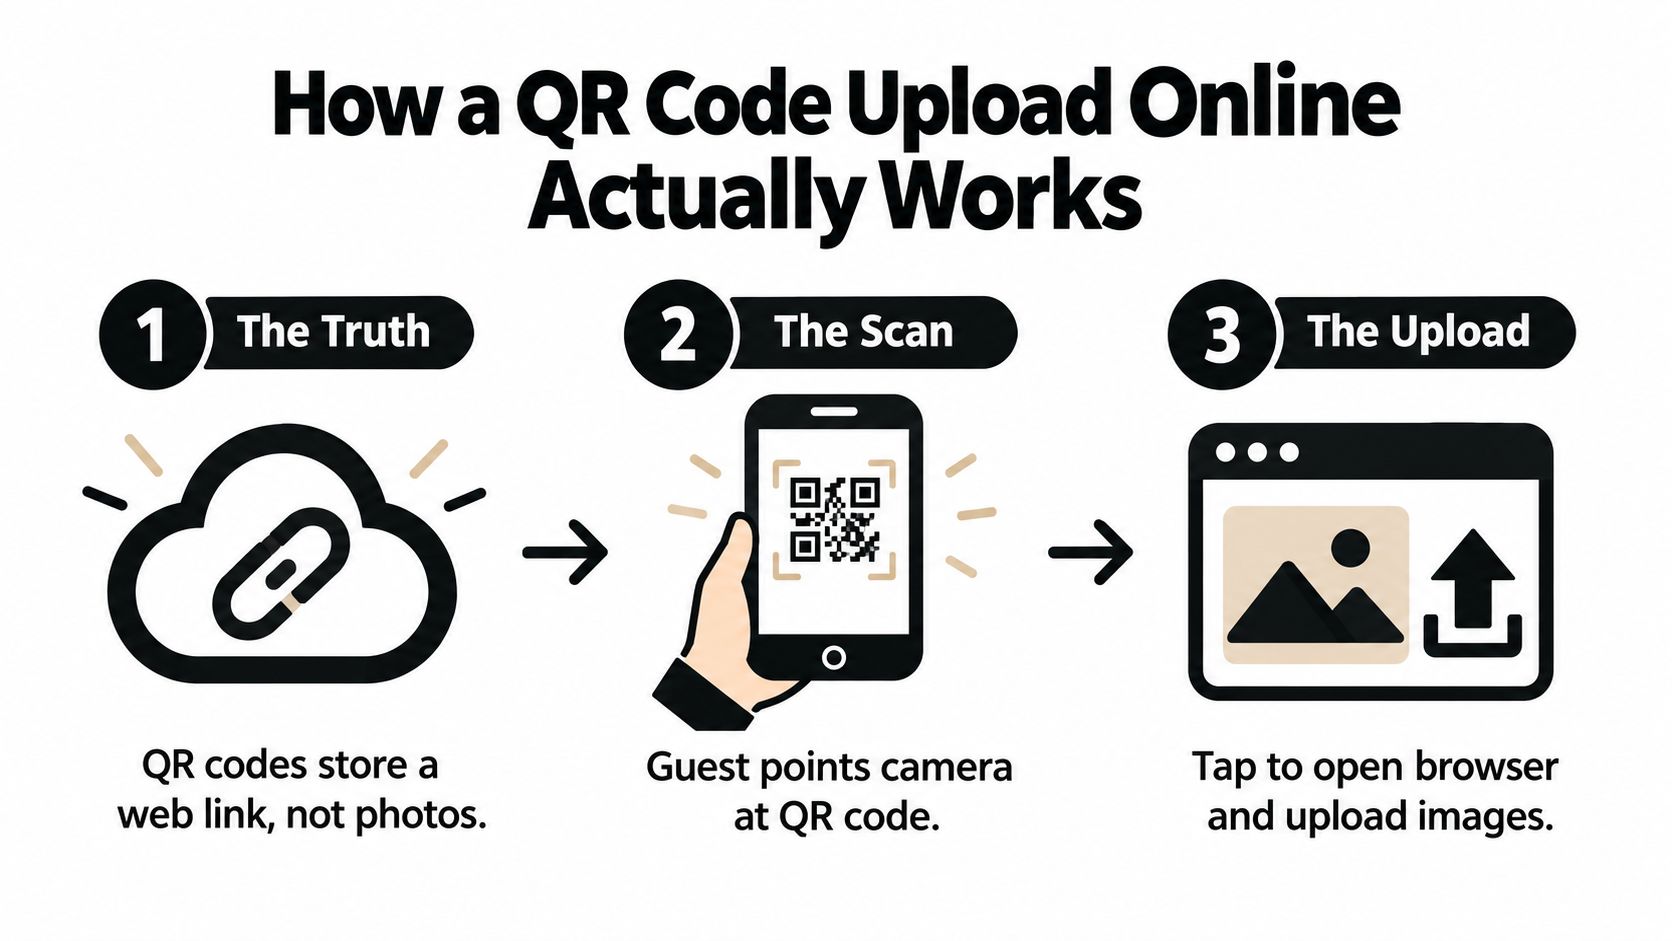
The guest journey should look like this:
- The camera recognizes the code. The guest opens the phone camera and points it at the printed or displayed QR code.
- A notification offers the destination. The guest taps the notification, which opens the upload page in Safari, Chrome, or another mobile browser.
- The page requests media. A prominent upload control lets the guest select photos or videos from the camera roll. Depending on the browser and device, the guest may also be able to capture media directly.
- The browser sends the files. The page shows progress while the files transfer to the event's storage.
- The gallery updates. The host can make submissions visible immediately or hold them for review, depending on the platform's controls.
This browser-based model matters at family events. A grandparent shouldn't need to install an app, remember a password, or create an account while the speeches are happening. A conference attendee shouldn't have to leave the event platform they're using for schedules and tickets just to submit one photo.
The format has also had time to become familiar. QR codes were created in 1994 for the Japanese automotive industry, and later moved into consumer-facing uses as smartphone cameras became common. One history and usage overview of QR codes reports usage growth of 323% from 2021 to 2024 and says more than 1 trillion QR codes were expected to be scanned worldwide in 2025. The historical shift is useful context, but the event experience still depends on what happens after the scan.
The same basic bridge can support other sensitive memory projects too. If you're organizing a remembrance event, a best memorial sites guide can help you compare how online spaces handle shared stories, photos, and access.
The key explanation for your team is simple: the code opens the door, the mobile page collects the files, and the event gallery stores and displays them.
Creating Your Branded Upload Page and QR Code
Build the branded page first and validate the live URL on mobile before exporting any print file. Check it on both a recent phone and an older device, since the page must work for guests who are comfortable with QR codes and those who need more guidance.
Give the page a recognizable identity. Add the event name, colors, and logo where they help, then use a short welcome message such as “Share the moments we might miss.” Familiar visual cues confirm that guests reached the intended destination rather than a random form.
Keep the copy short and practical. State what guests can upload, whether videos are accepted, and whether an account is required. Put the primary upload control near the top. Guests should not have to scroll through a long explanation while standing in a reception line or dealing with weak venue signal.
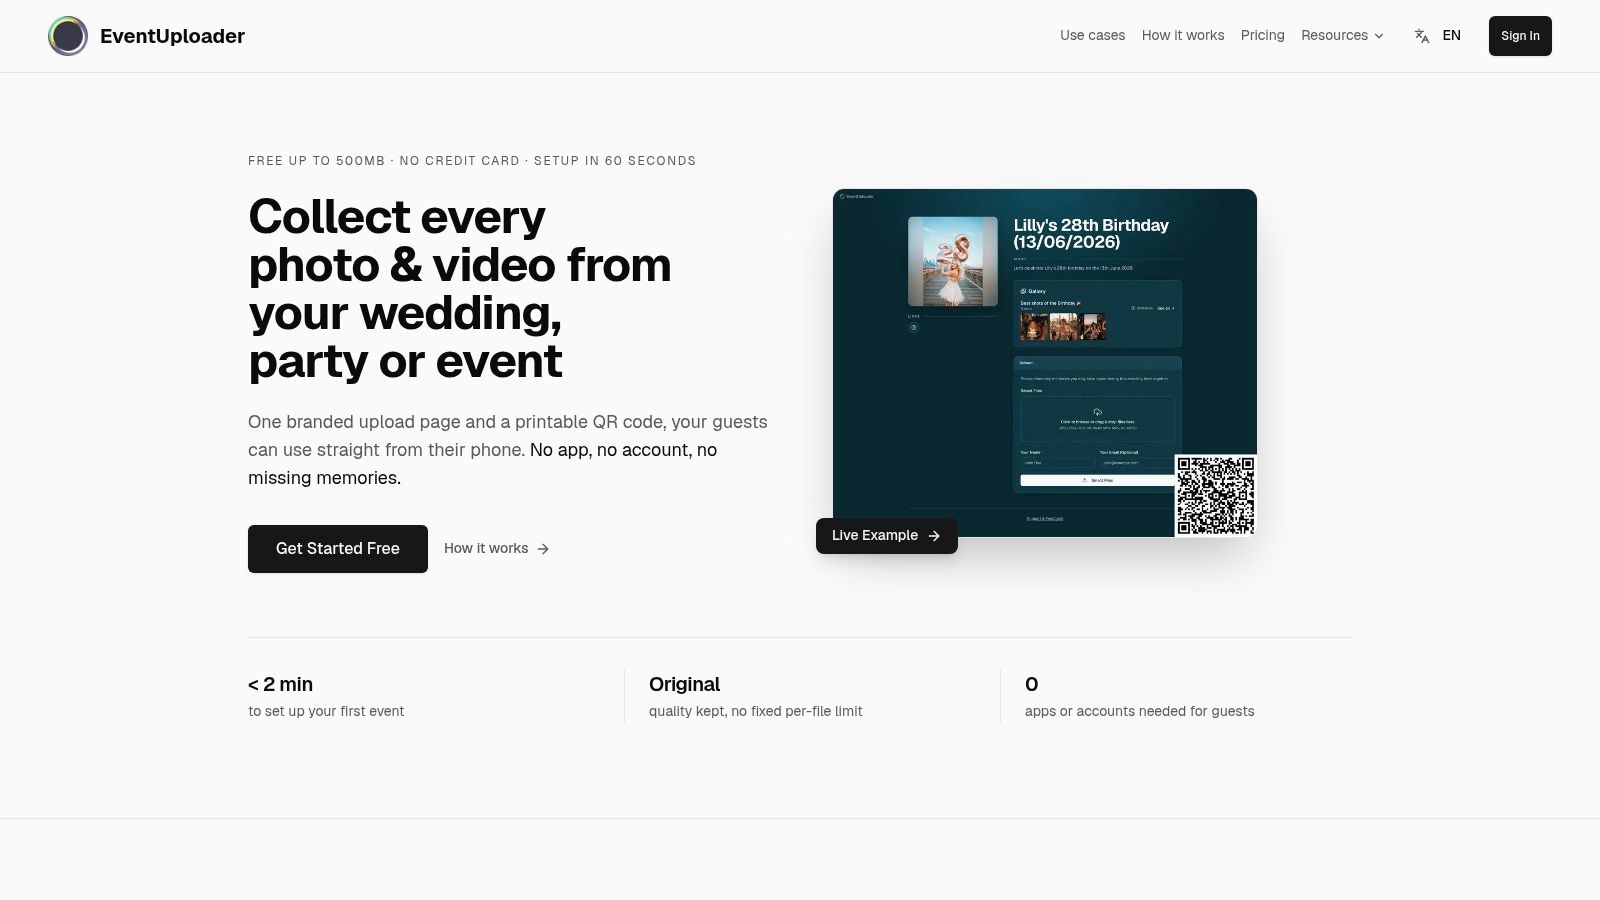
EventUploader provides one example of this setup. Organizers can create a branded upload page and share it through one link or a printable QR code. If you are comparing broader form-building options, the Kiwiform platform overview shows how customizable online forms can be structured, though a general form tool may require extra planning for event galleries and media storage.
After the page passes mobile checks, create the code that points to it. Choose a dynamic QR code if the destination may change, scan activity needs review, or printed materials will be reused. Industry benchmarks report that the vast majority of live business QR codes are dynamic, reflecting their operational usefulness. A dynamic code can let you change the destination or review activity without replacing every table card or poster.
Inspect the downloaded code at its intended print size. Use strong contrast, leave clear space around the pattern, and keep logos away from the small data modules. Scan the printed proof from the distance guests will use, not only from a desk. Test several phones if possible.
Add a backup path. A short, readable link on the sign helps guests with damaged cameras, poor lighting, or phones that do not recognize the code quickly. Staff can also use it when helping a tech-shy guest complete the handoff.
For a printable code tied to an event upload page, use the EventUploader QR code generator. Decoration options matter less than whether the final code is legible, opens the correct branded page, and leads directly to a useful upload action.
Designing the Mobile Upload Experience Guests Actually Finish
The scan is rarely the main problem. In a U.S. Census usability study, all respondents successfully scanned a QR code, with an average time-on-task of 12.4 seconds and no reported usability issues, as documented in the Census QR-code usability study. That was a controlled survey task, so it doesn't prove every event flow will perform the same way. It does show where to look first when guests stop contributing: the post-scan handoff.
Remove uncertainty immediately
The landing page should answer three questions at once:
- What is this page for?
- What should I tap?
- Do I need an app or account?
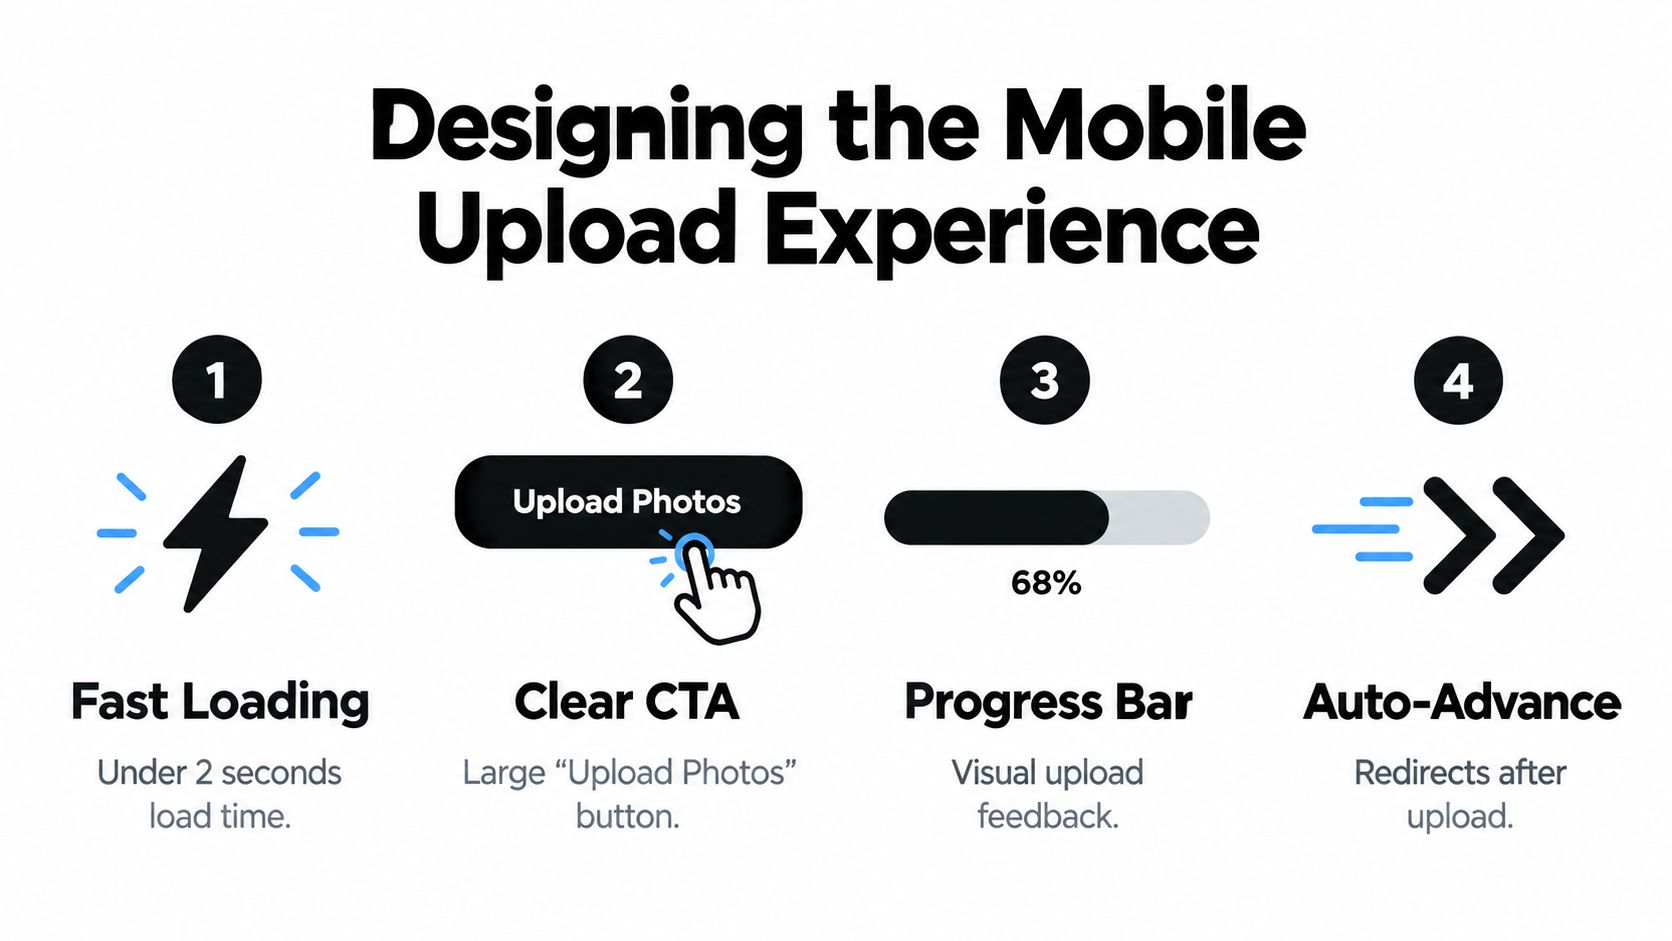
Put a large Upload Photos or Share Photos and Videos button near the top. Use plain reassurance beneath it, such as “No app or account required,” only if that matches your actual setup. Don't make guests interpret an unlabeled icon or choose between several equally prominent actions.
Page speed matters most when the venue signal is weak. Compress branding assets, avoid unnecessary animation, and keep the first screen focused on the upload action. A beautiful page that takes too long to appear loses the guest who scanned while walking between rooms.
Design for permissions and interruptions
A phone may show a camera-roll permission prompt, a browser notice, or a file picker that looks different from what the host sees. Add a short instruction near the button, not a technical explanation. If the guest denies permission accidentally, provide a visible way to try again.
Large videos create a different failure mode. The guest may start an upload, lock the phone, switch apps, or assume nothing happened because the transfer takes time. Show selected files, visible progress, and a clear completion state. Never make the guest guess whether tapping the button worked.
A poor signal needs a practical fallback. Tell guests to keep the page open until completion, and give them a way to retry a failed file without starting over. Staff can also place the short link beside the code so a guest can type it when camera scanning doesn't cooperate.
For more implementation ideas, see this guide to mobile photo upload design. The central rule is straightforward:
The scan should lead to one obvious tap, one understandable upload state, and one clear confirmation.
Where to Place Your QR Code for Maximum Scans
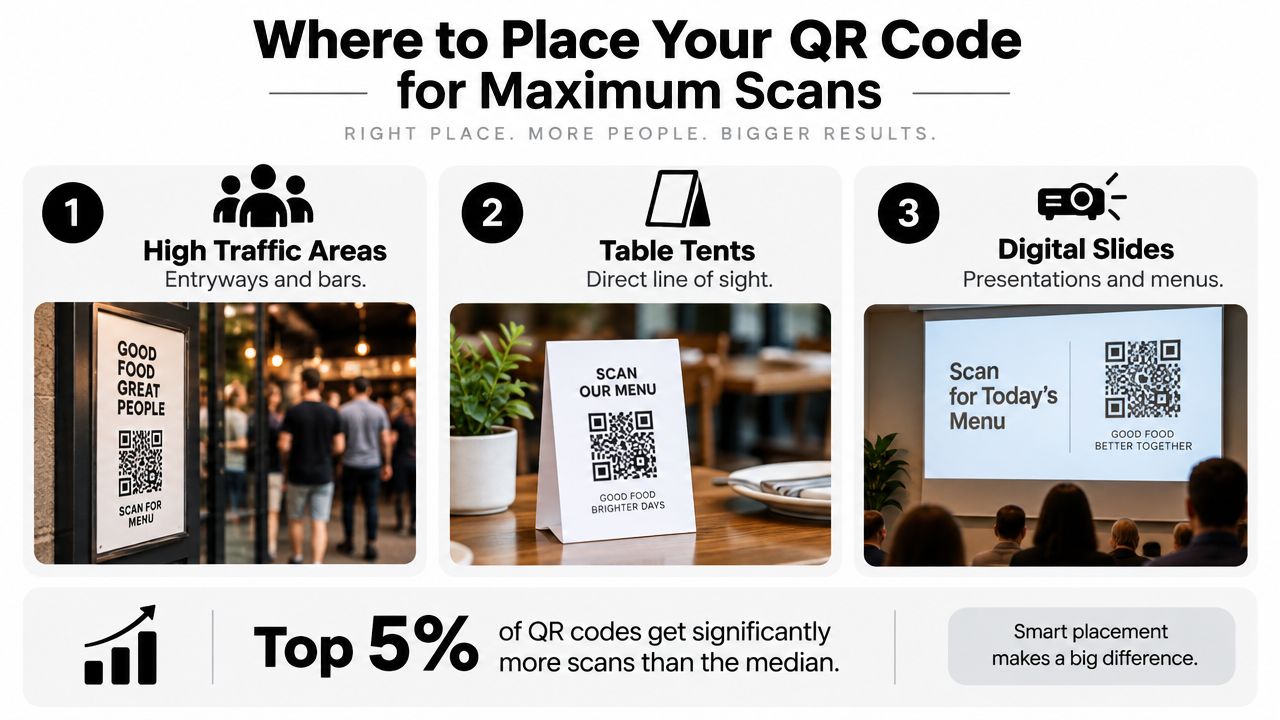
Guests cannot upload what they cannot see, reach, or understand. Placement creates the opportunity, while the call to action gives them a reason to scan.
Engagement is usually concentrated around a small number of codes. Place a few large, clearly labeled codes where guests naturally pause instead of scattering small codes across every surface. A code should be readable at the distance where guests will encounter it, not only when they stand directly in front of the sign.
Use wording that explains the benefit:
Scan to share your photos
That instruction tells guests what happens next and why their contribution matters. It also makes the code useful to someone who arrives after the host's explanation.
| Event Type | Primary Placement | Supporting Distribution |
|---|---|---|
| Wedding | Table cards or bar signage | Welcome sign and printed programs. Use a 4 to 5 inch code on a table tent, tested from two feet |
| Birthday party | Food table or gift table | Entrance banner and thank-you message. Keep the code above clutter and food trays |
| Conference | Registration desk and presentation slides | Badges and session signage. Leave the slide visible long enough for seated attendees to scan |
| Festival | Entry points and food or drink areas | Stage screens and volunteer cards. Use weather-resistant signs and check readability in daylight |
| Communion or graduation | Program cover or reception tables | Welcome display and family photo area. Avoid folds that break the printed code |
For table cards, give seated guests a direct line of sight. Keep codes away from centerpieces, glass glare, and dark patterned backgrounds. On presentation slides, leave the code visible while attendees have time to act, then repeat the instruction verbally. On badges, check that lanyards, jackets, or folds cannot cover it.
Entrance signage catches attention early, but guests may forget it once the event begins. Bar areas, dessert tables, and photo booths work during natural pauses. Registration desks help first-time visitors, while later slides reach people already holding their phones.
Printing details affect scan reliability. Follow this guide to printing QR codes before producing table cards or large-format signage. Check glare, folds, viewing angle, contrast, and the actual scanning distance on the finished material. A code that works on a monitor can fail on glossy paper under venue lighting.
Testing Your Upload Flow Before the Big Day
Never make the event itself the first test. A QR code can be technically valid and still fail because the page is confusing, the upload limit is too restrictive, or the printed version becomes unreadable under venue lighting.
Test the complete journey on different phones and networks:
- Scan on iPhone and Android: Confirm that the camera recognizes the code and opens the intended page.
- Use cellular data: Don't rely only on your home or office Wi-Fi.
- Try the venue connection: Check the page in the actual room, including places where guests will sit or queue.
- Upload several file types: Include a normal photo, several selected images, and a large video.
- Interrupt the transfer: Lock the phone or move out of signal range, then see whether the interface explains what happened.
- Ask a non-technical tester: Give the code to someone who hasn't seen the setup and say nothing. Watch where they hesitate.
That last test catches language problems quickly. If your tester asks whether they need to download something, the page hasn't answered clearly enough. If they search for a submit button after choosing photos, the interface needs stronger feedback.
Decide who controls the gallery
Instant publishing is suitable for a small private gathering when every guest is known. It's riskier at a public celebration, festival, or conference where anyone near the sign might submit content.
Some independent event platforms provide optional host approval before uploads appear in the gallery, which demonstrates that moderation is a practical product requirement. The Event.pics event-sharing platform also reflects the broader need to consider identity, structured submissions, and secure media handling when an event involves more than informal family sharing.
Set your policy before guests arrive:
- Open uploads: Use when speed matters and the audience is trusted.
- Review before publishing: Use when the gallery is public or brand-facing.
- Upload permissions: Decide whether guests can submit photos only, videos too, or both.
- Closing control: Know how to pause or close submissions after the event.
- Retention and ownership: Tell contributors how the host will use and store the media.
Watch the dashboard during the event. If scans arrive but uploads don't, inspect the landing page and ask a staff member to try it. If activity is quiet everywhere, move a sign, mention the invitation from the microphone, or add the link to the next slide.
Turning Event Uploads Into Shared Memories
The collection shouldn't end when the last guest leaves. The same page that accepted uploads can become the place where guests return to view the finished gallery, provided your platform supports that transition.
Publish selected photos after review and keep the address familiar. Guests shouldn't receive a new link with another set of instructions if they already know where they uploaded their files. A finished gallery can bring together the candid images guests contributed with the official photos from the photographer.
Download the event in original quality before creating edited versions. Make separate copies for practical uses:
- Photo books: Select the clearest images and arrange them by part of the day.
- Recap decks: Pull a mix of wide scenes, people, details, and behind-the-scenes moments.
- Social posts: Create short themed collections rather than dumping every file into one feed.
- Family archives: Preserve the full collection with useful event context.
- Thank-you messages: Share a small selection that makes contributors feel included.
If you're turning a large set of event media into a recap, a revid.ai branded content guide can help with the planning and packaging side. Keep the original collection separate from public edits so a social crop never replaces the source file.
The setup decisions worth carrying forward are compact:
- Dynamic code: Use a destination you can control after printing.
- Branded page: Make the event unmistakable when guests land.
- Two-phone test: Check iPhone and Android behavior before the event.
- Visible placement: Prioritize tables, entrances, screens, and natural pauses.
- Clear instruction: Say exactly what guests should scan for.
- Moderation choice: Decide whether submissions publish immediately.
- Completion path: Show progress and confirm successful uploads.
- Post-event gallery: Reuse the familiar link for viewing and sharing.
Run the flow at a small gathering before relying on it for a wedding or large event. Ask a few guests to scan without help, try the upload under ordinary mobile conditions, and fix every hesitation you observe. With a free plan available to start, you can test the process before the important day instead of discovering its weak points while everyone is already taking photos.
EventUploader gives you a branded upload page, a printable QR code, browser-based photo and video collection, live event monitoring, and a shareable gallery on the same link. Set up a small test event, scan it from two phones, and visit EventUploader to start collecting memories without sending guests into another group chat.