From your first event page to every last photo
Here is the whole journey, step by step: build a branded upload page in about a minute, hand your guests a QR code, watch photos and videos arrive live, and download the lot whenever you are ready.
500MB free • No credit card required
Three phases, about two minutes of actual work
You do the setup once. The event itself runs without you touching anything.
Before the event
Create the event, brand the upload page, and decide what guests are allowed to send.
During the event
Guests scan the QR code and upload from their phones. You watch it happen from your dashboard.
After the event
Curate albums, publish a gallery if you want one, and download everything in original quality.
The full walkthrough
Eight steps from an empty dashboard to a folder full of memories.
Before the event
- 1
Create your event
Sign in and give your event a name, a short description, and a welcome message for your guests. The name becomes a unique upload link — event-uploader.com/upload/your-event — that you can edit at any time.
- Name, description and a custom welcome message
- Your own URL slug, editable after the event is live
- Everything you enter shows in a live preview as you type
- 2
Brand the upload page
Drop in your logo, pick a brand colour and add your social links. Guests land on something that looks like your wedding, your club or your company — not a generic upload form.
- Your logo and brand colour
- Social profiles under the header
- A page guests recognise instantly, so they actually upload
- 3
Set the rules
Decide what you actually want to receive: photos, videos or both, how large a single file can be, how many files one person can send at once, and whether guests must leave a name or an email.
- Photos only, videos only, or both
- A per-file size cap, up to your plan's limit
- An optional cap on uploads per person
- Name and email required, or optional (the default)
During the event
4Share the link, print the QR code
Every event gets a QR code you can download as a PNG and print on table cards, badges, welcome signs or the last slide of a deck. Paste the link in WhatsApp, iMessage or Slack and it unfurls with a branded preview card.
- Download the QR code as a PNG and print it at any size
- A free sign generator turns it into a ready-to-print A4 sign
- Change your event URL and the QR code regenerates itself
- 5
Guests upload from their phone
They scan, the page opens in whatever browser they already have, they pick or drag their files and hit upload. No app to install, no account to create, no password to forget — and iPhone HEIC photos are accepted exactly as they are.
- Works in any mobile browser, on any phone
- JPEG, PNG, GIF, WebP, HEIC/HEIF, MP4, MOV, AVI and MPEG
- Several files at once, with a progress bar for each
- 6
Watch it arrive, stay in control
Uploads appear in your dashboard as they land, with storage usage next to them. Pause uploads during the speeches, resume after, or close the event for good once the last guest has gone home.
- A live list of uploads with previews and who sent them
- Pause, resume or stop collecting at any moment
- Storage usage per event and across your account
After the event
7Curate albums, publish a gallery
Group the best shots into albums, then publish them onto the very same page your guests used to upload. They come back to the link they already have and see the event through everyone else's eyes.
- Build as many albums as you like from what you received
- Publish them, or keep them as drafts only you can see
- The public gallery is optional, off by default, and part of the paid plans
- 8
Download everything
Grab a single file, or export the whole event as a ZIP on the paid plans. Files come back in their original quality — nothing is recompressed on the way in or out.
- Original files, never recompressed
- Bulk ZIP export of an entire event (Light and Pro)
- Rename or delete uploads before you hand the folder over
What your guests actually see
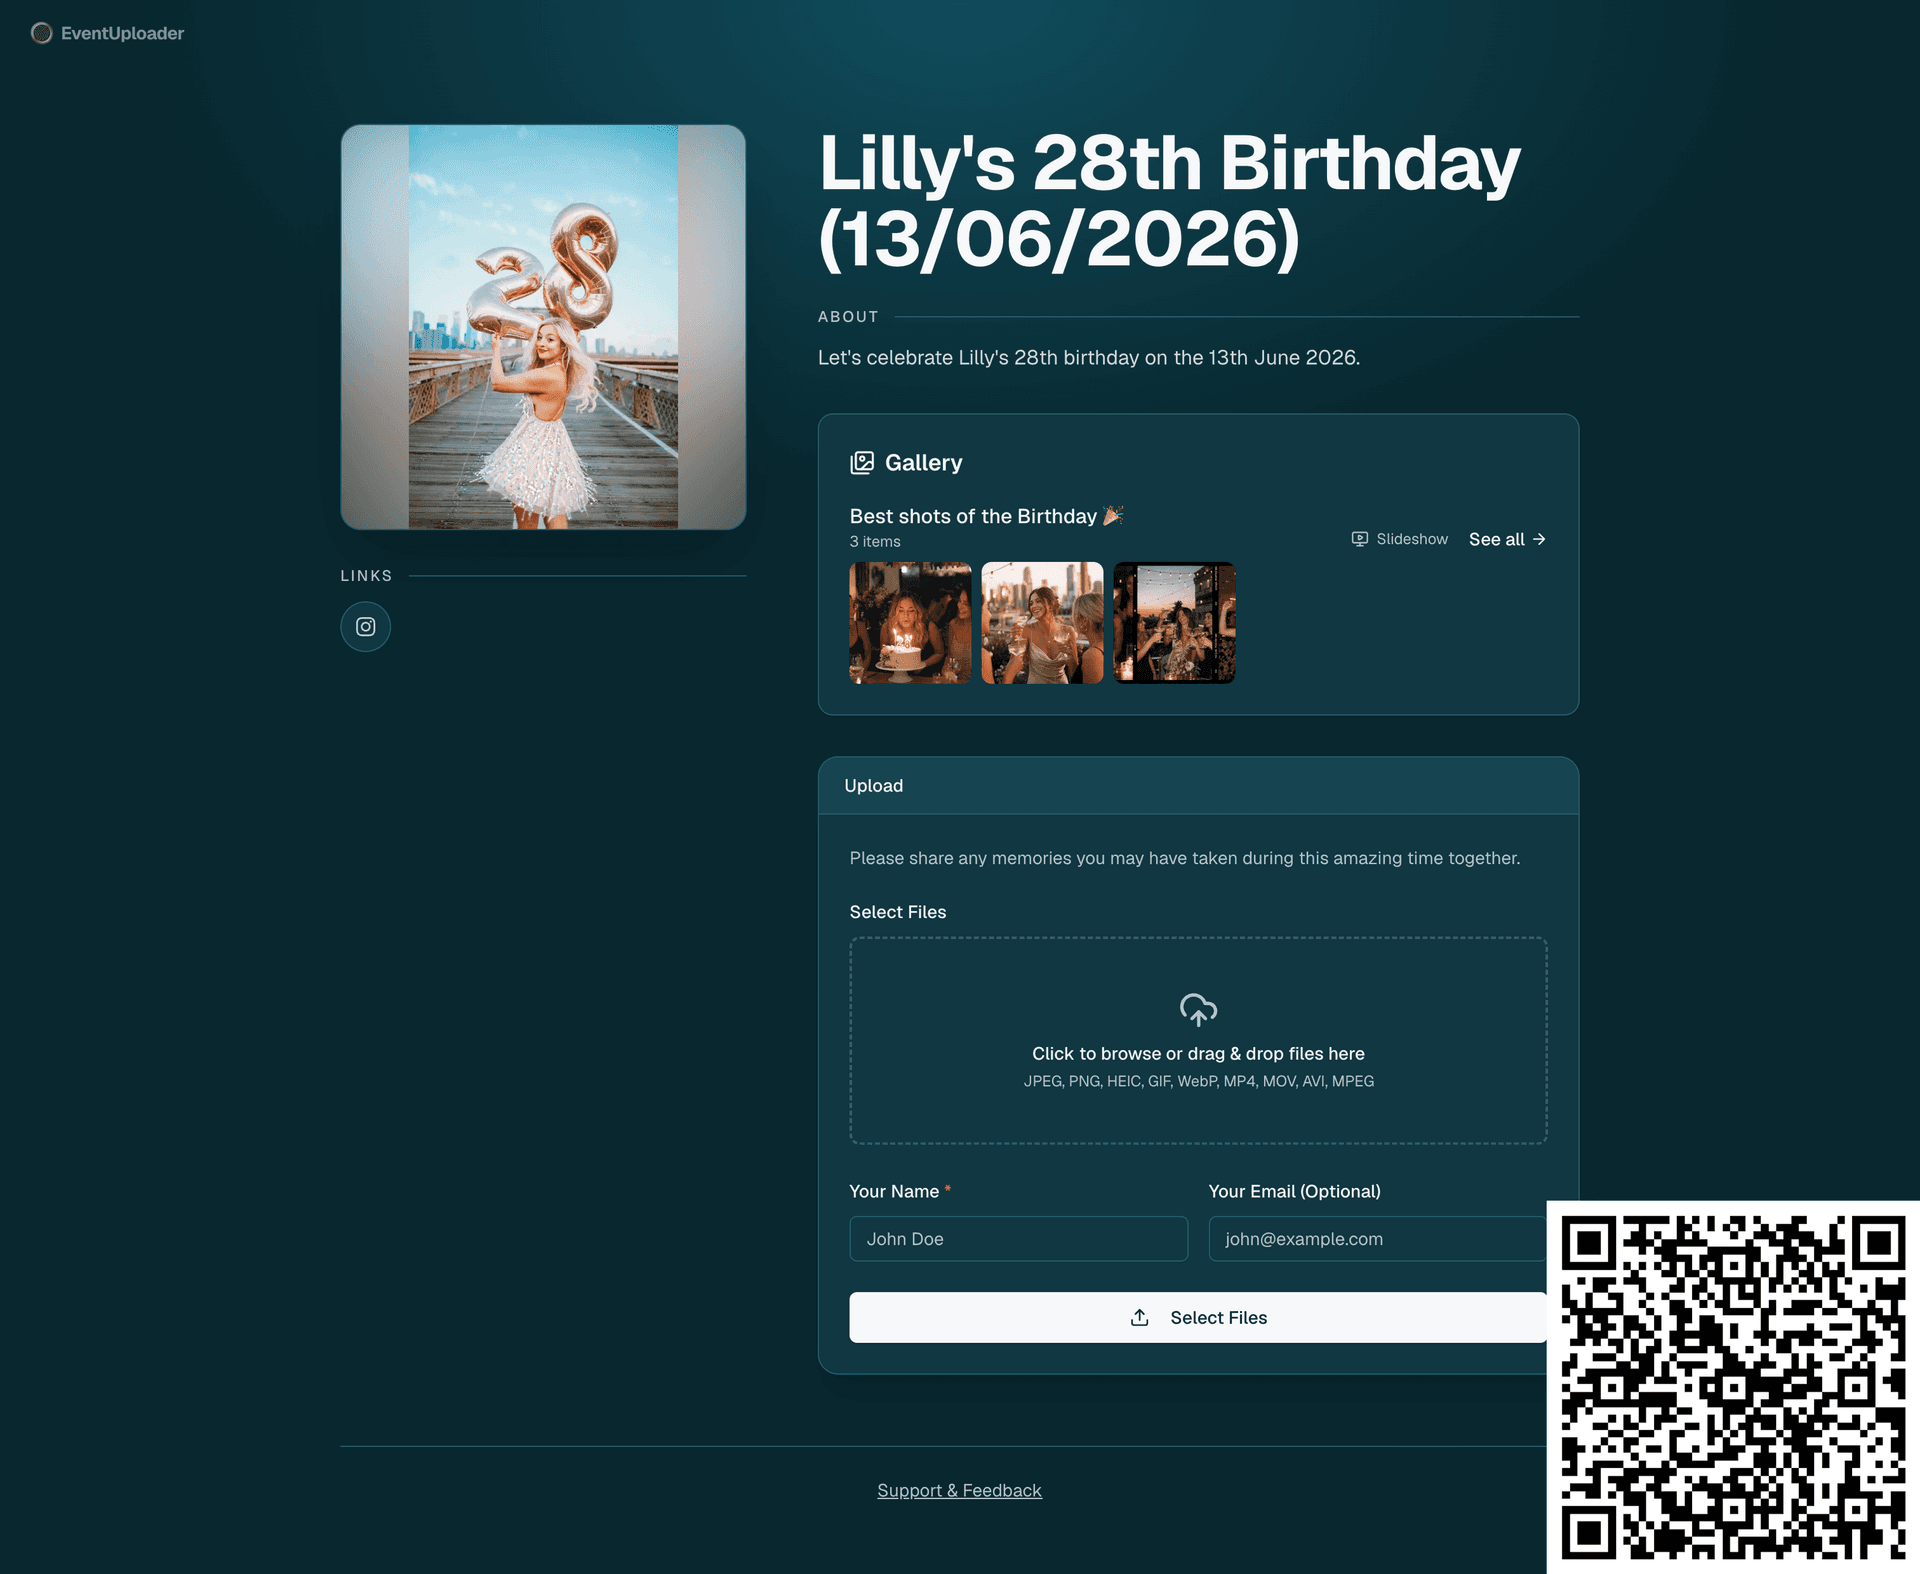
One page that behaves the same on a five-year-old Android as on the newest iPhone. No download prompt, no sign-up wall, nothing to learn. This is a real event page — open it and try an upload yourself.
- No app, no account, no password.
- Your logo, your colours, your welcome message.
- Name and email only if you decide to ask for them.
- A gallery of the best shots, if you choose to publish one.
What happens when you run out of storage
This is the part most tools get wrong: they reject the upload, the guest shrugs, and the moment is gone for good. EventUploader never refuses a memory it can still save.
- Guests can always upload, even when your plan is full.
- Anything past your limit is still stored — just locked, so it cannot be viewed or downloaded yet.
- Upgrade and every locked file unlocks instantly. Nothing is ever deleted behind your back.
- Uploads are only refused once you are a full 10GB past your plan.
Where your files actually live
Short version: on private European infrastructure, visible to you and to nobody else until you decide otherwise.
- Files travel straight from your guest's phone to a private AWS S3 bucket in the EU, using short-lived signed URLs.
- Uploads are visible in your dashboard and nowhere else, unless you publish an album.
- Event data sits in Postgres with row-level security, so no organizer can ever read another's event.
- Delete an event and its files are removed from storage along with it.
Before you start
Do my guests need an app or an account?
+
No. They open the link or scan the QR code and upload from the browser they already have. Name and email are optional unless you decide to require them.
How long does setup really take?
+
About a minute for the event itself. Branding and upload rules take a couple more, and you can change any of it after the page is already live.
Which file types can guests send?
+
JPEG, PNG, GIF, WebP and HEIC/HEIF photos, plus MP4, MOV, AVI and MPEG video. iPhone photos upload as they are, with no conversion step for your guests.
Can I stop collecting after the event?
+
Yes. Pause uploads temporarily and guests see a friendly notice, or stop the event permanently once you have everything you wanted.
Can guests see each other's photos?
+
Only if you want them to. Uploads are private to you by default; publishing an album turns the upload page into a shared gallery for everyone who has the link.
How long are my files kept?
+
Until you delete them, on every plan — EventUploader never deletes files automatically. What your plan limits is how long the upload page accepts new photos: 2 days on Free, 30 days on One Timer, and no limit on Light and Pro. If your files go over your plan's storage, the extra ones are kept but locked until you upgrade or free up space.
Is there really a free plan?
+
Yes — 500MB of storage and a 2-day upload window, with no credit card. It is built for trying a real event end to end before you commit to anything.
Your first event page is about a minute away
Create it now, print the QR code tonight, and collect every photo tomorrow.
500MB free • No credit card required