RSVP QR Code Free: Setup and Event Tracking
Learn how to create an RSVP QR code free for your next event. Discover setup steps, print placement tips, and how to pair responses with a live photo gallery.

You're staring at a spreadsheet of unanswered invitations while the caterer wants a final headcount, relatives keep asking where to send photos, and guests are already losing details in group chats. A free RSVP QR code can remove much of that friction, but only if it leads to a useful, mobile-friendly destination and supports what happens after someone taps “submit.”
The practical workflow is simple: guests scan a printed code, open a browser page, confirm attendance, and optionally continue to a private event gallery. The code itself isn't the event system. It's the doorway. Your form, privacy settings, fallback options, and live content workflow determine whether that doorway helps.
Table of Contents
- Why Free QR Codes Are Changing Event Planning
- Building Your Mobile RSVP Destination
- Designing and Placing Codes for Maximum Scans
- Pairing RSVPs with a Live Event Gallery
- Protecting Guest Privacy and Removing Friction
- Testing Your Setup Before the Event Opens
Why Free QR Codes Are Changing Event Planning
For years, event organizers chased responses through email threads, text messages, paper cards, and awkward follow-up calls. Each method created extra work. Guests had to find the right message, remember a deadline, type a URL, or return a card, while organizers manually copied answers into a guest list.
A printed RSVP QR code changes the first step. A guest points a phone camera at the code, taps the browser notification, and reaches the response page without typing a long address or installing event software. That low-friction path works for weddings, birthday parties, conferences, family reunions, and corporate gatherings because the guest already has the main tool, a smartphone.
QR codes have also moved far beyond their original industrial purpose. Masahiro Hara invented the format at Denso Wave in 1994 to track automotive parts, and it later spread into payments, tickets, menus, and event management, as documented in this QR code history and adoption overview. Pandemic-era behavior accelerated that transition, turning scanning into a familiar consumer action rather than a novelty.
Why the free workflow feels practical
The scale of adoption explains why an RSVP QR code free setup is now realistic for ordinary events. The global QR code market was valued at $13.04 billion in 2025 and is projected to reach $33.14 billion by 2030, with a 20.5% compound annual growth rate, according to this QR code market roundup. The same source projects 102.6 million U.S. smartphone users will scan QR codes in 2026, roughly one in three Americans.
Those figures don't guarantee that every guest will scan. They do show why the behavior is broad enough to support invitations, welcome signs, table cards, conference badges, and check-in stations. The same roundup reports that more than two-thirds of consumers have used a QR code in the past year, while 57% of 18 to 34 year olds use them frequently.
A useful event QR flow therefore does more than collect “yes” or “no.” It can capture attendance, guest counts, meal choices, reminders, ticket details, or a route into a live photo gallery. The best setup reduces follow-up work before the event and captures memories during it.
Building Your Mobile RSVP Destination
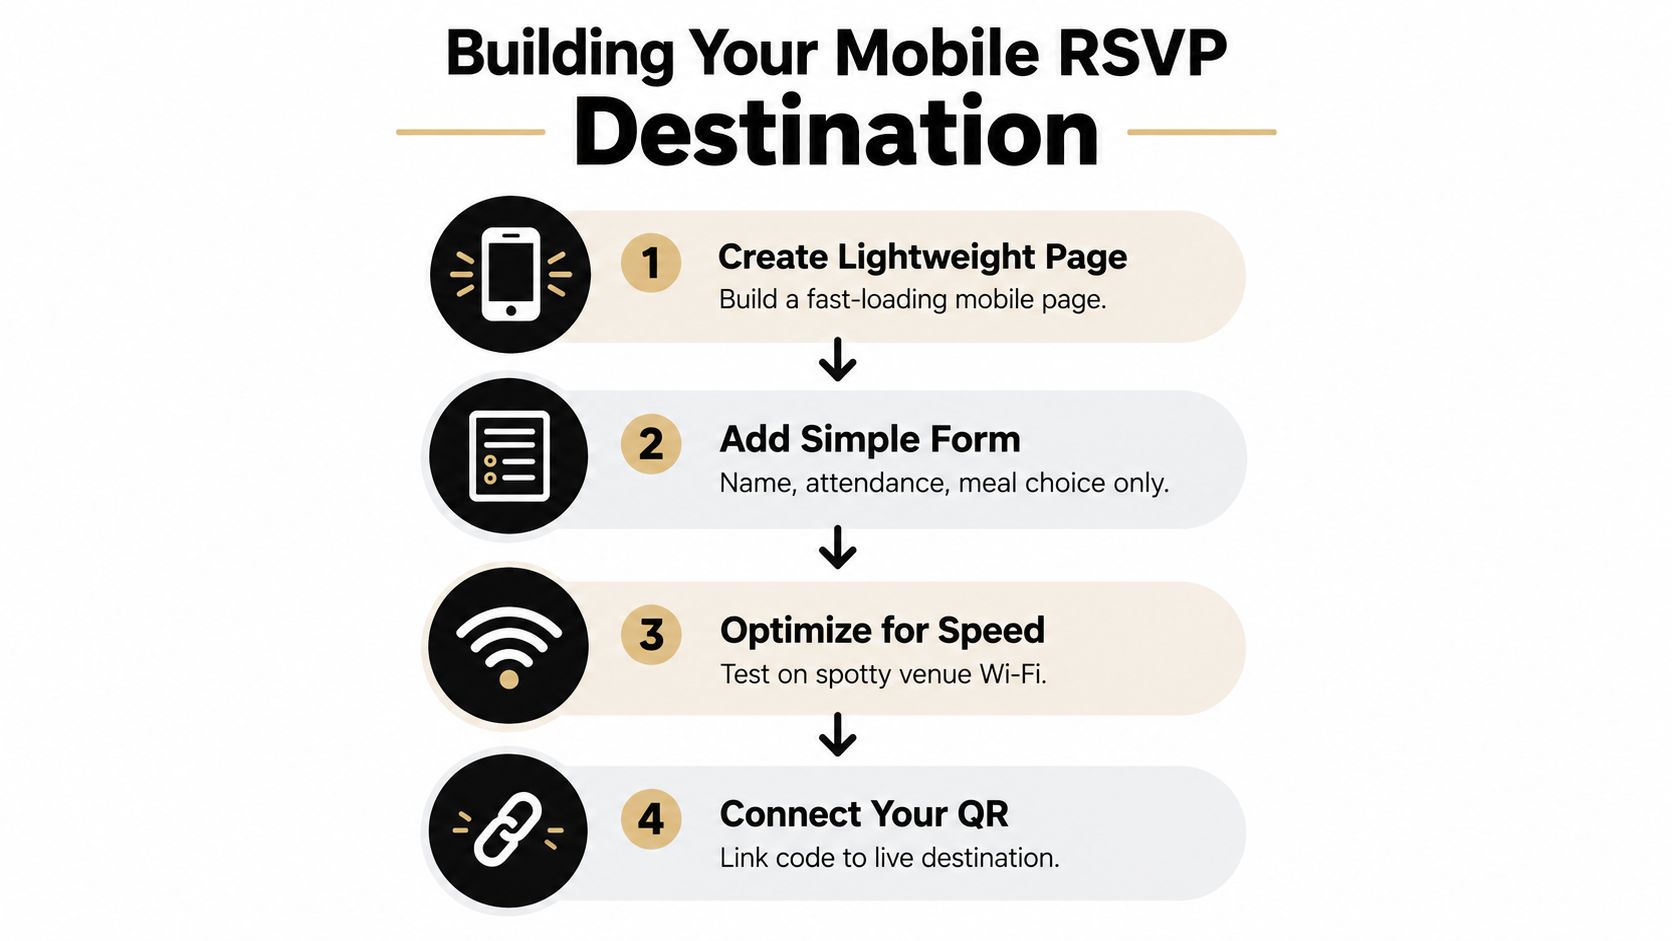
A QR code can't rescue a slow, confusing, or login-protected page. Build and test the destination first, then encode its stable URL into the code.
Start with the page, not the graphic
Create a lightweight RSVP page that opens in a standard mobile browser. It should show the event name, date, location or key logistics, response deadline, and the form itself. Avoid sending guests to a general homepage where they have to search through menus for the RSVP button.
If your form platform produces an unwieldy address, use a reputable URL shortener or a clean branded redirect. A shorter destination doesn't replace testing, but it makes the printed fallback easier to read and reduces the chance of transcription errors. Keep the final address stable. If the destination changes after printing, a static QR code may send guests to the wrong place.
The form should ask only for information you'll use. A wedding might need the guest's name, attendance, party size, and meal choice. A conference could ask for attendance and ticket type. A family celebration may need only a name and response.
Practical rule: Every extra question needs a clear operational reason. If you won't use the answer, remove the field.
Keep the guest journey short
Use large tap targets, readable text, and a clear submit button. Don't make guests create an account just to answer an invitation. If you need contact information for reminders, explain why you're collecting it and make the request optional where possible.
A two-stage destination can work well. The first screen collects the RSVP. The confirmation screen then offers event details, directions, or a private upload invitation. That sequence keeps the response task focused while giving guests a natural next step.
For organizers collecting video memories as well as attendance, a browser-based tool such as LunaBloom's video app can fit into the broader event hub, provided the guest experience remains clear and doesn't force unnecessary account creation.
Generate only after testing the live URL
Open the page on several phones, submit a test response, and confirm that the organizer dashboard receives it correctly. Check that the form works on cellular data as well as venue Wi-Fi. A code generator should let you create a downloadable image without hiding the destination behind an expiring trial or an unexpected account requirement.
Choose a static code when the destination URL will remain fixed. If you need to change the destination later, use a service that clearly explains whether it supports editable or dynamic routing and what happens when a free plan ends. “Free to generate” isn't always the same as “free to operate.”
Designing and Placing Codes for Maximum Scans
Generating the code is the easy part. Guests scan in poor lighting, at awkward angles, while carrying drinks, bags, phones, or children. Physical design determines whether the code feels effortless or becomes another task someone has to troubleshoot.
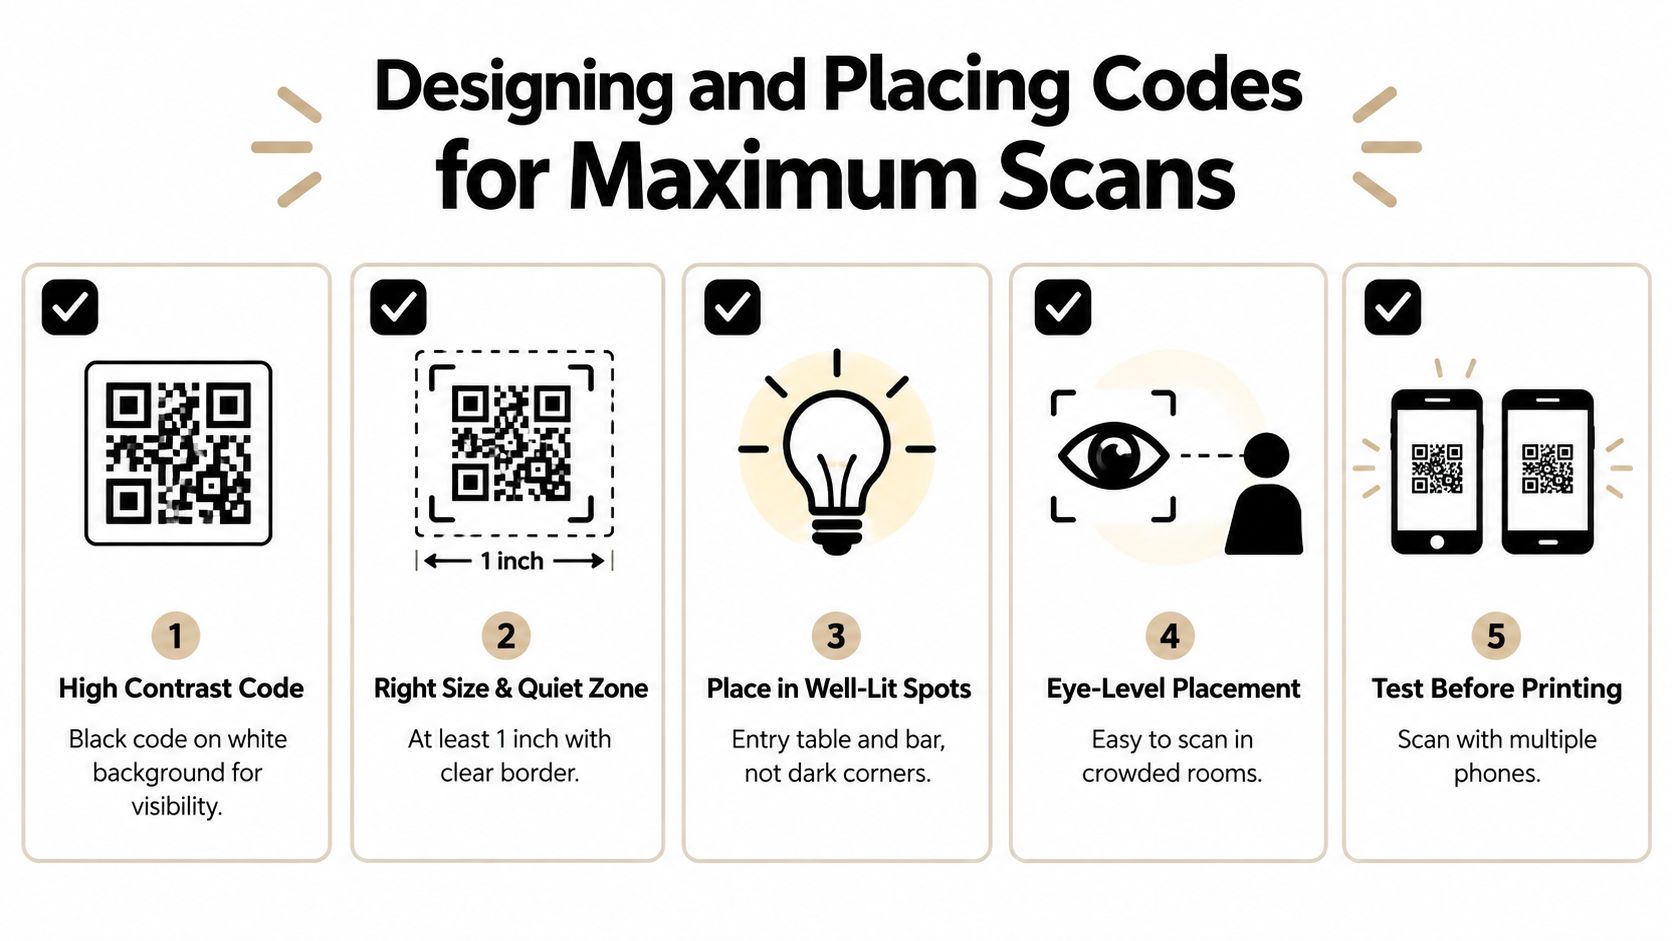
Use a dark code on a light background and leave a clear quiet zone around it. Expert guidance recommends a quiet zone of at least four modules, meaning the blank border must remain free of text, logos, patterns, and decorative lines, as explained in this QR code accessibility guide.
Size the code for the real distance
A reliable planning rule is to make the code approximately one-tenth of the expected scanning distance. If guests will scan from 100 cm, the code should be about 10 cm wide, based on the same accessibility guidance. A small invitation card and a large welcome sign need different dimensions because the expected phone distance is different.
Don't judge size only on a designer's screen. Print the actual artwork and test it from the position where guests will stand. A code that scans easily at a desk may fail when printed on a distant poster.
| Placement | What works | What causes trouble |
|---|---|---|
| Invitation or RSVP card | High contrast, generous border, short instruction | Tiny code, patterned background, glossy finish |
| Welcome sign | Large code at comfortable viewing height | Code placed too high or surrounded by competing graphics |
| Table card or centerpiece | Code visible from nearby seats | Curved card, candle glare, clutter around the border |
| Conference badge | Clear print with enough space around it | Lanyard folds, low contrast, plastic reflection |
Place codes where guests naturally pause, such as the welcome table, bar, registration desk, gift table, or table centerpieces. Avoid dark corners, reflective glass, shrink-wrap, and highly curved surfaces. Glare can wash out the contrast even when the artwork looks correct in daylight.
For an RSVP or gallery sign that needs a clean layout, use the QR code sign generator to prepare a destination-specific display. If the venue's Wi-Fi is part of the guest experience, a separate Wi-Fi QR code generator can reduce the need to print network details beside the RSVP code. Keep those purposes distinct so guests know exactly what each code does.
Here's a short visual demonstration of the scanning principles in practice:
Pairing RSVPs with a Live Event Gallery
Most RSVP guides end when the guest submits a response. That's where the operational opportunity starts. The same scan can introduce guests to a private photo and video upload page, giving you a way to collect memories while people are still taking them.
A practical structure is a single event hub. The first view handles the RSVP. After submission, the confirmation page presents a clear invitation to upload photos or videos. You can also print a second sign at the venue that points directly to the gallery, while keeping the RSVP code on invitations and pre-event messages.
Separate the tasks, connect the experience
RSVP data and guest media serve different purposes, so don't bury the form inside a complicated gallery interface. Ask for attendance details first. Then make the upload action obvious with language such as “Share your photos from today.”
A browser-based gallery lets guests upload directly from their phones without moving files through group chats. The organizer can review incoming content from a central dashboard, manage the event space, and later share selected memories through the same event destination.
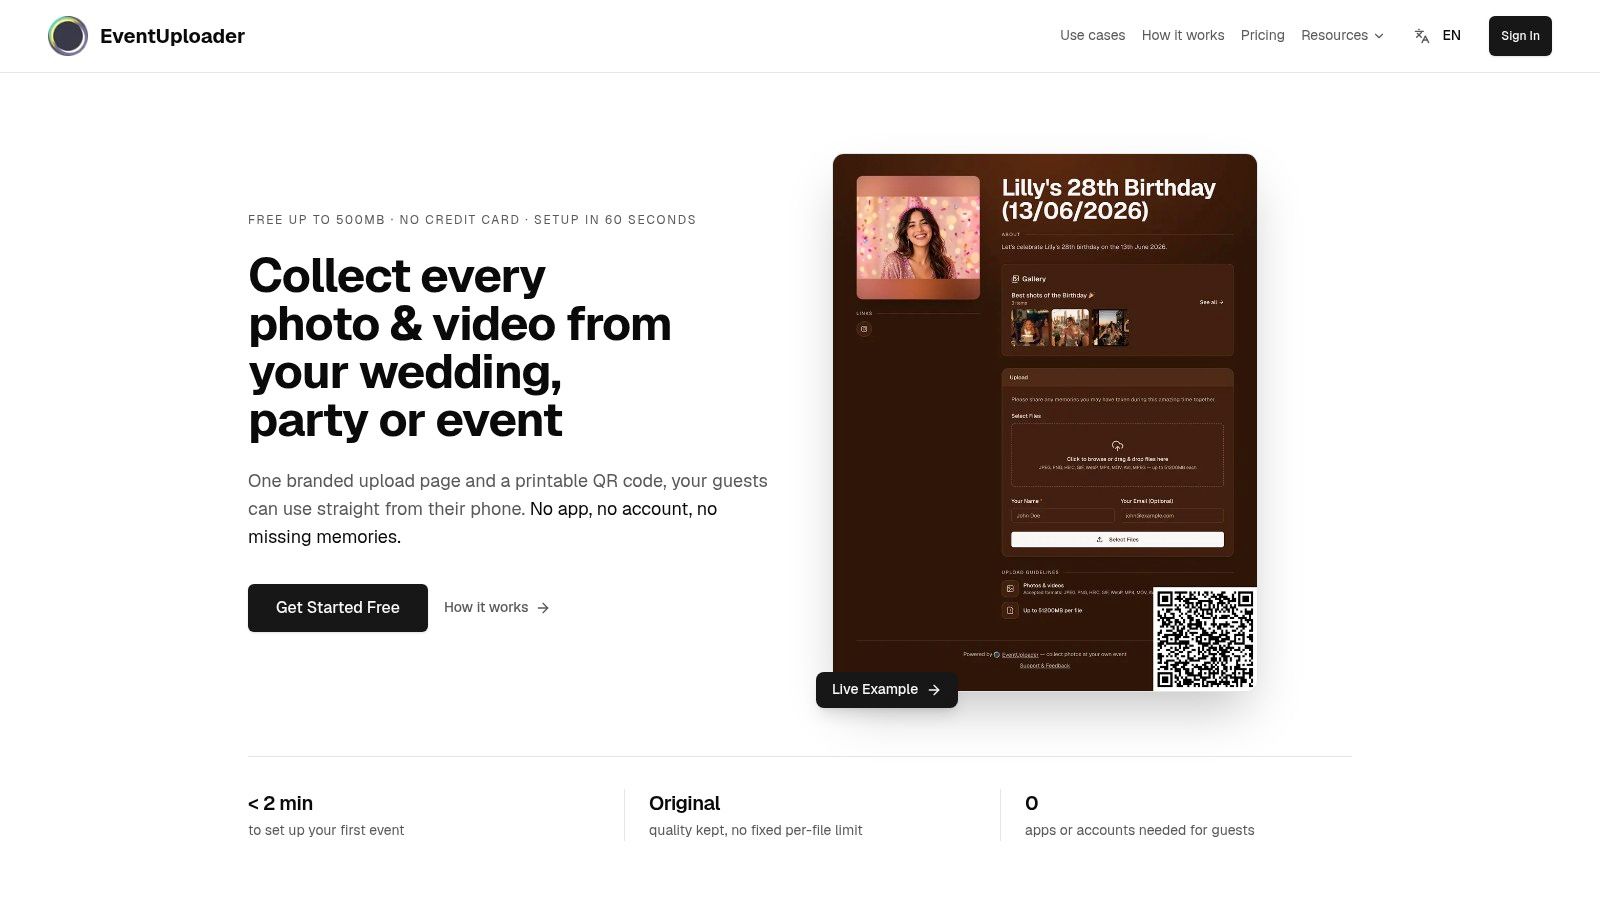
EventUploader supports this type of workflow with a branded upload page, a printable QR code, browser-based guest uploads, live content visibility, and original-quality downloads. Its event workflow overview is useful when you're deciding whether the gallery should be private, shared with guests, or used as a moderated collection.
Plan the post-scan workflow before printing
Decide what guests see after each action:
- After an RSVP, show a confirmation and essential event information.
- After a gallery upload, confirm that the file was received and explain whether it will appear immediately or after review.
- During the event, keep the upload destination easy to find on signs, programs, badges, or table cards.
- After the event, use the same link for a shareable gallery if that matches your privacy plan.
This approach avoids the common failure where an organizer collects a neat RSVP list but later spends days asking guests to resend photos. The QR code becomes part of the event's operating system, not just a shortcut to a form.
Protecting Guest Privacy and Removing Friction
Guests decide quickly whether an event link feels safe. A wedding guest may hesitate before uploading a family photo to a public feed. A corporate attendee may not want event images mixed into a personal social account. Parents and older relatives may abandon a process that requires an unfamiliar app, a password, or a public profile.
For those reasons, browser access should be the default. Guests should be able to open the page, respond, and upload from a phone without downloading proprietary software. Account creation adds a second decision to a task that should take moments.
Define who can see the information
Separate the response list from the public-facing gallery. Guest names, attendance status, meal choices, phone numbers, and email addresses shouldn't appear on a page that anyone can access through a forwarded link. Photos may need moderation before they become visible to the wider group.
Before publishing anything, answer four questions:
- Who owns the guest data? Confirm whether the organizer can export or remove it.
- Who can view uploads? Decide whether media stays organizer-only, invite-only, or publicly shareable.
- What happens if the link is forwarded? Use access controls, moderation, or a private destination when the invitation is limited.
- How long will content remain available? Set a retention plan instead of leaving personal files online indefinitely.
Review the platform's terms and privacy documentation before collecting sensitive information. EventUploader's privacy policy is one example of the documentation organizers should examine when comparing browser-based event tools.
Make privacy visible to guests
A short note near the form can build confidence: explain what you're collecting, why you need it, and who will see it. Use plain language rather than a dense legal notice. If uploads are moderated, say so. If the gallery is private, say that too.
A zero-friction experience doesn't mean removing all safeguards. It means placing safeguards where they don't interrupt the basic task. Let guests RSVP without an account, provide a text fallback for anyone who can't scan, and keep the gallery boundaries clear.
Testing Your Setup Before the Event Opens
Never let guests discover a broken code first. Test the full journey before sending invitations to the printer or opening the venue doors.
Run a practical test
Use the printed or final-size artwork, not only the digital file. Test it with multiple phone models and native camera apps, then open the destination over cellular data and the venue's actual Wi-Fi. Submit a test RSVP and verify that the guest count, meal choice, reminder workflow, or check-in record updates correctly.
Repeat the scan in the lighting you expect at the event. Check daylight, dim indoor light, overhead glare, and any plastic sleeve or glass covering. Move back to the intended scanning distance and confirm that guests won't need to twist the sign or hold their phones at an extreme angle.
A useful benchmark shows why this matters. Published event settings report badge QR codes at 30% to 60% scan rates and broader event or conference contexts at 15% to 35%, according to these QR scan-rate benchmarks. Those ranges vary by audience and placement, so treat them as context, not a promise.
Keep an accessible fallback
Print the destination URL beside the code in readable type. The same accessibility summary reports that only 15% of visually impaired users can scan a QR code without assistance, which makes an alternative route essential. A text link also helps guests with older phones, damaged cameras, glare, or limited confidence with QR scanning.
Finally, test the page with a screen reader and keyboard-only navigation. Confirm that buttons have clear labels, form fields are understandable, and the destination works without relying on color alone. Your event technology is ready when the code, fallback URL, RSVP workflow, privacy settings, gallery, and organizer dashboard all work together before the first guest arrives.
EventUploader gives you a branded, browser-based upload page and printable QR code for collecting event photos and videos without app downloads or guest accounts. Visit EventUploader to pair a low-friction RSVP journey with a private live gallery and keep every memory organized in one place.