Download Festival Crowd Photos: Where to Get Them
Download festival crowd photos from galleries, guest portals and social feeds, then export originals without losing quality or consent.
With typical attendance reported at approximately 75,000 to 80,000 people, Download Festival's event overview puts the photo-finding problem into perspective. After a Donington weekend, the crowd archive isn't a single gallery. It's scattered across phones, camera cards, press selections and shared folders, with different limits on quality and reuse.
Finding Download Festival crowd photos means answering more than “Where's the download button?” You need to know who supplied the file, whether it's a usable original, and what you're allowed to do with it. A spectacular crowd shot can still be the wrong file for an archive, an accessibility guide or a public campaign.
Table of Contents
- Where Download Festival Crowd Photos Actually Live
- How to Download Crowd Photos from Each Source
- Export Settings That Keep Original Quality
- Frames Worth Keeping After the Download
- Permission Rules Before You Share a Face
- Set Up One Guest Upload Page Before Gates
Where Download Festival Crowd Photos Actually Live
A Download Festival crowd photo usually sits in one of the places below. Treat these as search routes, not a claim that every festival edition provides every service or a public upload portal.
Where Download Festival crowd photos usually sit
| Source | What you get | Typical quality | Best for | Catch |
|---|---|---|---|---|
| Media and press galleries | Curated crowd and stage scenes from the weekend | Web JPEG, often a short set | Quick public recap | Not the full crowd archive |
| Event upload portal | Guest phone photos and clips in one dashboard | Original if you export that way | Organiser-controlled collection | Needs moderation and consent prompts |
| Shared cloud folder | Crew or friend dumps | Large JPEG, sometimes RAW | Team handoff | Expiring links and renamed duplicates |
| Social feeds | Public posts tagged to the festival | Compressed, cropped, short video | Finding a moment fast | Repost rights are limited |
| Your own cards | Everything you shot | RAW plus JPEG masters | Documentary archive | Files may be lost if cards are formatted early |
| Photographer handoff | Selects or full take | High-resolution masters if agreed | Stage and pit coverage | Delivery specifications must be in the brief |
Media and press galleries are useful for recognising a performance or locating a credited photographer, but a publisher's selection isn't a complete record of everyone near the stage.
An event upload portal, where an organiser has provided one, brings guest contributions together rather than leaving the content lead to chase individual messages.
A shared cloud folder can hold substantial files, but its usefulness rests on clear ownership, stable access and filenames that survive a handoff.
Search by moment, not just festival name
Social feeds are a discovery tool: search the act, stage, day and distinctive visual detail, then identify the creator rather than assuming the displayed image is available for reuse.
Your own cards are the most direct route to your camera originals, provided you've retained the files and can connect them to the moment you need.
A photographer handoff supplies what the assignment specifies, so an edited selection shouldn't be mistaken for the photographer's entire take.
Say you're looking for a crowd-surfer photographed near the front barrier. A social post might identify the song and viewing angle, while a press gallery reveals the photographer's credit. Neither necessarily contains the deliverable you need for print.
Practical rule: Choose a discovery source and an archive source. Don't ask a public recap gallery to do both jobs.
For a content team, name the approved media gallery as the public recap reference and the designated archive folder as the master set. Record that choice in the handoff notes so colleagues don't repeatedly hunt for different versions of the same frame.
How to Download Crowd Photos from Each Source
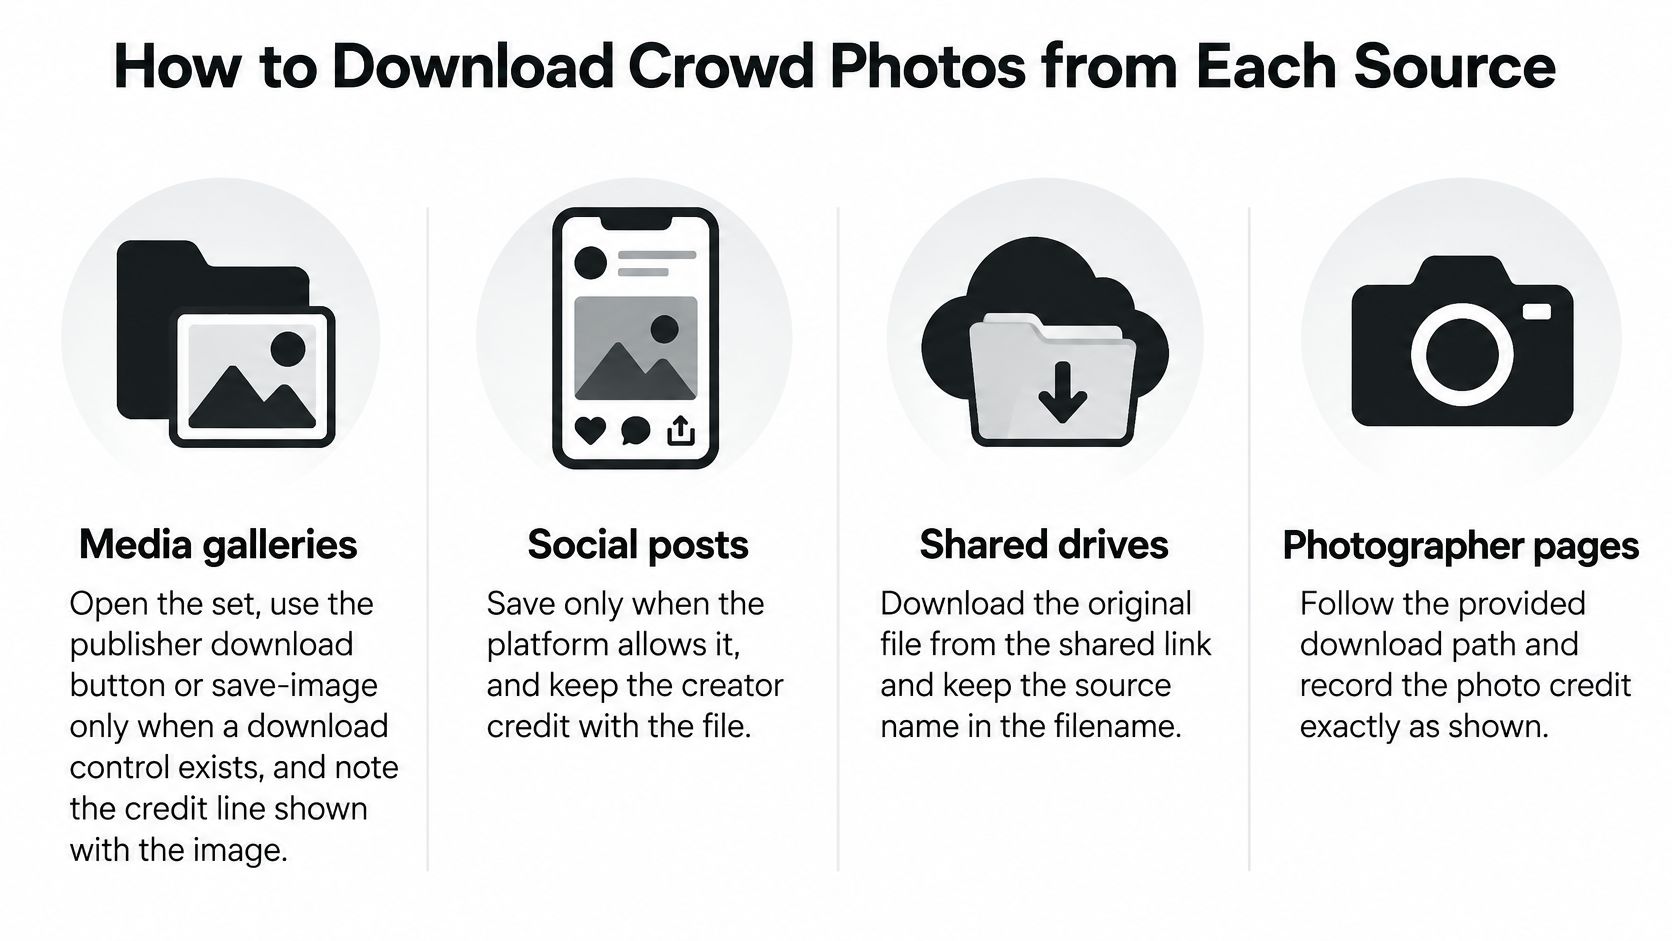
Before saving anything from a gallery, check whether it offers a download control and explains permitted use. If it doesn't, contact the festival's press or media team, or the credited photographer, with the event date, stage or area and the images you need.
Ask for licence terms in writing before reuse. Keep the reply beside the delivered files, together with the required credit, so another editor doesn't have to reconstruct the agreement.
Follow the route the owner provides
Media and press galleries
Open the complete set, select the relevant image and use the publisher's download button. Use a browser's save-image option only where the owner explicitly provides that route, not as a workaround for a missing download option. Record the credit exactly as displayed, and distinguish the photographer's name from the publication hosting the image.Guest upload dashboard
Filter by day, stage or contributor if the tool supports it, then select the crowd batch. Use the original-file or full-event export offered by the service rather than saving preview tiles individually. A dashboard preview confirms what an image depicts, not what resolution you'll receive.Shared cloud folder
Use the folder download command rather than opening and saving every preview. Keep the folder structure intact until you've compared the owner's stated contents with the local download. If the shared folder contains shortcuts or restricted items, ask the owner to confirm those files were included.Social posts
Save only material you have permission to retain and use, using the platform's supported controls. Keep the post address, creator handle and permission record alongside the file. A screenshot is useful as a reference for finding the moment, but it isn't a substitute for requesting the creator's original.Cards and photographer drives
Copy files to your destination rather than moving them out of the source. Wait for the transfer to finish, check the destination, then eject the card or drive safely. With a photographer delivery, retain the supplied folder names and any licence document before making your own editorial selection.
Make the handoff understandable
For a familiar example of how an event gallery organises browsing and retrieval, you can explore photo booth event galleries from Smartpicsuk®. Use that as an interface reference, not as evidence that another gallery has the same download permissions.
Apply a consistent naming pattern to working files, such as Friday_MainStage_CreatorName_OriginalFilename.jpg. Keep the original filename within the new name, since it lets the photographer trace your request back to their archive.
Don't guess a stage or day from the lighting. Put uncertain location details in your notes until the contributor confirms them.
- Keep a source note: Record who supplied the batch and how they described it.
- Preserve delivery documents: Store credit instructions and permissions with the relevant folder.
- Flag incomplete batches: Tell the owner which filenames are missing instead of requesting the whole delivery again.
Finish by opening representative files from each shooting period. Confirm they render fully, aren't merely thumbnails, and show the moment you intended to collect.
Export Settings That Keep Original Quality
Export choices for festival crowd files
| Goal | Format | Size | What to preserve | Do not |
|---|---|---|---|---|
| Master archive | Original RAW or full JPEG | Camera pixel dimensions | EXIF, filename, burst neighbours | Replace with a web export |
| Working copy | Duplicate of masters | Same as master | Sidecar edits, if any | Cull on the only copy |
| Web gallery | JPEG derivative | Smaller long edge as the gallery requires | Colour that still reads under stage light | Overwrite the master |
| Social post | Platform JPEG or short clip | Platform crop | Credit and source address | Treat the screenshot as the archive |
Original quality describes the source file you received, not a promise that every image is sharp or suitable for print. Enlarging a small gallery JPEG won't recreate detail that wasn't delivered.
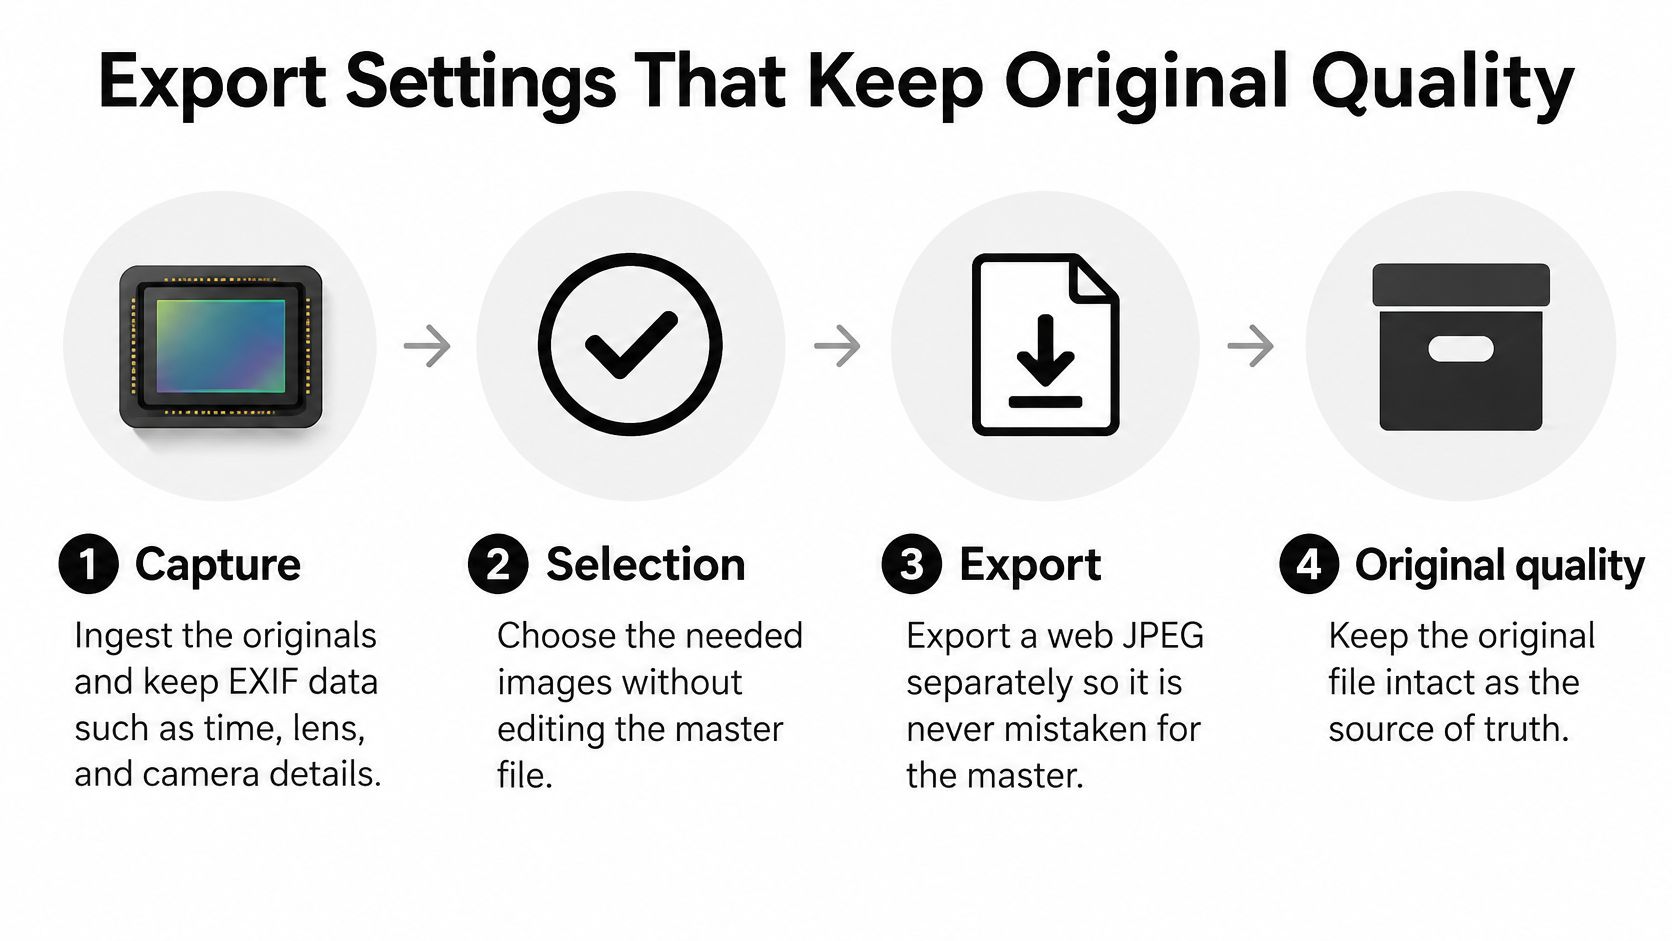
Keep capture, selection and export separate. That distinction prevents an attractive web version from replacing the file you'd need for a different crop, print layout or colour treatment.
Preserve the source before making decisions
At the capture and ingest gate, retain the original files and embedded EXIF, including capture time, lens, exposure and orientation. Make a separate working copy before you begin deleting rejected images.
Don't strip metadata just to tidy the archive. Capture time can help distinguish similar performances, while orientation metadata prevents avoidable display problems. Keep editing sidecars with their matching RAW files so the adjustments remain recoverable.
At the selection gate, reject missed focus, unwanted closed eyes, severe highlight clipping and redundant frames. Keep neighbouring burst frames around important gestures, however, because the apparent duplicate may contain the better expression or an unobstructed face.
Blur trap: Deliberate motion trails around 1/30 to 1/60 second belong in a creative selection, not automatically in the sharp documentary set, as the ExposureGuide concert photography guide explains.
Assess that distinction at the size the picture will be used. A moving hand can communicate energy, while an unintentionally blurred face may make a portrait unusable.
Export for the destination without sacrificing the archive
At the export gate, retain the master at the camera's original pixel dimensions. Create a smaller JPEG only when the receiving gallery, publication or platform requires it, and label that derivative clearly.
For edited photographs, keep the untouched source alongside the finished high-resolution export. The edited file represents your interpretation; the original lets you revisit white balance, shadow treatment or cropping without starting from a compressed copy.
For guest contributions, choose the service's original-quality export rather than downloading display previews. The high-resolution photo download guide offers a useful reference when checking that distinction.
- Match the destination: Follow the gallery's stated dimensions and colour requirements rather than guessing a universal export preset.
- Separate output folders: Keep archive, web and social versions visibly distinct.
- Protect the retained set: Maintain independent copies and verify them before clearing the capture media.
A social crop should be an output you can recreate, not the only surviving version of the photograph.
Frames Worth Keeping After the Download
A downloaded file still needs an editorial decision. Judge it against the job: a documentary image, a background banner and a practical view of a route through the crowd don't need identical treatment.
The following shooting baselines, including 1/125 to 1/250 second for ordinary movement, at least 1/500 second for jumping, and ISO 3,200 to 6,400 in low light, come from the Future Gold Media festival crowd photography guide. Use them to interpret the files, not as automatic pass-or-fail rules.
Shutter, aperture and ISO baselines for crowd scenes
| Scene | Shutter speed | ISO or metering |
|---|---|---|
| Ordinary crowd movement | 1/125 to 1/250 s | Base ISO when light permits |
| Jumping or crowd-surfing | At least 1/500 s | Raise ISO as needed |
| Low light | Hold a motion-appropriate shutter speed | ISO 3,200 to 6,400 |
| Single face or performer | Match the subject's movement | Spot metering |
| Broad crowd scene | Match the movement across the frame | Evaluative or matrix metering |
A low-light image with visible grain may be more useful than a smoother file with smeared faces. Inspect the subject, not just the dark sky where noise is easiest to notice.
Check histograms across changes in dusk light and stage colour. Look for lost detail in faces and screens, then test whether the RAW file retains recoverable information before rejecting it.
Keep information that the hero frame leaves out
Technical quality isn't the only filter. Download's accessibility information describes a large greenfield site with uneven terrain, inclines and crowds, alongside raised platforms, ground-level viewing areas, accessible queuing, hardstanding or temporary paths, wheelchair charging and a sensory calm tent.
That makes a tightly packed hero image incomplete practical information. Someone judging a route or sightline needs to see the ground, the viewing position and the space around other people.
Add useful labels to selected frames:
- Location: Name the stage, route or viewing area without exposing a person's private circumstances.
- Density: Describe visible spacing plainly, such as shoulder-to-shoulder or open gaps.
- Terrain: Identify visible grass, slope, mud or hardstanding.
- Viewing height: State whether the image came from ground level or a higher position.
- Performance context: Note whether the frame shows a peak song, an arrival period or a quieter interval.
A dramatic crowd photograph can be an excellent memory and a poor navigation aid.
Keep quieter alternatives from the same general period. Don't infer sensory comfort from a still photograph, either; an image can show space but can't reliably communicate sound or how an attendee experienced it.
For a decorative festival recap, the festival decorating tips from Striped Circle can provide presentation ideas. Keep that decorative purpose separate from access information, where legible context matters more than a dramatic crop.
The keep-or-drop test is straightforward: sharp enough for its purpose, labelled enough to understand, and useful beyond showing the loudest crowd.
Permission Rules Before You Share a Face
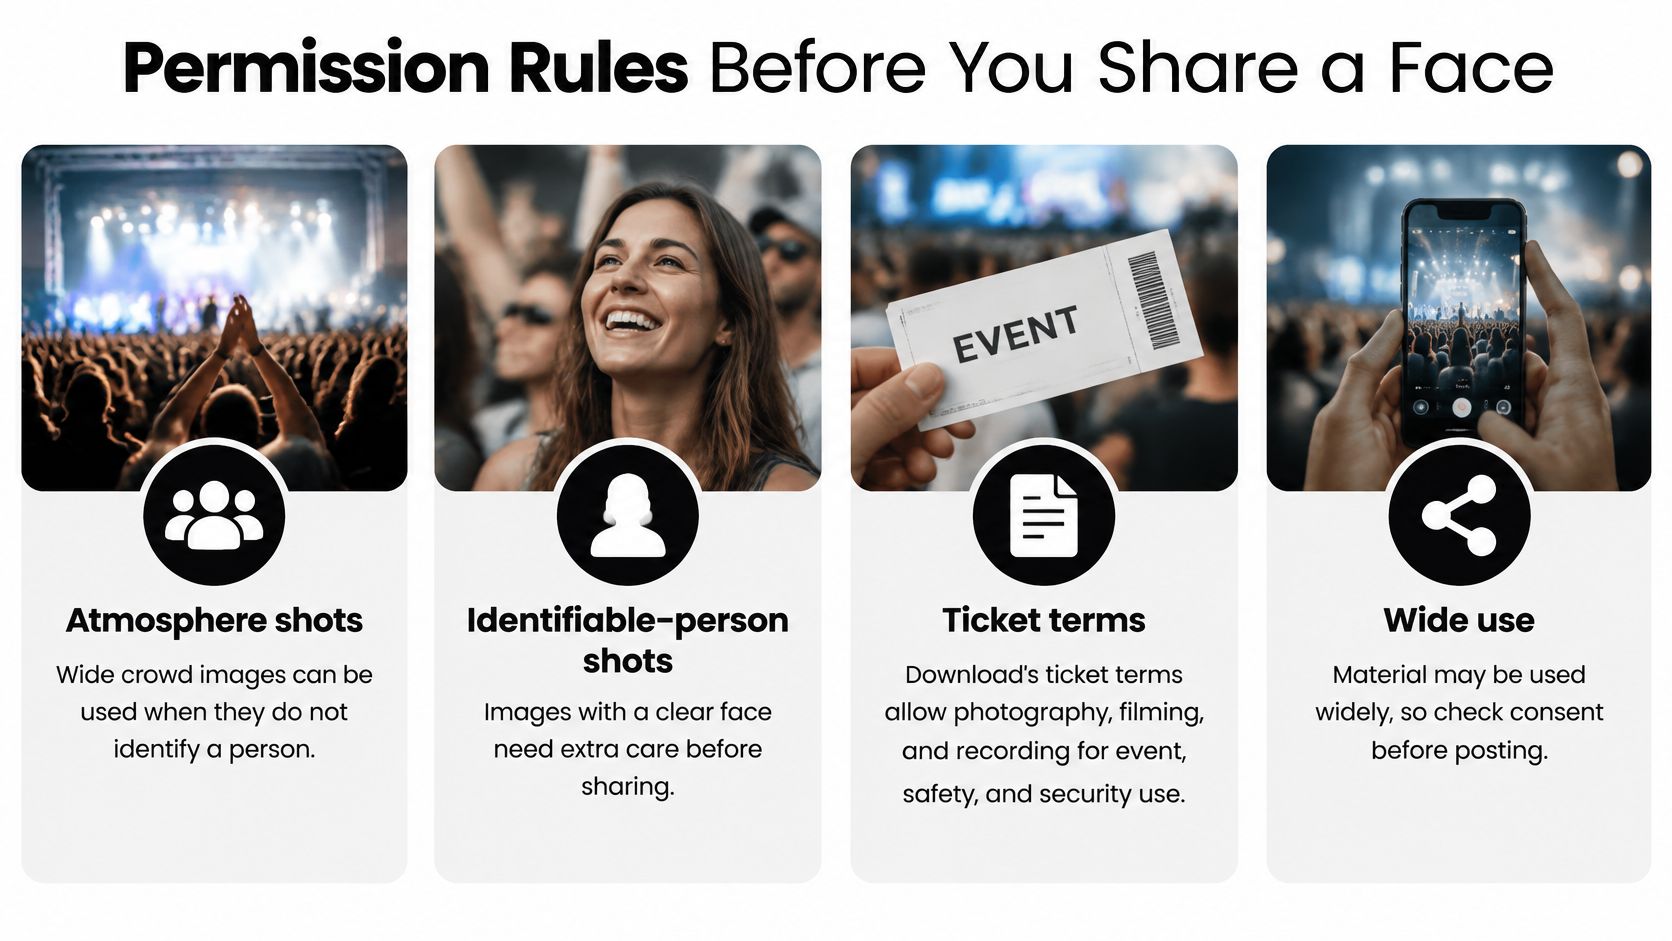
Download's ticket terms and conditions allow photography, filming and recording for event, safety and security purposes, with resulting material potentially used worldwide, while providing a route for attendees to object by contacting the organiser. The terms also identify non-consensual photography and recording as harassment-related misconduct and distinguish permitted personal photography from restrictions on unauthorised professional equipment and later commercial use.
Those provisions aren't a blanket licence for anyone to republish any face. The organiser's capture terms, a photographer's copyright and the subject's consent are separate questions.
Crowd shot types and consent
| Shot type | Identifies people | Consent bar | Safer use |
|---|---|---|---|
| Wide establishing view | Rarely a readable face, but inspect the original | Check organiser capture rules and intended use | Scale and stage context |
| Back of head or silhouette | Low, though clothing or context may identify someone | Lower risk if nobody is singled out | Energy without a portrait |
| Tight portrait | Yes | Seek clear consent | Publish only with an appropriate yes |
| Child, distress or intoxication | Often | Don't publish under this cautious editorial policy | Exclude or take down |
| Commercial or brand reuse | Often | Obtain separate, appropriate permission | Don't assume a personal phone snap clears it |
The table is a conservative publishing policy, not a statement that every image in a category has the same legal status. Context, identifiability and intended use still matter.
Separate permission to upload from permission to publish
A guest who uploads a picture can tell you they took it. That doesn't establish that every recognisable person agreed to appear in an advert, merchandise design or branded recap.
Explain the intended destination before collection. Where you need a documented agreement, the photo consent forms guide can help you organise the questions and records rather than relying on an ambiguous message.
For another perspective on checking ownership and reuse, consult the image rights guidance for editorial teams from AI Image Detector. Keep the actual licence or permission from the rights holder as your evidence.
A wider frame can communicate scale without making a stranger the subject. Reducing detail may lower exposure, but it doesn't cancel a refusal or create rights you didn't have.
Make objections easy to act on
Moderate contributions before they enter a public gallery. Provide a visible removal route on the same page guests already know, and ask for enough information to locate the image without demanding unnecessary personal details.
When someone objects, pause further distribution while you assess the request. Record which published versions need removal so deleting the gallery copy doesn't leave a scheduled social post untouched.
Before publishing, ask:
- Who is identifiable? Check foreground faces, distinctive clothing and contextual clues.
- Did they have a real choice? Don't treat attendance or proximity to a camera as enthusiastic agreement.
- Is this use bigger than a personal memory? A brand campaign needs a different review from a private keepsake.
If you can't answer confidently, choose another frame or obtain the missing permission.
Set Up One Guest Upload Page Before Gates
The most useful preparation happens before anyone starts searching through post-festival messages. Give contributors a destination, explain what belongs there, and assign someone to manage what arrives.
A branded upload page should show the event name, recognisable colours and a short welcome note. Ask for crowd views and campsite scenes, while making clear that close-ups of strangers in distress don't belong in the collection.
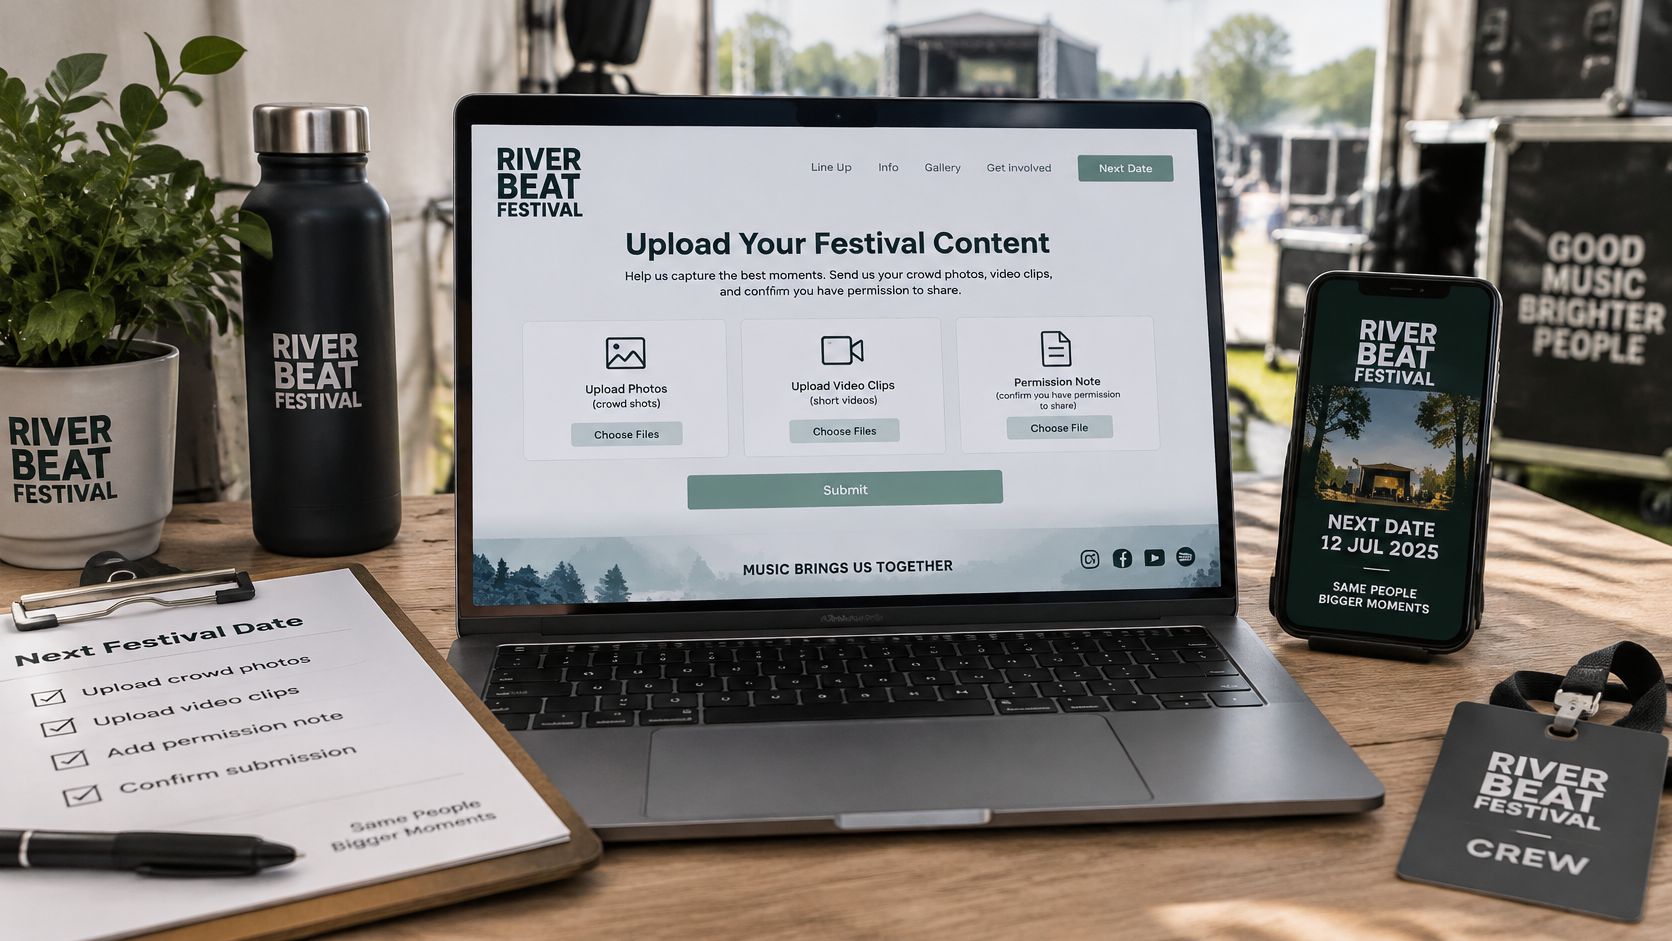
Prepare the collection point
Use a stable upload link and its matching QR code on crew lanyards, information materials and authorised stage screens. Test the printed code on an ordinary phone before production, including whether the surrounding text explains what happens after scanning.
The QR code upload guide provides a practical starting point for that setup. Keep the page instructions short enough that someone can understand them between performances.
- Name the collection owner: Give contributors a recognisable team or contact, not an unexplained upload form.
- State the purpose: Explain whether files are being collected for a private archive, a moderated public gallery or potential editorial selection.
- Request useful context: Ask for the day, stage or area where practical, without turning the upload into a long questionnaire.
- Explain connectivity limits: If a transfer fails, tell guests to retry when their connection improves rather than suggesting submission succeeded.
A browser-based upload route removes the need to install an app or create an account, but it doesn't remove the need for a working connection. Don't make time-sensitive participation depend on a successful upload from inside the crowd.
Give the page an owner during the show
EventUploader is an option alongside shared cloud folders and photographer delivery systems: it provides a branded page, phone uploads without an app or account, a live dashboard, upload controls, original-quality export and a shareable gallery. Check current plan options and export eligibility directly before budgeting.
Assign a moderator who can review incoming files and pause collection if the page is being misused. Keep incoming submissions separate from the approved public selection so an upload isn't mistaken for an automatic publication decision.
After the final encore, prepare the retained collection and publish a tighter gallery through the same guest-facing link. Choose a mix of atmosphere, smaller moments and informative views rather than filling every position with another packed-stage panorama.
Give contributors a clear closing message, including whether uploads remain open and where removal requests should go. A well-run collection ends with an understandable gallery and a manageable archive, not an unattended inbox.
EventUploader offers a branded upload page, a live dashboard and a shareable gallery for bringing festival crowd photos together. Visit the platform to set up your collection link, add clear submission guidance and check the original-quality export options before your next event.