How to Make Event Recap Videos That People Watch
A step-by-step guide to planning, shooting, and editing event recap videos, with storyboarding, shot lists, music licensing, and delivery formats that fit each
Monday morning arrives, the conference is over, and you're staring at hours of unsorted footage. The keynote is there, somewhere. So are the sponsor activations, the best audience reaction, and the toast everyone keeps talking about. Your recap editor has plenty to work with, but no clear reason for any clip to survive the timeline.
That's how event recap videos become long, polished summaries that nobody finishes. The stronger approach treats the recap as a planned portfolio of assets, built from a master story, vertical micro-clips, and authentic footage captured by attendees.
Table of Contents
- Why Event Recap Videos Are Decided Before the Event
- Setting Your Objective and Storyboarding the Recap
- Building Your Shot List and Capturing Footage on the Day
- Turning Guests Into a Second Camera Crew
- Editing the Recap From First Select to Final Cut
- Choosing Delivery Formats for Every Platform
- Your Event Recap Workflow Checklist
Why Event Recap Videos Are Decided Before the Event
A compelling recap isn't an editing rescue job. It's the result of decisions made before the cameras are switched on.
Start by deciding what the video needs to do. A conference recap might need to create excitement for the next edition, give sponsors a useful branded asset, or help absent attendees understand the event's value. A wedding recap may exist to preserve emotion for the couple and give guests something they'll actually rewatch. A festival film might need to communicate atmosphere to people who weren't there.
Those purposes require different footage. A sponsor-focused video needs clean brand visibility, product interactions, and usable soundbites. A social highlight needs movement, faces, quick reactions, and a strong opening. A private wedding film can spend more time on glances, pauses, and voices that would be cut from a public-facing edit.
Practical rule: Write the purpose in one sentence before you write the shot list. If a clip doesn't serve that sentence, it's probably decoration.
The commercial case for planning is clear. One 2026 industry roundup on event photography and videography reports that 91% of businesses use video as a marketing tool, 93% of marketers call video critical to their strategy, and 93% report strong ROI from video marketing. That context changes the role of a recap. It isn't merely documentation stored in an archive. It's a communications asset that can support follow-up campaigns, sponsor relationships, attendee retention, and future ticket sales.
Decide who needs the video
List the primary viewer, not every possible viewer. “Everyone who attended” sounds inclusive, but it doesn't tell you whether the edit should prioritize emotional memory, educational value, or commercial proof.
Choose one main audience and one main action:
- Future attendees: Make the event feel energetic, welcoming, and worth attending.
- Sponsors: Show visibility, participation, and the quality of the audience experience.
- Attendees: Preserve shared moments and make people feel present again.
- Internal stakeholders: Demonstrate execution, reach, and alignment with the event's purpose.
You can create secondary versions later. The first decision keeps the master cut from becoming a compromise.
Protect the moments you can't recreate
A missed establishing shot can sometimes be replaced with B-roll. A missed reaction, spontaneous speech, or first dance can't. Share the objective with every shooter, coordinator, and volunteer so they understand which moments are essential.
The best recap planning also leaves room for surprise. You're not scripting the event. You're identifying the emotional and practical beats that need coverage, then creating enough flexibility to catch what happens between them.
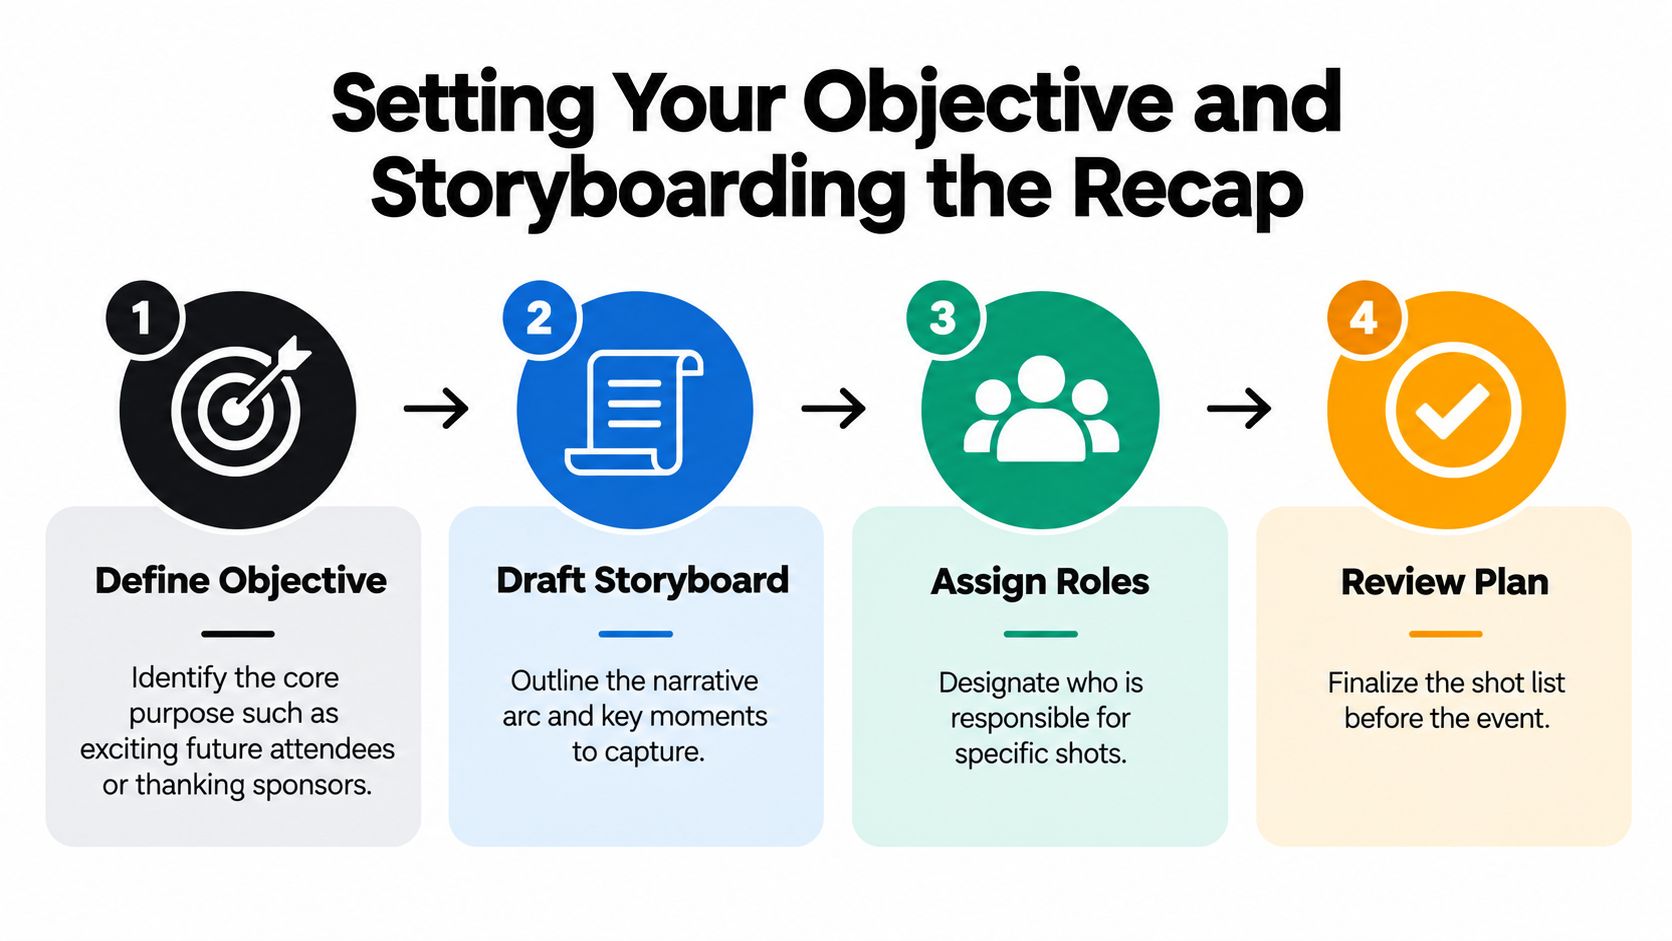
Setting Your Objective and Storyboarding the Recap
A storyboard for an event recap doesn't need illustrations or technical diagrams. It needs a sequence of feelings and information. Begin with one sentence such as, “Make next year's attendees feel that this conference is where important conversations happen.”
That sentence becomes a filter. A clip of a crowded registration desk may support anticipation. A clean sponsor booth shot may support partner value. A long speaker answer may not belong in the master edit, even if the answer was excellent.
Build the story in three acts
Use a simple three-part structure:
- Arrival and energy: Establish the venue, arrivals, signage, room design, music, movement, and first interactions.
- The event's substance: Show speakers, workshops, performances, demonstrations, audience participation, and meaningful exchanges.
- The emotional close: End with a shared reaction, a memorable statement, a final performance beat, or a visual that makes the viewer want to be there next time.
The structure gives your editor somewhere to put every useful shot. It also prevents the common mistake of opening with a logo and delaying the actual event.
Let the objective change the film
Take the same business conference and storyboard it for two different audiences.
For a sponsor, the opening might move from venue branding to booth activity, partner conversations, product demonstrations, and a concise attendee reaction. The sponsor needs evidence that its presence was visible and useful.
For social promotion, the opening might start with applause, a fast room reveal, a striking stage moment, and faces reacting to an announcement. The edit then earns the right to slow down for a speaker or interview. Both films use the same event, but they're not interchangeable.
Write your storyboard as a list of beats rather than a list of shots:
- The viewer arrives at the venue.
- The crowd feels active.
- The event delivers something valuable.
- People respond to it.
- The viewer leaves with a reason to return.
Then note the proof needed for each beat. This distinction matters. “Show excitement” is an editorial intention. “Capture a wide of the room, three audience reactions, hands applauding, and a short attendee comment” is a production instruction.
Choose the first deliverables early
Decide whether the project needs a master cut, a vertical social edit, sponsor clips, speaker excerpts, or an archive version. Expert guidance commonly places social and web highlight videos in the 60-second to 3-minute range, with a 60-second version suited to LinkedIn and Instagram and a 2 to 3-minute version suited to YouTube and websites, according to this guide to event highlight video length.
That choice affects framing, audio capture, branding, and the way you brief contributors. A portfolio requires more deliberate coverage than one horizontal highlight film.
Building Your Shot List and Capturing Footage on the Day
The storyboard becomes a list of must-haves. Give that list to the lead shooter, second shooter, photographer, or volunteer before the event begins. For useful pre-production planning tips, think in terms of coverage categories and assign ownership rather than hoping every operator notices the same moments.
Arrive early enough to capture the venue before it fills. Empty rooms, finished tables, stage lighting, sponsor walls, directional signs, and details of the setup give the edit breathing room and help viewers understand where the event takes place.
Cover the five essential categories
| Shot Type | Why It Matters | Capture Tip |
|---|---|---|
| Wide venue context | Establishes scale, atmosphere, and location | Shoot from a stable position before the room becomes crowded, then repeat during peak activity |
| Speaker moments | Shows substance and authority | Capture clean medium shots, audience response, and short usable phrases rather than relying on one long recording |
| Audience reactions | Carries emotion and proves engagement | Watch faces after applause lines, demonstrations, reveals, and performances |
| Short interviews | Adds a human voice and clear meaning | Move the subject away from loud speakers, use a microphone, and ask questions that produce complete answers |
| Branded B-roll | Gives sponsors and organizers usable visibility | Film logos in context, not only as isolated signs, and include people interacting with the brand |
Interviews deserve extra effort because a good sentence can connect otherwise unrelated images. Ask attendees what surprised them, what they learned, or what they'll remember. Ask sponsors what they wanted to contribute. Ask performers or organizers what the audience reaction meant to them. Keep the questions short, then let the subject answer naturally.
Shoot for the final crop
A horizontal master won't automatically become a good vertical video. For important moments, capture a safe composition that leaves room around the subject, and deliberately shoot some vertical footage when the platform portfolio calls for it.
Assign someone to watch for moments the main camera can't cover. The second shooter might stay with audience reactions while the lead follows the keynote. At a wedding, one camera can cover the couple while another looks for parents, friends, and children responding. At a festival, one operator can follow the stage while another collects atmosphere away from the performance.
Use this practical checklist during the event:
- Before guests arrive: Venue exterior, room details, signage, lighting, tables, stage, sponsor placements.
- During arrival: Greetings, registration, outfits, badges, handshakes, drinks, first interactions.
- During the program: Speaker delivery, demonstrations, performances, audience attention, applause, laughter.
- Between programmed moments: Networking, food, informal conversations, movement through the space.
- At the close: Final reactions, group energy, departures, cleanup details, and any planned closing statement.
Don't chase only the obvious hero moment. The edit often gets its emotional lift from the person laughing just offstage, the colleague filming a demonstration, or the quiet reaction after a speech.
Turning Guests Into a Second Camera Crew
The best shot at an event often exists on a guest's phone. It might be the angle behind the performer, the unplanned dance during a wedding reception, or the crowd reaction that happened while the official camera was covering the stage. If nobody creates a collection path, that footage stays in private camera rolls and group chats.
Set up the collection system before guests arrive. A branded upload page can carry the event logo and a welcome message, then give people one link for sending photos and short videos. Print the link as a QR code on tables, badges, programs, entrance signage, or the back of a seat. The guest should be able to scan, choose media, and upload from a phone without learning a new workflow.
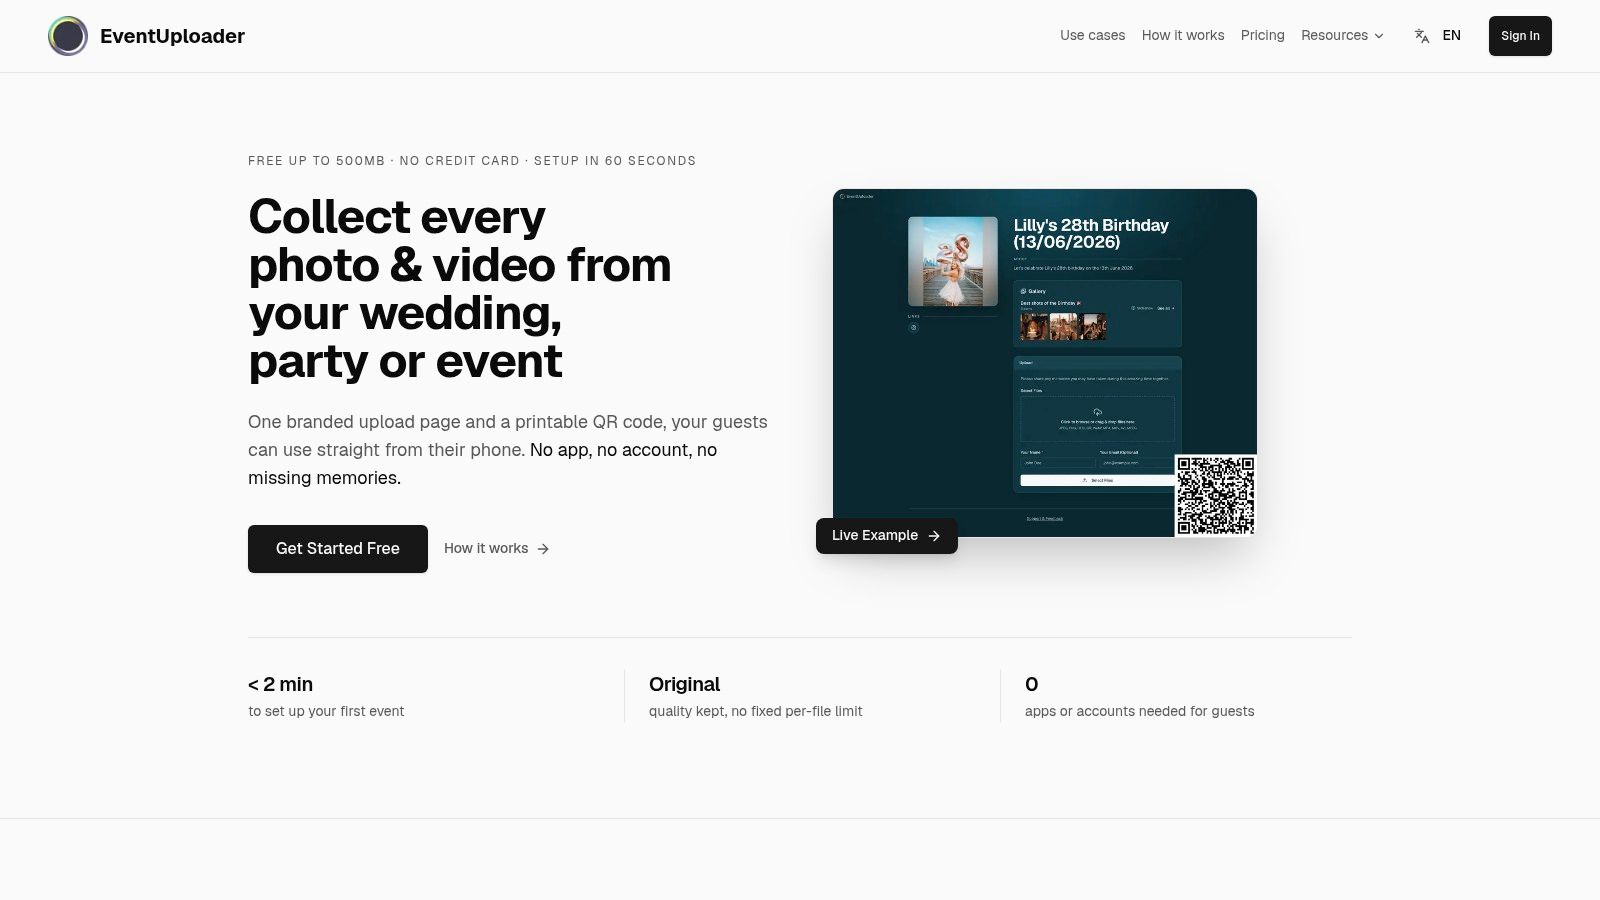
A tool such as EventUploader's mobile photo upload workflow can support this kind of guest-submission process through a shared upload page. The important production decision isn't the brand of software. It's removing friction and explaining exactly what you want.
Ask for footage at the right moments
Mention the upload page in three places:
- Before the event: Include the link in the confirmation email or wedding information pack.
- During the event: Ask the MC, celebrant, host, or organizer to make a short announcement.
- After the event: Send one follow-up message while the day is still fresh, asking guests to upload anything they captured.
Tell people what makes footage useful. Ask for short clips of reactions, behind-the-scenes moments, group interactions, and angles the official crew couldn't reach. Don't ask guests to become filmmakers. Ask them to share what they naturally saw.
Curate authenticity instead of dumping everything in
Guest footage isn't automatically good footage. Phones may be vertical, shaky, overexposed, or poorly recorded. That's fine if you treat it as a texture layer rather than the entire film. A genuine reaction can work between polished shots precisely because it feels less controlled.
Newer guidance increasingly favors attendee points of view, casual reactions, vox pops, and curated user-generated content for their sense of authenticity. One 2026 event recap video guide cites a benchmark claiming a 63% completion rate, described as 19% higher than average brand storytelling videos. Treat that benchmark as directional, not a guarantee. The practical lesson is stronger than the number: audiences often respond to evidence that real people enjoyed the event.
For weddings, festivals, and community events, guest footage can provide social proof that a polished camera crew can't manufacture. Review submissions for consent, privacy, visible third-party branding, and music rights before placing them in a public edit.
Editing the Recap From First Select to Final Cut
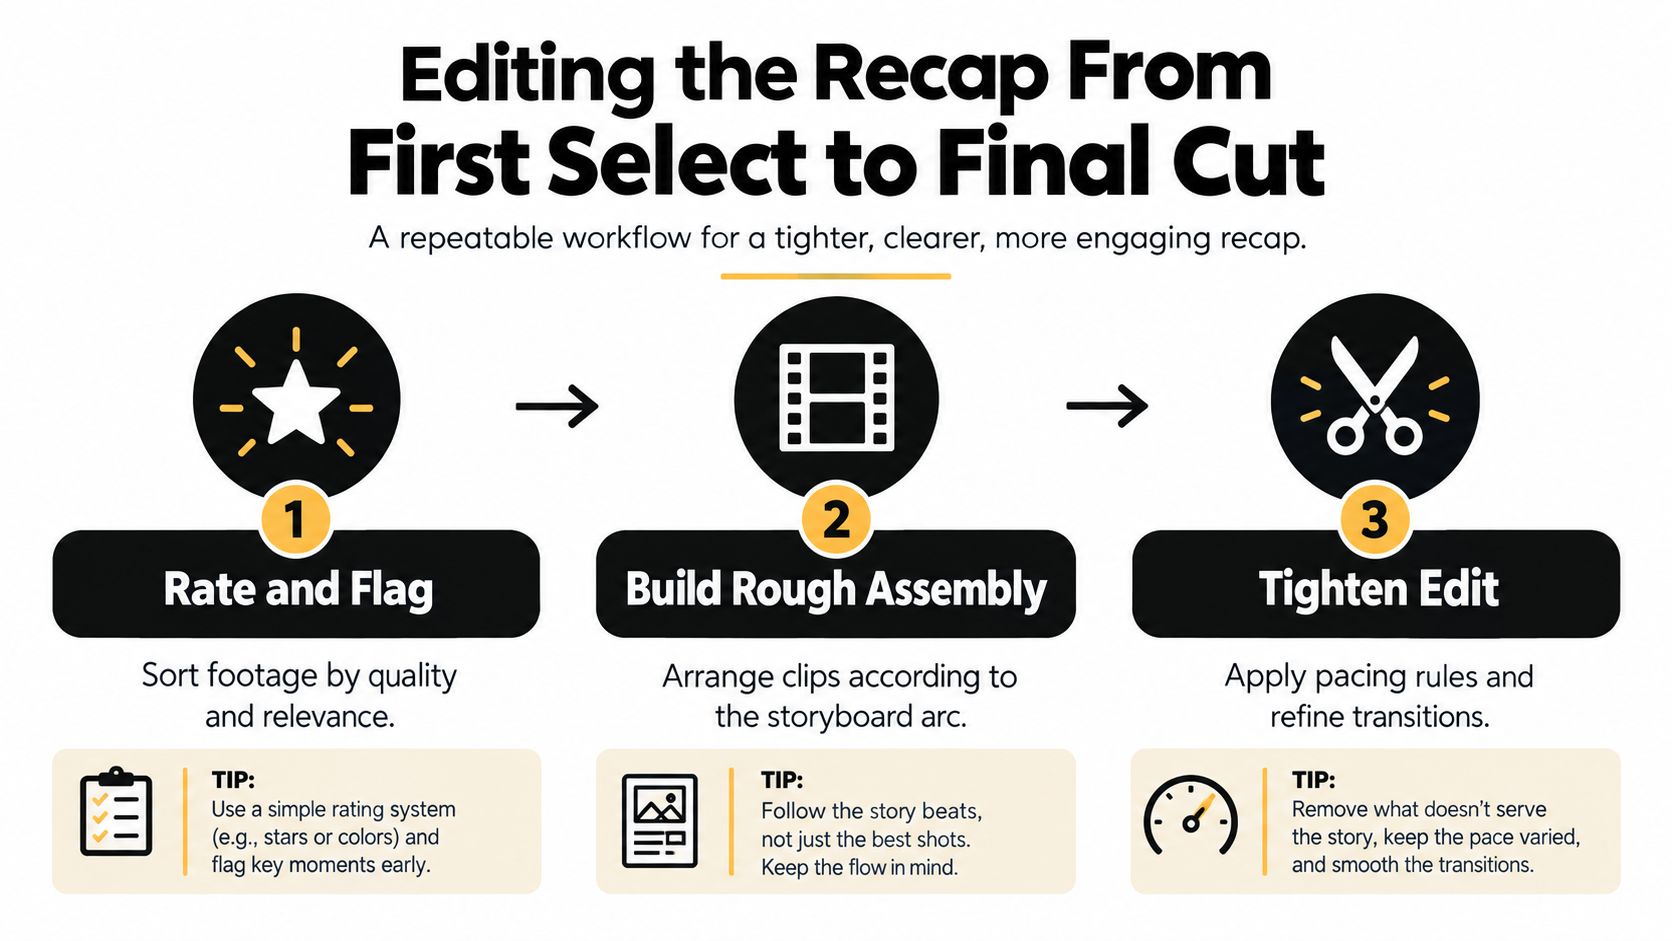
A reliable edit starts with selection, not effects. Import the footage, organize it by source and moment, then review everything with the storyboard beside you. Mark clips that are technically strong, emotionally useful, or essential to the event's message.
Rate and flag the useful material
Create separate bins or labels for venue, speakers, audience, interviews, branded footage, guest uploads, and music or sound effects. Flag clips that have clean faces, clear action, usable audio, and a beginning or ending that can survive a short edit.
Don't keep every clip because it might become useful later. Too many weak options slow down every decision that follows. A strong select reel should make the event feel more coherent before you've made a single creative cut.
Build a rough assembly around movement
Lay the best clips into the three-act arc. Start with energy, not a logo. A door opening, a performer hitting a beat, applause, a fast venue reveal, or a person turning toward the stage can establish momentum immediately. Place the logo after the viewer understands what they're watching.
Use motion to connect shots. Cut from a hand raising a microphone to another hand lifting a drink. Move from a speaker turning toward the audience to a guest looking back. These visual links make a recap feel directed rather than randomly assembled.
Speaker clips need discipline. Practical production guidance recommends concise 5 to 10-second speaker moments and a narrative arc that opens with energy, according to this event highlight video production guide. Keep the phrase that advances the story, then cut away to the audience, demonstration, or environment that gives it meaning.
A montage can carry a lot of information without explaining every scene. This Taja AI guide to montages is useful for thinking about how short visual fragments can work together as a unified sequence. The principle applies whether you edit manually in Premiere Pro, DaVinci Resolve, or Final Cut Pro.
Tighten the emotional logic
On the second pass, remove repetition. If you've already shown applause, you don't need six more applause shots unless the rhythm requires escalation. If two interviews make the same point, keep the speaker with the better delivery and use the other person's reaction as a cutaway.
Let reactions do work. A guest laughing can make a performance feel lively. A focused audience can give a technical presentation weight. A hug or glance can carry more emotional information than another wide shot of the room.
Music should support the edit, not disguise weak footage. Choose a track whose structure gives you useful changes in intensity, then cut with the rhythm where appropriate. Keep natural sound when it adds presence, such as applause, cheering, a laugh, a speaker's opening phrase, or the room's response after a reveal.
Treat music licensing as part of production
A track that sounds perfect in the edit can still create a publishing problem. Royalty-free libraries usually grant usage under specific terms, which may restrict platforms, paid promotion, client work, or the length of the license. Commercial music licenses may cost more but can offer clearer rights for branded distribution. Music supplied by a platform may be cleared only for that platform and may not transfer to a website or sponsor presentation.
Read the license before publishing. Save the receipt, license terms, track title, and permitted uses with the project files. Don't assume that crediting the artist gives you permission. Don't rely on a song being available in a social platform's music library if the same video will also appear on a company website, YouTube channel, or paid campaign.
Build a version without music as well. That gives you flexibility if a platform mutes the original, a sponsor requests a clean file, or the licensed term expires.
Use subtitles for spoken content, especially in social versions. Export clean captions rather than relying on tiny baked-in text, and check that names, sponsors, and technical terms are correct before delivery.
Choosing Delivery Formats for Every Platform
One finished file creates a distribution bottleneck. A better system starts with a strong master cut, then turns the same event into platform-specific assets.
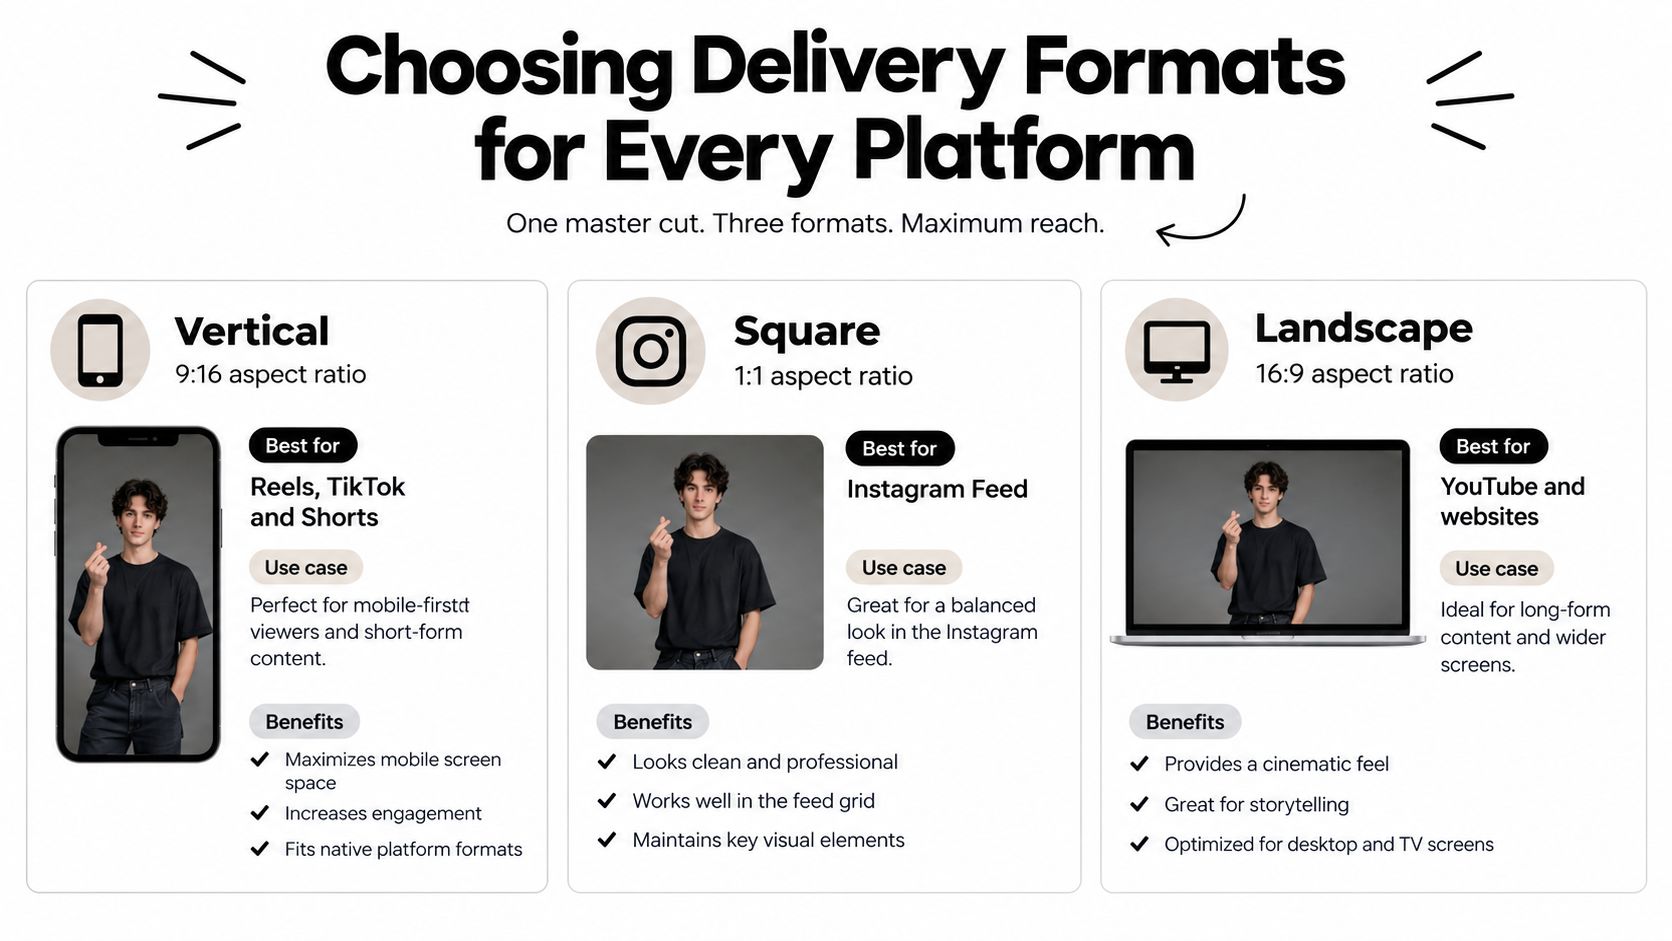
The master cut preserves the complete narrative in wide format. From it, create a fast vertical edit for Reels, TikTok, and Shorts, a concise version for LinkedIn and Instagram, and a longer website or YouTube cut with enough context for viewers who want more than a quick impression.
Build the portfolio from the master
Use the formats for different jobs:
- Vertical social cut: Lead with the strongest visual beat, keep faces large, and reframe rather than shrinking the horizontal video into empty space.
- 60-second LinkedIn or Instagram version: Give the viewer a complete emotional arc with a clear opening, one or two meaningful moments, and a memorable close.
- 2 to 3-minute website or YouTube version: Include more event context, a few concise speaker phrases, interviews, and sponsor visibility.
- Sponsor or internal version: Preserve brand placements, partner interactions, and selected statements that may not belong in the public social edit.
- Archive version: Keep a fuller record with clean audio, useful metadata, and enough context for future promotion.
Expert coverage describes a shift toward atomized clips and vertical formats for Reels, TikTok, and Shorts. The same event recap video strategy report says videos on event pages had the highest engagement rate in its referenced analysis, while on-demand webinar replays can sustain engagement for up to 12 months. That makes the website cut more than a leftover export. It can remain useful after the social moment has passed.
Match the edit to the viewing situation
Subtitles matter because viewers frequently encounter social video in places where sound is unavailable or unwelcome. Use readable contrast, keep captions away from platform interface areas, and make the first frame understandable without audio.
Publish soon after the event while conversations, tags, and memories are active. Speed shouldn't mean skipping review. It means planning the asset structure early enough that you're not still deciding on formats when the event has already disappeared from people's feeds.
If you need additional visual material for transitions or supporting content, tools that generate videos from text prompts can help create supplementary assets. Keep generated material clearly separate from documentary footage, and don't use it to imply that something happened at the event when it didn't.
For a broader system covering how to turn one event into multiple useful pieces, see this content repurposing strategy for event media. The central idea is simple. Don't ask one video to serve every audience, screen, and moment.
Your Event Recap Workflow Checklist
Before the event
- Define the objective: Choose the primary viewer and the action or feeling you want to create.
- Storyboard the arc: Plan arrival, substance, and emotional close.
- Write the shot list: Include venue context, speakers, reactions, interviews, and branded B-roll.
- Prepare guest collection: Set up the upload page and place QR codes where people will see them.
After the event
- Collect submissions: Send the upload link again while memories are fresh.
- Rate selects: Organize official footage and guest clips before editing.
- Follow the arc: Build the assembly, then remove repetition and tighten pacing.
- License the music: Check permitted platforms and save the documentation.
- Export the portfolio: Create the master, vertical micro-clips, social cut, website version, and archive or sponsor edit.
- Publish with subtitles: Release quickly, then return to the collection for future content.
Your recap is a reusable asset system, not a single hero film. Use this event media management workflow to keep official footage and attendee uploads organized for sponsor reports, attendee thank-yous, and next year's promotion.
EventUploader gives you a branded upload page and one shareable link or QR code so guests can send photos and short videos directly from their phones, without an app or account. Set up your event collection at EventUploader, then give your editor a fuller pool of real moments to shape into the recap portfolio.