How to Send Large Videos from iPhone: 6 Ways That Work
Learn how to send large videos from iPhone with Mail Drop, USB transfer and shared upload links, and keep the original quality intact.
Your phone holds 40 minutes of 4K from a wedding, a graduation or a first birthday, and someone wants it. You open Photos, tap Share, choose Mail, hit Send, and the message either crawls, bounces back with a size error, or arrives looking softer than what you shot.
The video is only 90 seconds long, so length isn't the problem. The route is. Every method built into the iPhone has a ceiling, and the ceilings don't measure the same thing: some count gigabytes per message, some re-encode your footage into a format the other device can read, and one of them needs the recipient standing in the same room.
Most guides treat AirDrop, Mail Drop and an iCloud link as interchangeable. They aren't, and the difference costs people footage at exactly the wrong moment. What follows separates three separate jobs: getting one file to one person, moving a whole event to your own archive, and collecting clips from dozens of guests who each hold a different angle.
Table of Contents
- Choose the Right Method for Your Video
- Keep Original Quality Without Compatibility Problems
- How to Send One Video with Mail Drop
- Share with AirDrop or an iCloud Link
- How to Move Many Videos to a Computer by USB
- Collect Event Videos from Many Guests
- Pick Your Method and Confirm the Transfer
Choose the Right Method for Your Video
A clip that plays on your iPhone can still fail as a transfer: the recipient may not be able to open it, the channel may reject its size, or the file may arrive in a changed format. Choose based on who needs the video, how much footage you're sending, and whether the recipient needs the original.
| Method | Best for | Size limit | Keeps original quality | Recipient needs |
|---|---|---|---|---|
| Mail Drop | One recipient, a few files | 5 GB per message | Yes, sent as the original file | Mail app and an internet connection to download |
| AirDrop | Nearby people with Apple devices | No fixed cap, limited by free space on both devices | Usually, but may convert to H.264 if the recipient can't decode HEVC | Device nearby and AirDrop accepted |
| Messages | Quick clip to one contact | Small clips, then iOS offers an iCloud link instead | Not guaranteed, may convert to H.264 | Recipient downloads from the conversation |
| iCloud shared link | Original quality for several people | Limited by your iCloud storage | Yes, when the original is downloaded before sharing | Link and a working internet connection |
| USB to computer | Large batches and archiving | No email limit | Yes, with Keep Originals enabled | Computer and data cable for the transfer |
| Guest upload page | Events with many contributors | Organizer sets a per-file ceiling, up to their plan's limit | Yes, organizer downloads originals | Browser on any phone, no app |
Match the route to the job:
- One recipient, one file: Mail Drop. Apple's Mail Drop documentation sets the limit at 5 GB per message. It accepts any file type, so HEVC and MP4 files can be sent as they are.
- A few people nearby: AirDrop avoids uploading the file to a service first.
- A batch for your own archive: Transfer the files to a computer by USB, then distribute them from there.
- Footage from many guests: Use one shared upload page. Each person uploads from their phone, rather than sending files to you one at a time.
A completed send does not guarantee an unchanged file. Apple's guidance on sharing photos and videos explains that iOS may convert HEVC footage to H.264 when sharing through Messages, AirDrop or email with a device or app that cannot decode it. That can change resolution, frame rate or file size.
The one-minute check: Count the recipients, check the video's file size in Photos, then decide whether they need to edit it or simply watch it. Those answers narrow the options before you start the transfer.
Keep Original Quality Without Compatibility Problems
A video can play perfectly on an iPhone and still be difficult for someone else to open or edit. The key is to distinguish a transfer that completes from a copy that arrives in a usable format. iPhone footage is often recorded in HEVC, which saves space but may not work with every device or editing app.
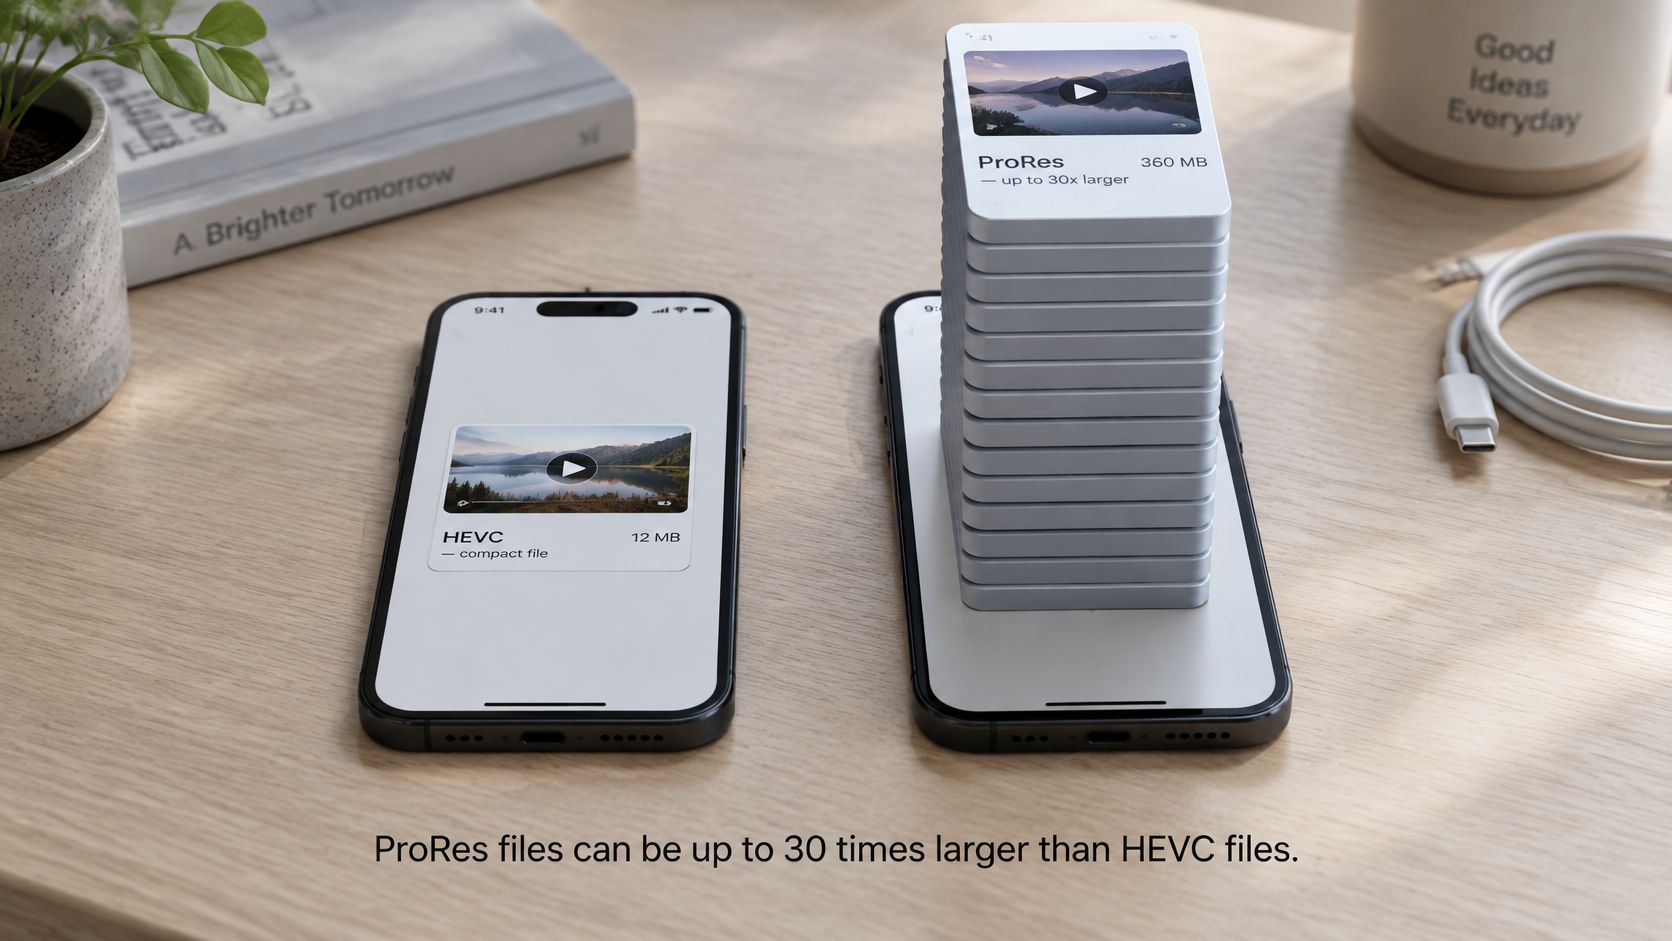
ProRes files are much larger than HEVC files. A short clip that is easy to keep on your phone can become a difficult file to send once someone else needs a copy.
Choose the format based on what the recipient needs:
- For editing or archiving, send the original. Use a download link or USB transfer rather than a chat message, which may alter the video.
- If their device or software cannot play HEVC, make a compatible copy deliberately. You can change the recording format to Most Compatible or convert an exported copy. This avoids leaving the format decision to the sharing app.
- For standard-definition or 1080p video at a typical frame rate, compatibility is generally wider. The original is more likely to play across a mix of phones, TVs and computers.
Check that the full-resolution file is available before sharing. Apple's iCloud Photos documentation explains that with Optimize Storage enabled, the original remains in iCloud while a smaller copy may be kept on the iPhone. Download the original over Wi-Fi and wait for it to finish before sending. The same quality checks apply to still images when sending photos without losing quality.
How to Send One Video with Mail Drop
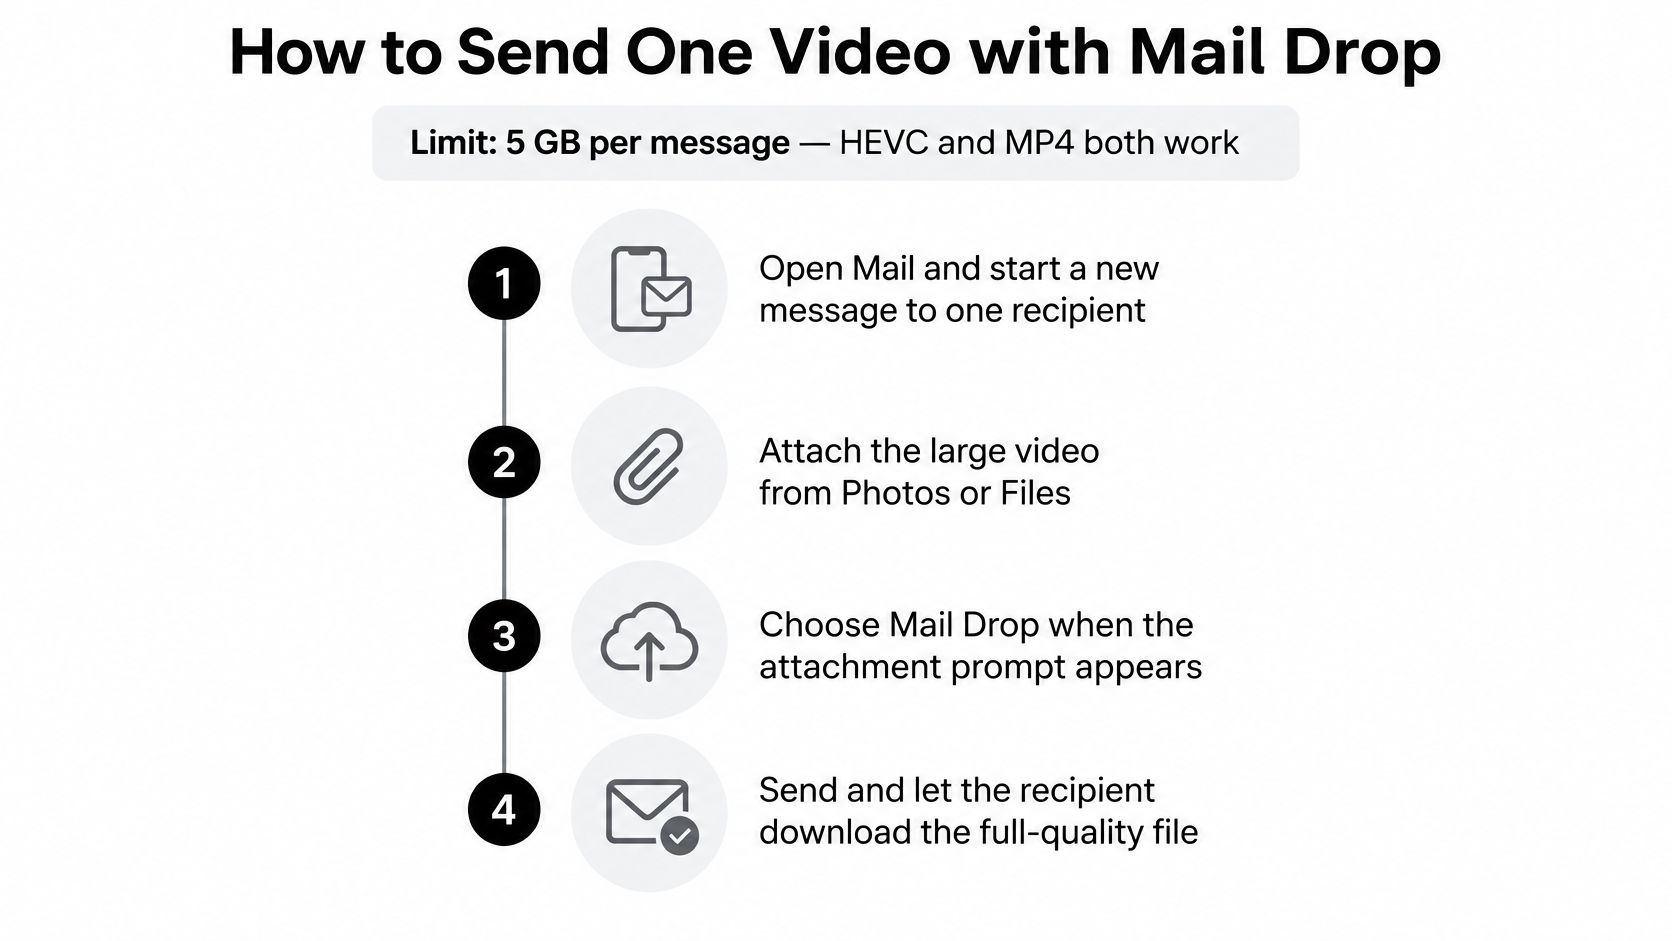
Mail Drop is the only built-in route that turns an oversized video into a download link without leaving Apple's apps. Apple states that Mail Drop supports attachments up to 5 GB and can be used directly from the Mail app on iPhone (Apple Support).
Five steps and the reason for each
- Open Photos and select the video. Tap the clip once so it's the only item selected. A stray Live Photo in the selection is a common reason the attachment behaves oddly.
- Tap Share, then Mail. Choose Mail rather than Messages. Messages has its own ceiling and its own conversion behaviour, which is a different problem.
- Address the message and write a real subject line. Put the event and the recipient's name in the subject. Three weeks later, "IMG_4821.mov" is unfindable in an inbox.
- Tap Send and accept the Mail Drop prompt. This is the step people miss. Without accepting it, Mail tries to attach the file normally, fails, and offers Mail Drop a second time.
- Stay on Wi-Fi until the upload finishes. A large clip that loses its connection partway through has to start again. A phone that sleeps on a weak signal is the usual culprit.
The file doesn't count against your iCloud storage, which is the main advantage over a cloud drive link. Apple's Mail Drop notes add two caveats worth knowing: Mail Drop has a total storage limit of 1 TB, and the download link is time-limited rather than permanent. Send with enough slack that a recipient who reads email once a week still catches it.
Check the size before you start. Open the video in Photos, swipe up, and read the file size. If it's close to the ceiling, send it as two messages or trim the clip first. Ten seconds of fiddling beats watching an upload fail at 90 percent.
Share with AirDrop or an iCloud Link
When someone is beside you, AirDrop is usually the quickest option. It generally preserves the original video, but an iPhone may convert HEVC to H.264 if the receiving device cannot decode HEVC.
- Open the video in Photos and tap Share.
- Choose AirDrop, then select the other person's device.
- Have them tap Accept. Keep both phones awake until the progress bar finishes.
If the device does not appear, ask the recipient to open Control Centre and set AirDrop to Everyone for 10 Minutes, then switch it back afterwards. Both Wi-Fi and Bluetooth need to be on, and a personal hotspot can block the transfer.
AirDrop works at close range. It won't reach a guest who has already gone home.
For someone farther away, or using Android or Windows, create an iCloud link from the Share sheet and send it in a message. Download the full video to your iPhone first if Photos is keeping an optimised copy, then open the link in a browser to check that it plays. For a set of clips that several people need to add to or view together, use a shared album on iPhone.
How to Move Many Videos to a Computer by USB
A USB cable is often the practical choice for moving a batch of event footage. It avoids attachment limits, though the transfer still depends on using a cable that carries data and confirming the files arrive intact.
- Connect a data-capable cable. If the computer does not show the iPhone, check that the cable supports data, not just charging.
- Wake the iPhone and approve the computer when the trust prompt appears.
- Import through macOS Photos, or use Windows Photos and File Explorer.
- Open several files from different points in the batch and check that they play.
- Keep the originals on the phone until the computer copy is backed up in two places.
Choose the format setting based on what the computer needs. Settings > Camera > Formats > Most Compatible makes new recordings in H.264 instead of HEVC, which may suit older Windows software. For existing videos, Apple's transfer guidance notes that 1080p at 60 fps or below is more widely compatible than heavier formats.
To preserve HEVC files during a cable transfer, go to Settings > Photos > Transfer to Mac or PC and choose Keep Originals. This setting controls conversion when media is transferred to a Mac or PC. It does not change what happens when you share a video.
After import, treat the computer copy as the version to distribute by link or drive, and back it up before freeing space on the iPhone. A single laptop copy is not a backup. If you delete the phone's copy before making a second one, you may lose the only version of a video.
Collect Event Videos from Many Guests
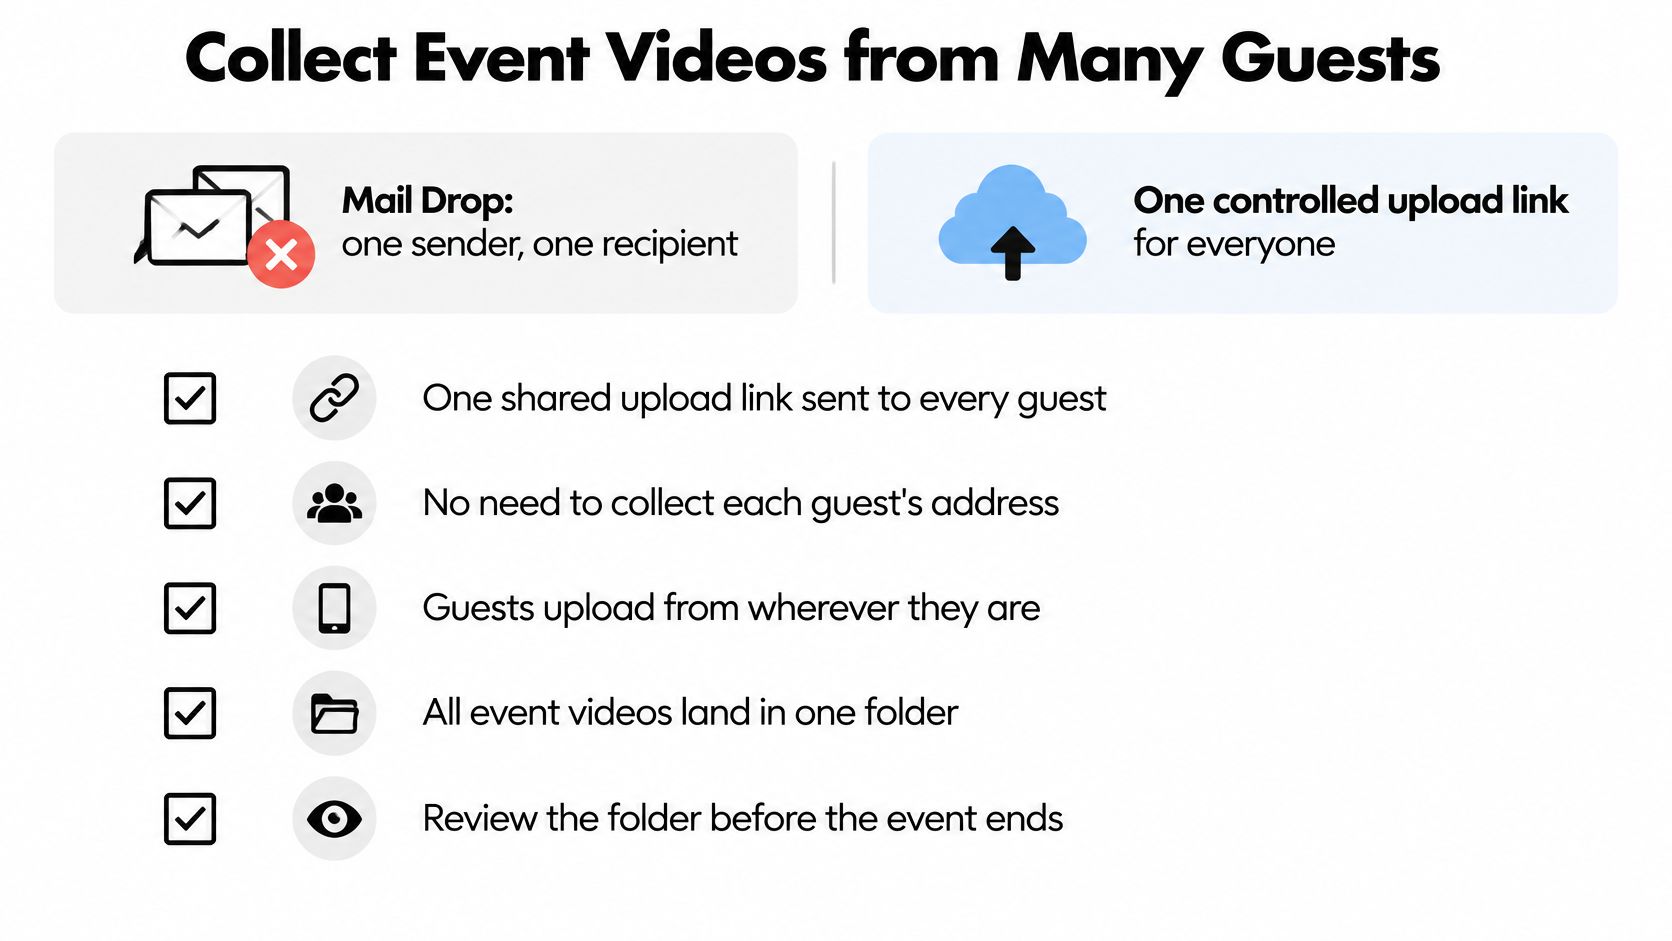
At an event, several guests may record the same speech from different angles. Sending each clip through a group chat can fail when files are too large, and chasing each person for a separate transfer adds work. Gathering footage from many people calls for one shared destination, not a one-to-one sending method.
What the upload page needs to do
Decide what guests can send and how you want to manage the collection before sharing the page.
- File types: Choose whether guests can send photos, videos, or both.
- Maximum file size: Set a per-file limit up to your plan's limit. A clear cap helps guests know which clips they can upload.
- Optional limit per person: Set a maximum number of uploads each person may send.
- Pause or close uploads: Stop accepting files yourself whenever you choose, so the collection is final before you review it.
- Duplicates: Expect some guests to submit the same clip. Check the files before downloading the collection.
- Download responsibility: Decide who will manage and download the uploads.
Attendees upload from their phones using the unique link or QR code you share. They can select several files at once, with a separate progress bar for each upload. JPEG, PNG, GIF, WebP, HEIC/HEIF, MP4, MOV, AVI and MPEG files are accepted. iPhone HEIC photos are accepted as they are, without a conversion step for guests.
For a dedicated video upload portal, EventUploader lets organizers choose whether to accept photos, videos or both, set a per-file size cap up to their plan's limit, and optionally limit uploads per person. Uploads go straight from each guest's phone to a private AWS S3 bucket in the EU using short-lived signed URLs.
If you're collecting files through a form, this guide to accept file attachments in web forms explains that alternative. For a group event, a shared upload page gives everyone one destination instead of requiring separate transfers.
Before the event, check three things: the QR code is easy for guests to find, uploads are closed when you're ready to review so the collection is final, and one person is responsible for downloading the files.
Pick Your Method and Confirm the Transfer
Sending is a claim. Receiving is a fact. Close the loop with a routine that takes a minute per recipient and saves the whole file if something went wrong.
- Send one test clip to the intended destination. Not to yourself, and not to a second device signed into the same account. Use the recipient or the upload page.
- Confirm it plays and looks right. Ask whether the resolution and frame rate look correct on their screen, not just whether it arrived.
- Confirm the file was downloaded, not just opened. Opening a browser preview is not the same as saving the original, and a Mail Drop or iCloud link expires.
- Keep the original until they confirm. Deleting from the phone before the other end holds a verified copy is the one mistake that can't be repaired.
For group events, a browser-based page removes the entire class of problems. Guests upload from any mobile browser on any phone, with nothing to install and no account to create, which is the difference between 40 uploads and three.
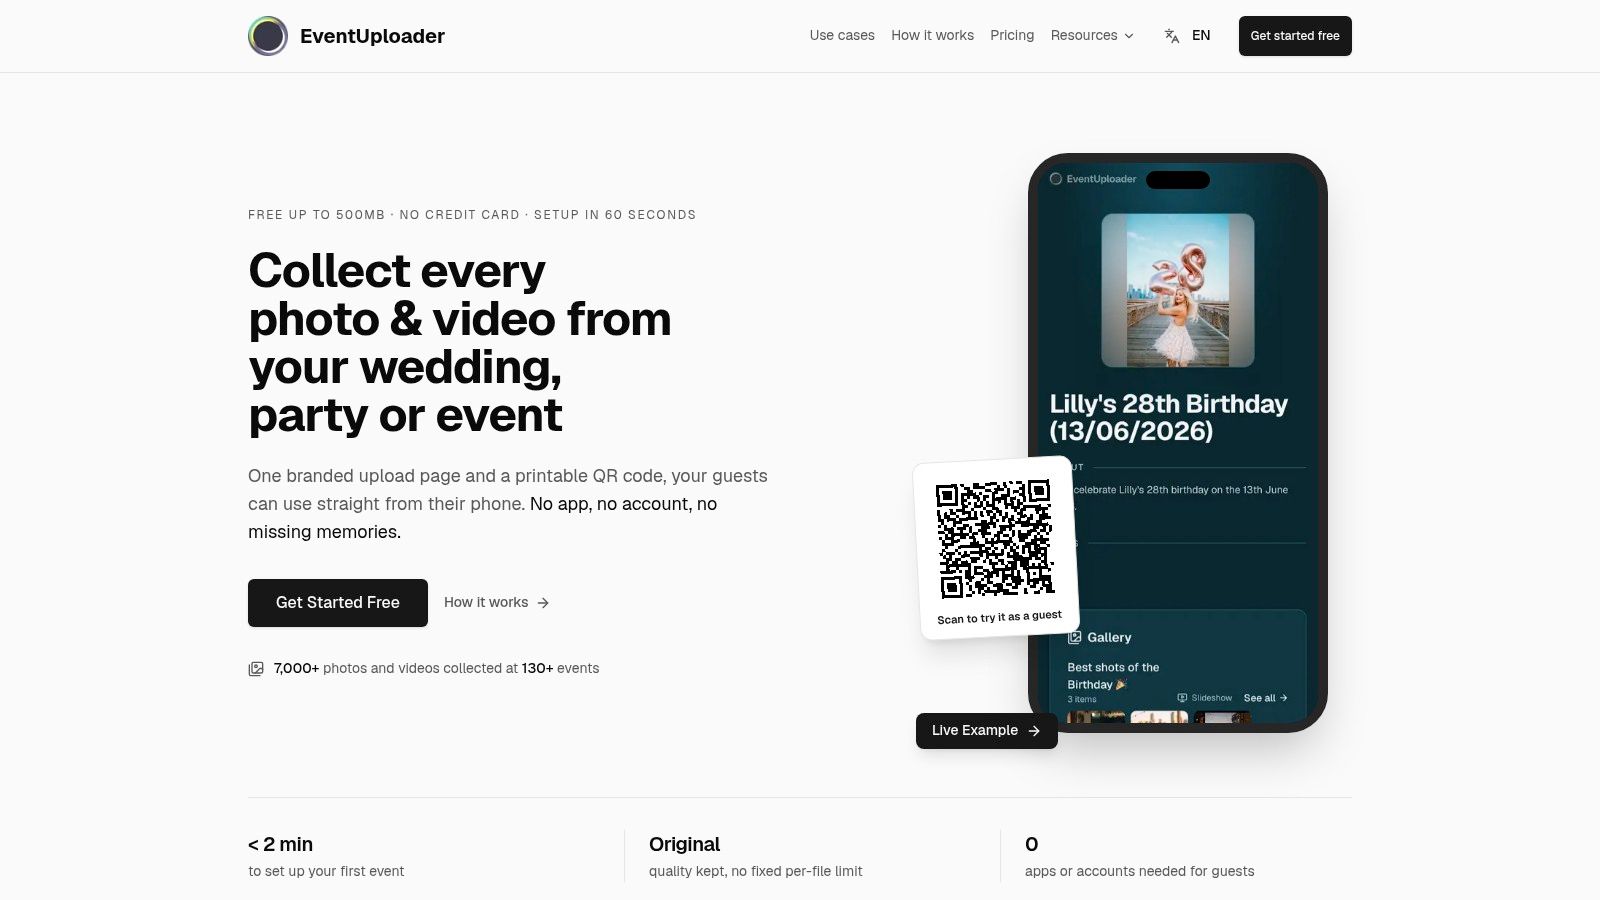
One option for the group case is EventUploader, which sits alongside the shared-link and USB methods above: a single upload page for every guest, original files kept intact on the way in and out.
When a wedding, a milestone birthday or a conference leaves you holding footage from 40 different phones, EventUploader gives you one link or printable QR code that guests open in any browser and upload into, with no app to install and no account to create. You set the per-file size limit and an optional cap per person, watch uploads arrive live, and export the whole set in original quality when the day is done. Visit EventUploader to create your first event page and stop chasing videos across group chats.