Photo QR Code Scanner: How to Scan Event Photo Codes
Learn how a photo QR code scanner opens event photo pages on your phone, why no app is needed, and how to fix scans that fail.

Open your phone camera, hold it steady over the photo QR code, and tap the link that appears. For an EventUploader upload, you don't need an app, an account, or a password.
You're standing beside a wedding table with photos of the speeches on your phone, and the couple's upload sign is tucked behind the flowers. Getting those pictures to the host should be straightforward, but a tiny link prompt, a reflective card, or an unfamiliar page can stop you. A useful photo QR code scanner guide needs to explain both how to open the page and what to check before sharing.
Table of Contents
- Scan a Photo QR Code in Three Taps
- What Happens Between the Scan and Your Photos
- Scanning Tools Compared
- Fixing a Scan That Will Not Open
- Printing and Placing a Code Guests Can Read
- Who Sees Your Photos After the Scan
Scan a Photo QR Code in Three Taps
Leave the wedding table's code where you can see it clearly. You don't need to photograph the square or search the app store. Start with the camera you already use for pictures.
The KoloQR history guide dates built-in QR scanning in the iPhone Camera app to 2017, an important change because it removed the separate-reader step for those users. Most current Android camera apps also recognize QR codes, though the controls differ between phones.
Open, point, and tap
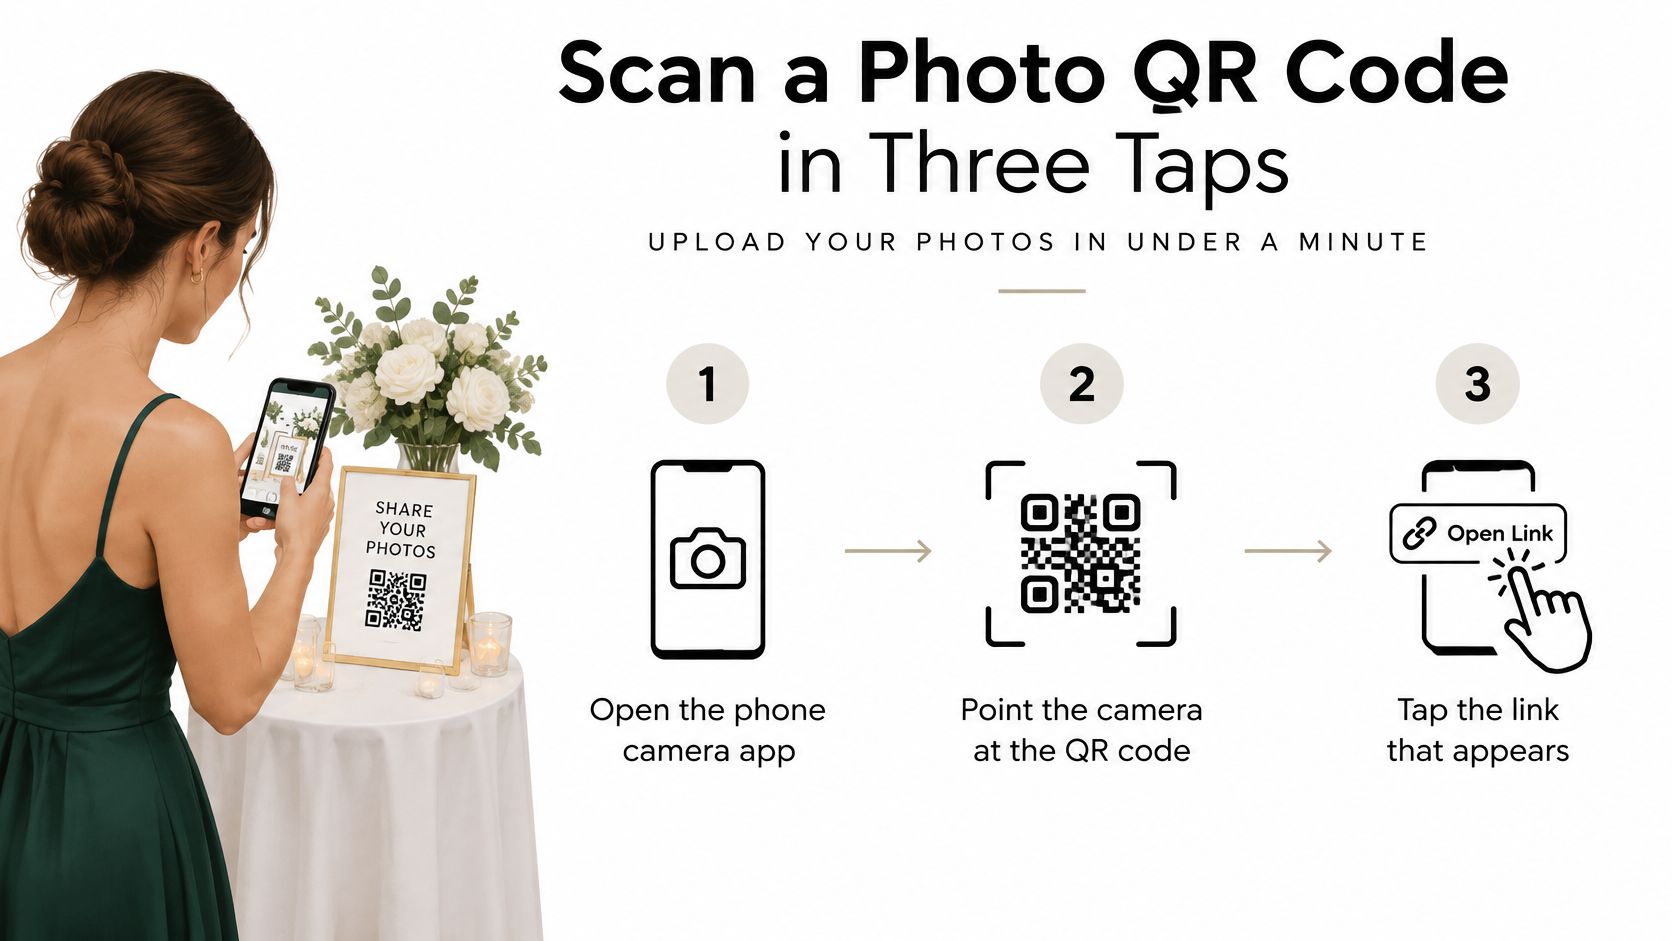
- Open the phone camera app. Use the normal photo view, not portrait or video mode. If you're helping someone, ask them to open their camera rather than taking their phone immediately.
- Point it at the complete code. Keep the whole square and its surrounding blank border visible. Hold still while the camera focuses, and move back slightly if the pattern looks blurry.
- Tap the link prompt. Look for a banner, a small address label, or a button near the code. Its position depends on the phone, so don't look only at the top of the screen.
This visual shows the motion guests need to follow.
Finish the upload in the browser
The browser should show the correct event name and a clearly labeled upload button. Choose the photos or videos you want to contribute, start the upload, and keep the page open until it confirms completion. Selecting files isn't the same as sending them.
If nothing opens, return to the camera and try again with a steadier view. If a page unexpectedly asks you to create an account, confirm the destination with the host before continuing. A request for an optional contributor name isn't necessarily an account request, but you should understand what you're submitting.
For conferences, organizers may also use resources such as the Planstone mobile app for events for the broader attendee experience. Keep the photo-upload instruction distinct from any event-app instructions so guests don't assume they must install something to contribute pictures.
What Happens Between the Scan and Your Photos
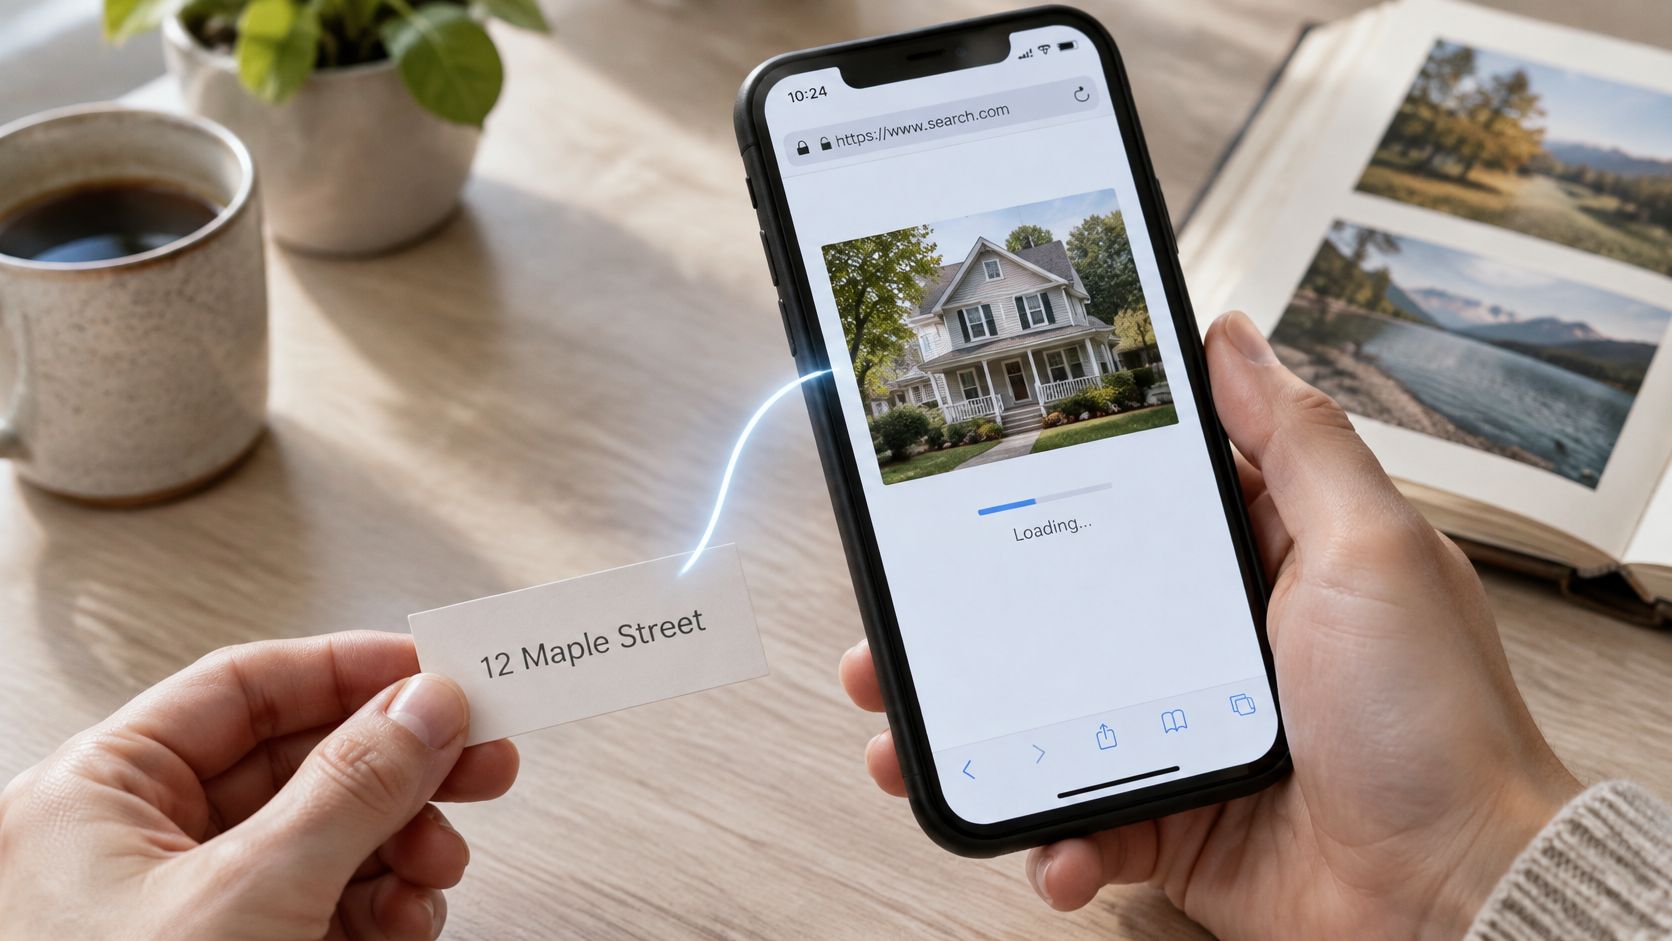
Think of an event QR code as a street address printed on a card. The address tells you where to go; it doesn't contain the house. Likewise, a typical event photo code contains a web address, not the event's photos.
The camera reads that address and offers to open it. After you tap, the browser requests the destination page. The camera hasn't uploaded anything, and scanning alone hasn't given the host your photo library.
The address analogy helps separate the printed symbol from the destination.
An upload page and a gallery do different jobs
An upload page lets attendees send selected photos and videos from their phones using the organizer's unique link or QR code. A gallery page lets people view the images the organizer has chosen to share. Don't assume that permission to contribute also means permission to browse everything other guests have submitted.
QRZone reports 11.2 billion global QR-code scans in 2025, a 26% increase from 8.9 billion in 2024. That scale describes scanning activity, not whether a particular guest understands an upload page or its permissions.
Remember: Reading the code, opening the page, selecting files, and completing an upload are separate actions.
A host can use the same destination during collection and later publish selected memories there for guests to enjoy. That doesn't mean the printed pattern itself changes whenever new photos arrive. The host changes what visitors can do at the destination.
Changing the actual event address is different. With our workflow, changing the event URL regenerates the QR code, so hosts should check printed materials after an address change rather than assume old cards remain valid.
The code is only an entrance. The destination page and its settings determine what happens next.
Scanning Tools Compared
Your phone's built-in camera is the best starting point because it avoids an unnecessary installation. A third-party scanner isn't automatically better because its name includes photos or QR codes.
Choose a tool based on what your phone can already do.
| Tool | Best use | What to look for |
|---|---|---|
| iPhone Camera | Scanning a printed event code | An address label or link prompt after framing the square |
| Android camera | First attempt on an Android phone | A link preview, scan icon, or QR recognition setting |
| Google Lens | Android camera doesn't recognize the code | A detected web address within the Lens view |
| Third-party scanner | Built-in options are unavailable or unsuccessful | A clearly identified publisher and reasonable permissions |
Use the least complicated option first
Try the standard camera before changing settings. On Android, switch to Google Lens if the camera doesn't offer a link, or check whether QR recognition is disabled in the camera settings. Lens may be available through the Google app or integrated into the camera, depending on the phone.
Only consider a separate scanner after those options fail. Check its publisher and permission requests before installing it. A tool intended to read a printed address shouldn't require you to create an unrelated social profile.
A new scanner can help read a symbol. It can't reopen an event page the organizer has closed.
If the code is already saved as a picture on your phone, open that image in Photos or Google Photos and look for a link-detection or Lens option. You don't need to aim the camera at its own screen. If image recognition isn't available, use the readable web address supplied by the host.
Fixing a Scan That Will Not Open
Start by checking for a missed link prompt. A phone may recognize the square without opening the browser automatically, leaving the guest waiting for something that requires a tap.
Keep the code in view and look around the screen for a small address label. On supported phones, pressing and holding a detected code or a saved image can reveal an opening option. Typing the host's printed address is a useful fallback when the camera interface remains confusing.
Match the fix to the symptom
Failed scan symptoms, causes and fixes
| Symptom | Likely cause | Fix |
|---|---|---|
| Camera reads code but no link appears | Link prompt missed or hidden | Tap the banner, try long-pressing the detected code where supported, or type the URL shown beside it |
| Code will not focus | Phone too close or too far | Move slowly backward or forward and keep the whole square in frame |
| Washed-out or white image | Glare from shiny laminated card or bright light | Tilt the phone and shade the code with your hand |
| Blurry, grainy scan | Small or low-resolution printout | Ask the host for a larger, sharper printed version |
| Android camera does not scan | Camera scanning not available or turned off | Use Google Lens or enable the camera's QR option |
| Page shows an error or expired message | Event link closed or past its upload window | Ask the host to check that the upload link is still open |
For focus problems, make small movements rather than waving the phone around. As a practice setup, try holding a table card at a comfortable reading distance, then moving the camera back until the square looks sharp. Bracing your elbows against the table can help.
Separate camera problems from page problems
Glare needs a lighting adjustment, not another app. Tilt the card away from the light, shade it without covering the pattern, or move to an evenly lit spot. In dim lighting, move the card somewhere brighter.
A browser error means you've already passed the scanning stage. Check your connection and ask the host to verify the destination. Repeatedly scanning the same code won't repair a closed upload page.
Hosts using decorative signs should also check the guidance on branded QR codes. Keep artwork away from the scanning area, preserve the blank border, and test the final printed version rather than only the design on a laptop.
Printing and Placing a Code Guests Can Read
No app required doesn't mean no assistance required. In a U.S. study of 19 older adults, recognizing or activating the tappable link was the most common usability problem, according to the older-adult QR usability study. The difficult part may come after the camera has successfully read the code.
Give guests two ways in: a high-contrast QR code and a readable web address. Add a simple instruction beneath them: open your camera, point at the code, then tap the link. Use legible lettering, not decorative script for the operational instructions.
Size for where guests will stand
Treat sizing as a starting point to test, not a guaranteed scanning range. For a hypothetical sign layout, use a code width of about one tenth of the intended viewing distance, then enlarge it if ordinary phones struggle.
Minimum printed code width by scanning distance
Illustrative planning dimensions using that rule of thumb, not measured device limits.
| Scanning distance | Minimum code width | Where to place it |
|---|---|---|
| Up to 30 cm, phone held close | 3 cm | Table card, menu or place setting |
| About 1 m, seated at a table | 10 cm | Table centrepiece or easel |
| About 3 m, standing across a room | 30 cm | Entrance sign, bar or wall |
| About 10 m, large hall | 100 cm | Large poster, tested with a phone before the event |
Organizers can download their EventUploader event code as a PNG and print it at any size. Follow our QR-code printing guide, and inspect the output for crisp edges rather than stretching a blurry screenshot.
Make the fallback easy to find
Place table cards where guests can reach and tilt them. Keep signs away from glossy frames, direct reflections, flowers, and crowded backgrounds. Test from the actual guest position with different phones.
Host's check: Ask someone unfamiliar with the setup to complete an upload without coaching. Their hesitation tells you what the sign needs.
If venue connectivity is awkward, Purple's tool to share WiFi access without passwords can provide a separate connection route. Label WiFi and photo-upload codes distinctly so guests know which task each one performs.
Who Sees Your Photos After the Scan
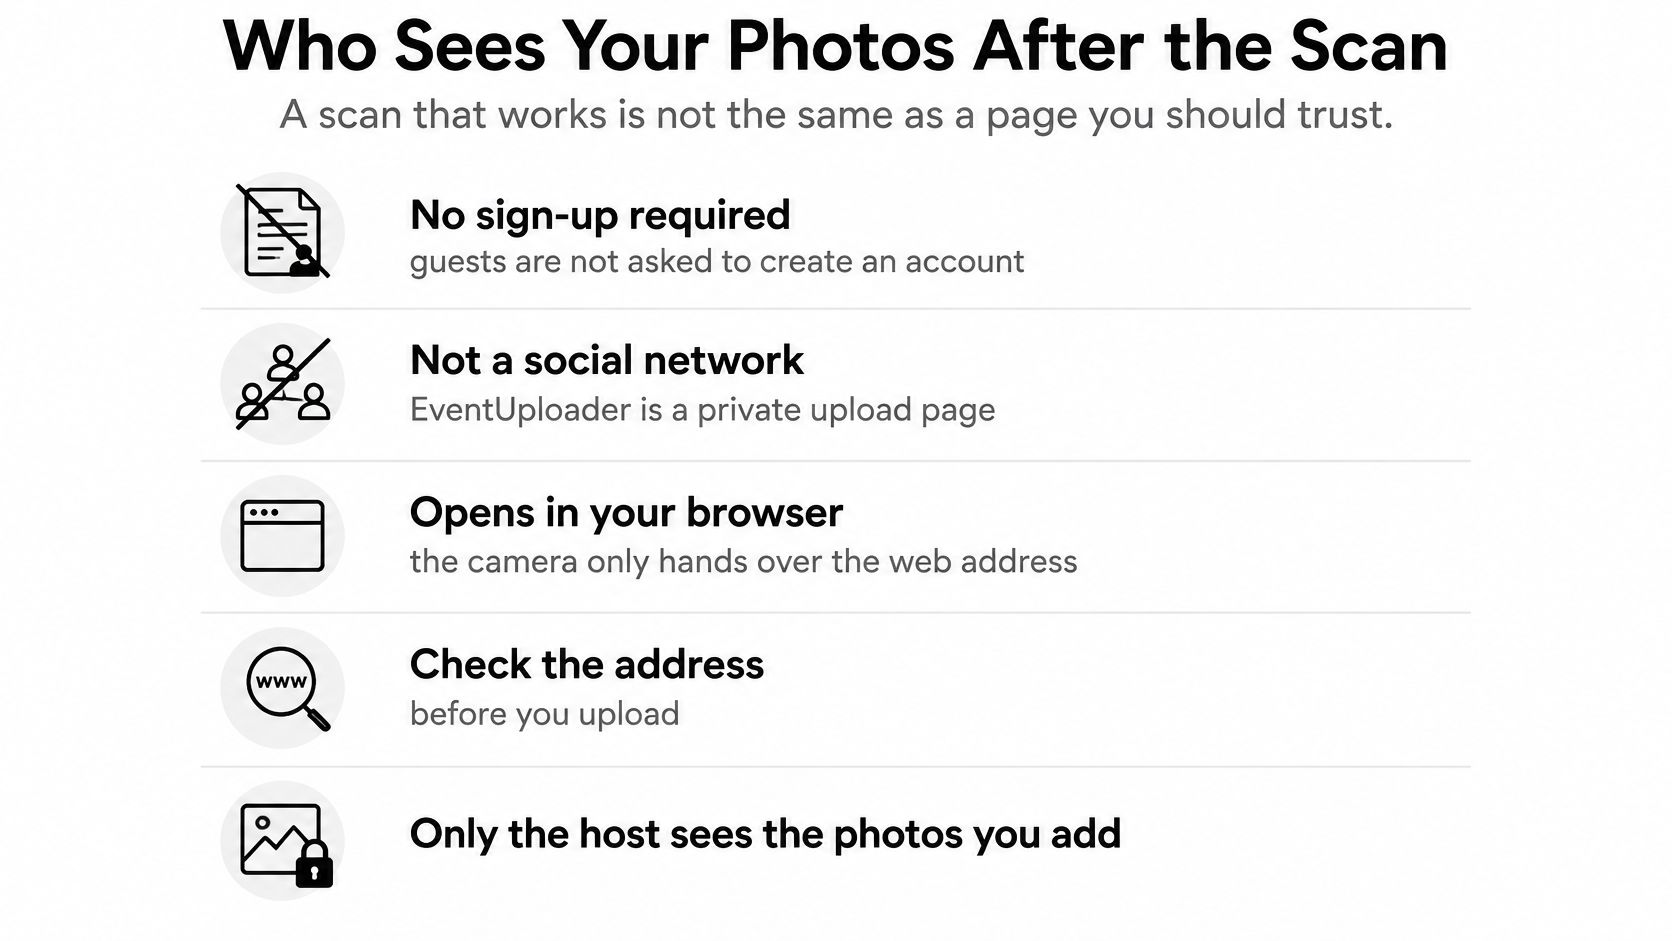
A scan that works isn't the same as a page you should trust. Check the browser address and event identity before selecting personal images, especially pictures of children, private celebrations, or workplace activities.
Our process isn't a social network: guests aren't asked to sign up for anything. They open the link, pick their photos, and leave. That simplicity should come with a clear explanation of who controls the collection and what the host intends to share.
Use this visual as a conversation starter, then confirm the event's actual gallery settings rather than assuming every destination has identical permissions.
Check the boundaries before uploading
- Confirm the owner. The event name, host's name, or organization's branding should match the invitation. Ask the host about an unfamiliar address.
- Understand any information request. Distinguish an optional name field from account creation. Don't provide unrelated personal details just to submit party photos.
- Separate contributing from publishing. Find out whether the upload destination also exposes a gallery. Keep upload access separate from public viewing when the occasion requires it.
- Identify the viewers. Ask who can access, download, or forward shared images. Our private photo gallery guidance helps hosts think through those choices.
- Clarify file handling. Establish how long files remain available, whether originals are preserved, and who handles deletion requests.
Krofile's QR statistics roundup reports that 83% of respondents were willing to share when data use was explained, while 34% of marketers clearly disclosed that use. Hosts should make those explanations visible before the file picker opens.
Include every photo collection route
If you're considering Phantom Entertainment party booth hire alongside guest uploads, include the booth in your privacy questions too. Confirm how its pictures will be delivered and whether they'll be shared separately from the guest collection.
For a visual walkthrough, play the accompanying video.
Don't upload an image merely because you can. Respect requests not to share, and give guests a clear contact for removal questions. Frictionless uploading is useful only when the boundaries are visible.
EventUploader gives your event a branded upload page and printable QR code so guests can contribute photos and videos through their existing browser. Visit EventUploader to set up your collection, test the guest journey, and prepare a readable sign before your event.