Scavenger Hunt with QR Codes: The Complete 2026 Guide
Plan and run a flawless scavenger hunt with QR codes in 2026. Learn clue design, printing tips, photo collection, prize logistics, and fixes
The first group has already found the welcome sign. Phones go up, one person reads the clue aloud, and another starts filming the team's answer before they hurry toward the next station. Across the venue, photos and short videos begin arriving in one shared gallery while volunteers watch the route unfold.
That's the appeal of a scavenger hunt with QR codes. Each station uses a printed code to open a clue, question, task, or upload page in a phone browser. Guests don't need a dedicated app, and organizers can replace a stack of paper clues with a trackable route and a central collection point. But the codes are only the visible layer. The experience succeeds or fails on placement, connectivity, accessibility, privacy, and the recovery plan for the code that gets covered by a catering sign.
Table of Contents
- What a QR Code Scavenger Hunt Actually Looks Like in 2026
- Why QR Codes Work So Well for Clue-Based Hunts
- Designing the Route and the Clues
- Generating, Printing, and Placing the Codes
- Wiring Each Scan Into a Branded Upload Page
- Accessibility and Offline Inclusion From Day One
- Keeping the Hunt Safe, Private, and Tamper-Resistant
What a QR Code Scavenger Hunt Actually Looks Like in 2026
At a wedding, a station might ask guests to find the couple's first-dance song and upload a short reaction video. At a school event, it might open a multiple-choice question about an exhibit. At a corporate offsite, it could send a team to a meeting room, where they scan, solve a prompt, and submit a photo proving completion.
The participant flow should feel simple:
- Find a numbered station.
- Scan the code with the phone camera.
- Read one clear clue or task.
- Submit an answer, photo, or video.
- Follow the route or choose the next station.
That structure differs from a GPS hunt, which depends on location services and often a dedicated app. It also differs from an augmented-reality hunt, where the participant needs a compatible experience layered over the physical environment. Paper hunts remain easy to run, but they make multimedia collection and real-time monitoring much harder.
QR codes fit the middle ground. They connect a physical location to a browser-based action without asking every guest to learn a new interface. The habit is already familiar: 59% of consumers scan QR codes daily, according to Bitly's QR code statistics overview. That familiarity reduces the explanation needed at the entrance, although it doesn't remove the need for readable instructions.
Practical rule: Treat every scan as a small event checkpoint, not as a decorative link.
A good route gives the host evidence of progress. It records which station was reached, whether the task was completed, and when the submission arrived. The rest of the planning work exists to make that moment reliable for a child in a noisy hall, a grandparent using an older phone, or a guest standing outside in bright sunlight.
Why QR Codes Work So Well for Clue-Based Hunts
A QR station works well when guests can reach it, frame it, and understand the next action without staff intervention. The technology was built for fast identification in demanding environments. In 1994, engineers at Japan's DENSO developed the QR Code to track automotive parts more efficiently than one-dimensional barcodes. Its two-dimensional grid and three finder patterns help scanners recognize the code from different orientations, while error correction can preserve readability when a printed marker is partly damaged. The DENSO history of the QR Code explains how the specification was made publicly available, supporting adoption across industries.
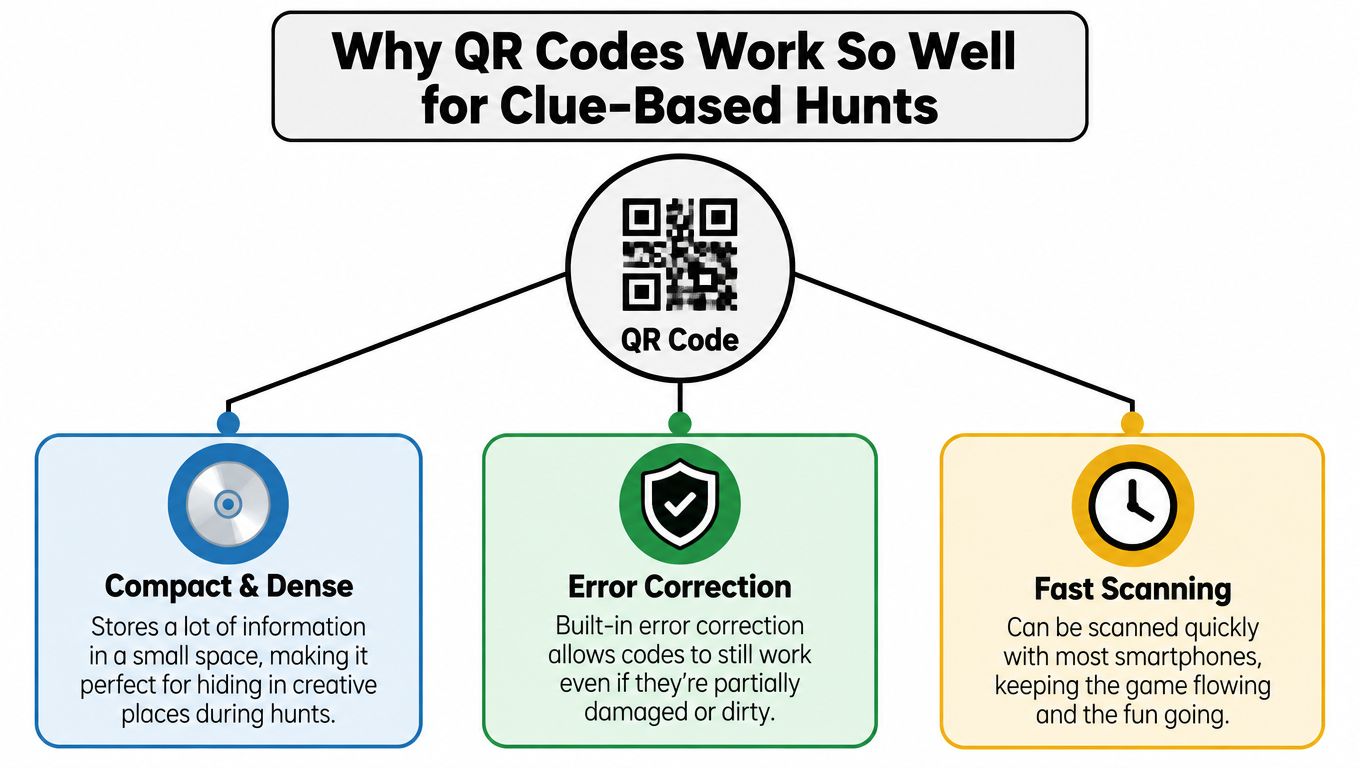
Those characteristics suit clue-based events. A code is compact, orientation-tolerant, quick to read, and inexpensive to reproduce. It can contain text, contact details, network information, or a URL. A URL usually gives the coordinator more control: the destination can display a clue, open a response form, collect a photo or video, limit access, or close a station without reprinting the marker.
QR compared with other checkpoint carriers
Printed clue cards remain a reliable fallback, particularly for guests without smartphones, but they cannot automatically record timestamps or send media to a shared workflow. NFC tags support close-range taps, although guests may not know where to tap and devices do not always handle the interaction consistently. Bluetooth beacons add compatible software and background-connection requirements, increasing setup and support work.
QR codes have practical weaknesses. Glossy stock can reflect overhead lights. A tiny marker on a curved bottle is hard to frame. A torn corner, crowded poster, or weak mobile connection can stop a successful scan. Place codes at eye or chest height, leave clear space around the pattern, and add a second printed clue or staff fallback at high-traffic stations. The code carries the interaction, but signage and recovery procedures determine whether the checkpoint works.
For ideas about placing codes in customer-facing physical environments, BonusQR's guides for brick-and-mortar use provides useful context. Apply the same rule at an event: state the action beside the code, such as “Scan, solve, and upload your team photo.” Guests should not have to infer whether they need an answer, image, or video.
Phones with built-in QR-reading capability began appearing in Japan in 2002, creating the consumer bridge from industrial labeling to everyday scanning. That familiarity can make a browser-based hunt feel immediate, but a readable code, visible instructions, accessible alternative, and working connection still have to be supplied at the venue.
Designing the Route and the Clues
Start with the physical route, not the QR generator. Walk the venue as a participant would, identify safe stopping points, note dead zones and glare, and decide where teams can stand without blocking a doorway or buffet line. Then assign a station number, destination, task, scoring rule, and fallback for every location.
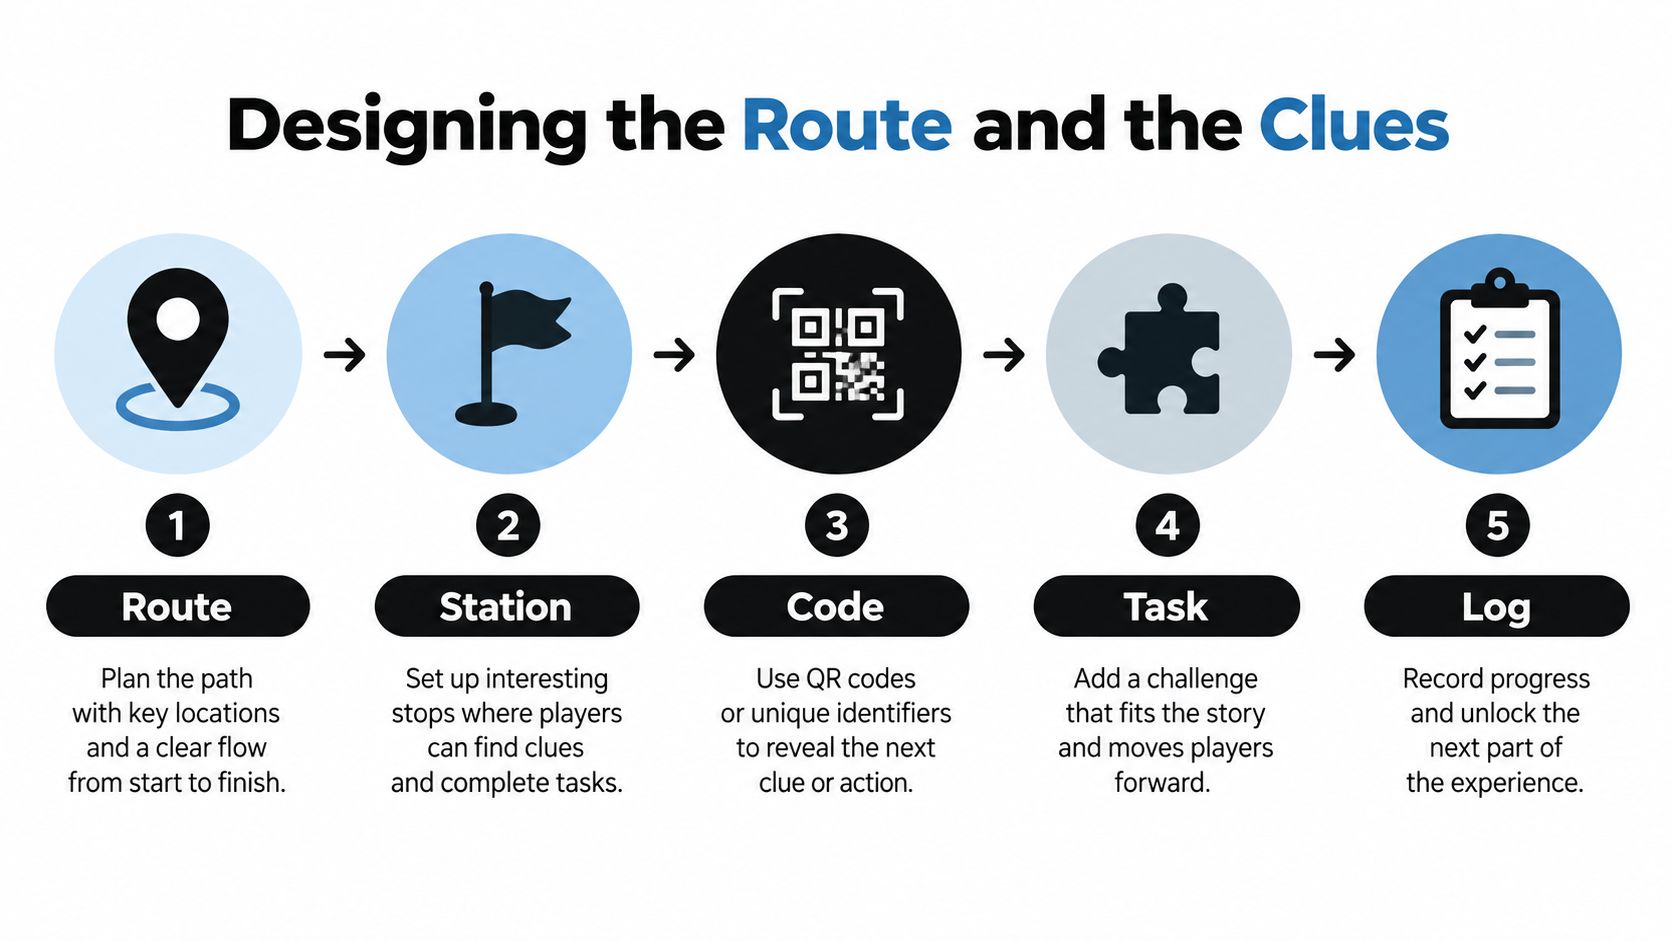
A useful planning sheet has these columns:
| Station | Physical location | QR destination | Participant action | Evidence |
|---|---|---|---|---|
| 01 | Welcome table | Intro clue | Choose a team name | Form entry |
| 02 | Gallery entrance | Question page | Select an answer | Timestamp |
| 03 | Courtyard sign | Photo prompt | Upload a team photo | Media submission |
| 04 | Final table | Closing task | Submit the code word | Completion record |
Keep each station bounded. One scan should lead to one understandable action, not a page containing five riddles, three buttons, and an unexplained upload field. A strong prompt tells guests what to do and what to submit, such as “Scan, solve, and upload your team photo.”
Choose the route logic before writing clues
A linear route gives every team the same order and works well in a small indoor space. A branching route sends groups to different stations, reducing congestion and allowing several teams to move at once. An open route with a cap lets teams choose stations freely, but requires a clear scoring rule, such as counting only completed stations before the closing time.
The difficulty should rise gradually. Begin with a station that teaches the interaction, place more observational or collaborative tasks in the middle, and make the final task satisfying rather than obscure. For a family event, allow answers based on conversation or observation. For a corporate activity, use prompts that require the team to inspect the environment or speak with another group, instead of just racing from sign to sign.
One published implementation used 20 distinct QR codes across eight teams of three to five participants. Each scan opened a multiple-choice question, while a spreadsheet recorded the team number, response, and time for every attempt. Five of the eight teams completed the full game, all teams completed at least 75%, and 88.3% of answered questions were correct, according to the published QR scavenger-hunt implementation. The useful lesson isn't to copy its exact format. It's to combine small teams, one bounded task per station, and server-side records that reveal where participants stalled.
Generating, Printing, and Placing the Codes
Generate a separate code for every station and point each one to a controlled URL. Keep the destination changeable, so you can correct a clue, close a station, or redirect a damaged sign without reprinting the entire route. Export a crisp file suitable for print, then inspect it at the actual size rather than trusting a preview on your monitor.
Print in high contrast, preserve generous blank space around the pattern, and avoid placing text or logos inside the quiet area. If you use a branded color treatment, test it under the venue's lighting. A code that looks attractive on a laptop can fail beneath a warm spotlight, behind a plastic sleeve, or under outdoor glare.
The Waymap discussion of error correction in venue QR codes is useful when you're weighing decoration against dependable scanning. For a fuller print workflow, follow this guide to printing QR codes, then test the physical result from the distance and angle guests will use.
Run the print check before mounting anything
Use a second phone, not only the organizer's device. Test older phones, low light, angled scans, and the exact browser destination. The U.S. Census Bureau usability study reported a mean scan time of 12.4 seconds with no technical difficulties, but participants received plainly placed, high-contrast codes and explicit instructions. Those conditions matter more than the novelty of the game.
| Check | Pass condition | Common failure |
|---|---|---|
| Contrast | Dark pattern on a light, matte surface | Pale brand colors |
| Quiet space | Clear margin around the code | Text touching the pattern |
| Placement | Reachable and easy to frame | Code hidden behind furniture |
| Surface | Flat, protected, and non-reflective | Curved glass or glossy lamination |
| Instruction | One-line action beside the code | Unlabelled pattern |
| Recovery | Short readable URL visible | No alternative when scanning fails |
Mount signs around eye level where possible, but keep accessibility in mind. Outdoors, use weather protection that doesn't create glare. On lanyards, prevent the sign from swinging while someone scans. At busy venues, add the station number in large type so volunteers can identify a replacement quickly.
Wiring Each Scan Into a Branded Upload Page
A QR hunt becomes a useful memory-collection system when the destination does more than reveal the next clue. Each code can open a mobile page with the task, a concise consent statement, and an upload field for the requested photo or video. The participant should understand what happens before selecting the upload button.
Build the collection flow around the station rather than forcing every team to remember a separate submission link. A wedding prompt might ask for a group selfie at the dessert table. A school prompt could request a photo of the team beside a chosen exhibit. A company prompt might ask each group to record a short answer to a reflection question.
Keep the upload experience focused
The page should show:
- The station identity, including its number and location.
- The task, written in plain language with one clear call to action.
- The evidence required, such as a photo, video, answer, or combination.
- Consent language, especially when guests may upload children or private moments.
- Visibility information, stating whether the gallery is private, unlisted, or available through a shared link.
- A recovery option, such as a readable URL or volunteer-assisted submission.
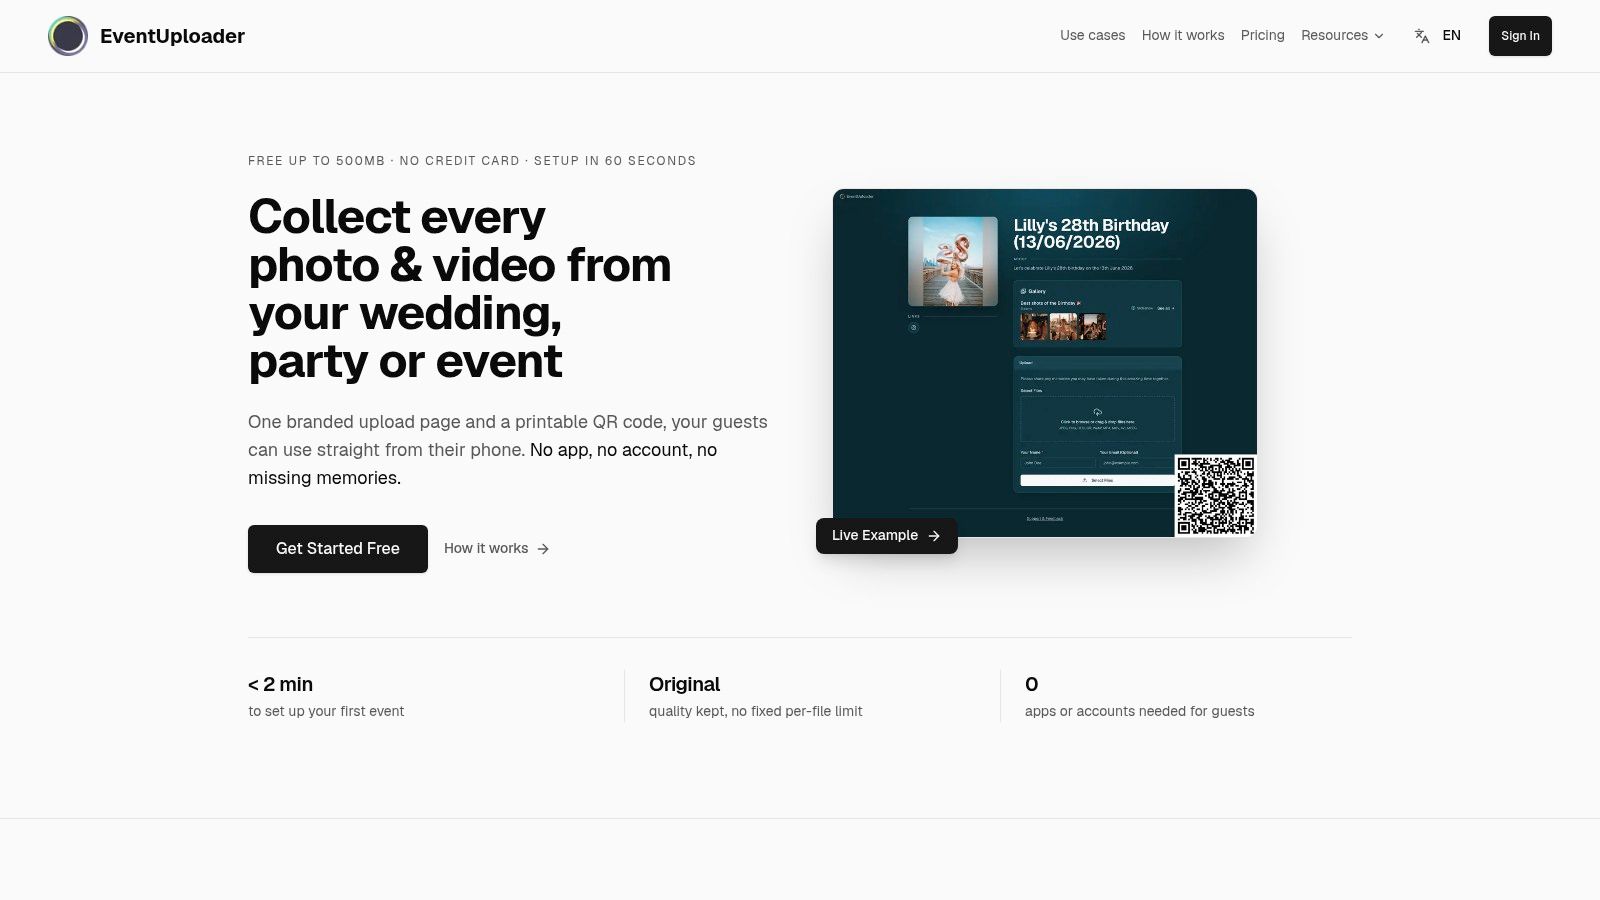
EventUploader is one example of this workflow. It provides a branded event upload page where guests can submit photos and videos from a phone browser, while the organizer manages the incoming media from a central dashboard. Its QR upload workflow illustrates the broader pattern, regardless of which collection tool you choose.
Don't make every station a separate gallery unless you need station-level permissions. A shared event gallery with station metadata is easier for guests, while distinct destination pages can still identify the task and record the route.
A short demonstration can help organizers evaluate the handoff between scanning and uploading:
Before guests arrive, decide whether uploads remain open during the event only, whether volunteers can moderate them, and whether the final gallery is shared with everyone or delivered privately to the host. The right answer depends on the event, but leaving the decision until after the first upload creates avoidable privacy confusion.
Accessibility and Offline Inclusion From Day One
“No app required” removes one barrier. It doesn't solve the guest who has no smartphone, a dead battery, limited data, poor connectivity, low vision, limited dexterity, or little confidence with scanning. Classroom guidance often assumes one mobile device per group and may suggest an optional QR reader, as described in ClassTools' QR scavenger-hunt guidance. That assumption doesn't transfer cleanly to weddings, festivals, or multigenerational celebrations.
Design QR as one layer of the hunt, not the entire interface.
A practical inclusion plan gives every station a large, high-contrast code, a readable station number, a short fallback URL, and an instruction that can be read aloud. Mount signs where wheelchair users and children can reach them, and avoid placing a code behind a table, in direct reflection, or at a height that forces an uncomfortable posture.
Build an equivalent parallel path
A printed clue card shouldn't feel like a consolation prize. It should contain the same task, station number, scoring value, and evidence option as the digital route. If the task normally requires an upload, a volunteer can take the photo on a shared device, accept a text response, or record an answer at the help point.
Use tasks that don't depend entirely on fast typing or visual detail. Observation, conversation, audio clues, and team discussion create more ways to participate. Provide translated or simplified instructions where the audience needs them, and brief volunteers on how to explain the activity without taking over the participant's role.
Accessibility is not a separate version of the hunt. It's a second route to the same experience and the same scoring opportunity.
Keep a staffed help point with spare printed clues, a shared device, charging access, and the current route sheet. A flaky network shouldn't erase a team's progress. Volunteers can note the station, team, answer, and time for later entry, or let participants complete the evidence task offline and submit it when connectivity returns.
Keeping the Hunt Safe, Private, and Tamper-Resistant
A public QR code is easy to copy, cover, or replace. Trust therefore starts before the first scan. Use HTTPS destinations, check every redirect, and make the destination recognizable so guests can see that they've reached the organizer's page rather than an unrelated form. A controlled redirect also lets you update a clue, pause submissions, or close a station without touching the printed sign.
Inspect every poster during setup and throughout the event. Look for a sticker placed over the original pattern, a new code attached beside the official sign, or a printed page that has been moved to a different location. Give each official station a consistent visual identity, including the event name, station number, and a short instruction. A tampered code then has fewer opportunities to blend into the environment.
The principle is similar to physical access control. GM GROUP Services' overview of access control systems provides useful context for thinking about authorized entry points, auditability, and the difference between allowing access and knowing who should have it. A scavenger hunt doesn't need a security installation, but it does need clear ownership of its checkpoints.
Collect only what the task needs
Before publishing an upload page, write down the data it collects and the reason for collecting it. A photo challenge may need the media file and station reference, but not a home address or unnecessary profile information. If a team name is needed for scoring, ask for that instead of collecting full personal details from every participant.
Use plain consent language near the upload control:
By uploading, you confirm that you're allowed to share this photo or video for this event gallery. Ask a volunteer before uploading someone else's private moment.
For children and private celebrations, make the gallery private or unlisted by default. Tell guests who can view submissions, whether the host may download or publish selected media, and when uploads will stop. If the event uses a public gallery, explain that choice before guests submit rather than hiding it in a long terms page.
Review data security best practices for event media as part of the tool-selection process. The specific controls vary by platform, but the operational questions stay the same:
- Destination security: Does every station use HTTPS and an organizer-controlled redirect?
- Access scope: Can anyone with the link view the gallery, or does the host control visibility?
- Consent: Are guests told how their uploads will be used and who can access them?
- Retention: Can the organizer close uploads, delete submissions, or archive the event?
- Children's media: Is there a clear process for private handling and removal requests?
- Volunteer access: Who can moderate or download the incoming files?
Plan for the code that fails
Prepare a station recovery card for volunteers. It should show the station number, destination, replacement file, fallback URL, and the action to take if the sign is damaged. Keep spare prints in a labelled envelope and store the source files somewhere the event lead can access without relying on one person's laptop.
The on-the-day briefing should cover four points:
- Explain the interaction: scan, read, complete, and submit.
- Explain the boundary: stay out of restricted areas and don't move official signs.
- Explain the evidence: show whether a photo, answer, or timestamp counts.
- Explain the finish: state the closing time and how winners are verified.
For scoring, choose transparency over cleverness. Timestamped submissions can confirm that a team reached a station, while answers or media can confirm task completion. If teams start at different times, use completion quality or a fixed closing point rather than rewarding only the fastest start. If clues can be scanned out of order, say so. If a station must be completed before the next clue opens, make that rule visible.
Prizes should reinforce participation without making the event hostile. You can reward completion, creativity, correct answers, or a team category, provided the criteria are announced before the hunt begins. Keep a manual log for exceptions, including late starts, shared devices, offline submissions, and volunteer-assisted entries.
At closing, stop new uploads, verify the final leaderboard or answer sheet, and export the gallery in original quality. Then choose the handoff: publish a shareable gallery on the familiar event link, send access privately to the host, or archive the files and close public access. Guests should know when the hunt has ended and what happens to their submissions next.
A reliable QR hunt is not just a row of clever clues. It's a controlled physical route, a readable interface, an inclusive fallback, and a privacy decision made before the first camera opens.
EventUploader provides branded upload pages and printable QR codes that let scavenger-hunt participants submit photos and videos from their phones without downloading an app or creating an account. Set up the collection flow, connect it to your event route, and invite guests to capture every completed challenge through EventUploader.