How to Build a Concert Photo Gallery Step by Step
Learn how to build a concert photo gallery: set up QR uploads, collect photos during the show, moderate live, get consent and publish the best shots.
You're three hours from doors, the support act is soundchecking, and you're still deciding how you'll collect the night's photos. After the encore, guests will scatter with the best crowd shots, phone videos, and backstage corridor selfies locked on their devices. A concert photo gallery built in the right order solves that before it starts. You set the upload page, consent rules, and visibility first, then you collect, moderate, publish, and export without chasing group chats or exposing uploads you meant to keep private.
Table of Contents
- How to Set Up Your Concert Upload Page in Order
- Set Consent Rules Before Guests Upload
- Collect Photos During the Show
- Moderating Live Uploads Without Stopping the Show
- Fixing Common Upload Problems
- Who Sees Your Photos at Each Stage
- Publish Albums From the Upload Link
- Export Originals and Close the Event
How to Set Up Your Concert Upload Page in Order
Finish this sequence before the band takes the stage, and don't print anything until you've tested it. The order matters because each step depends on the one before it. Change the event name after printing and your signs won't match what guests see on their phones.
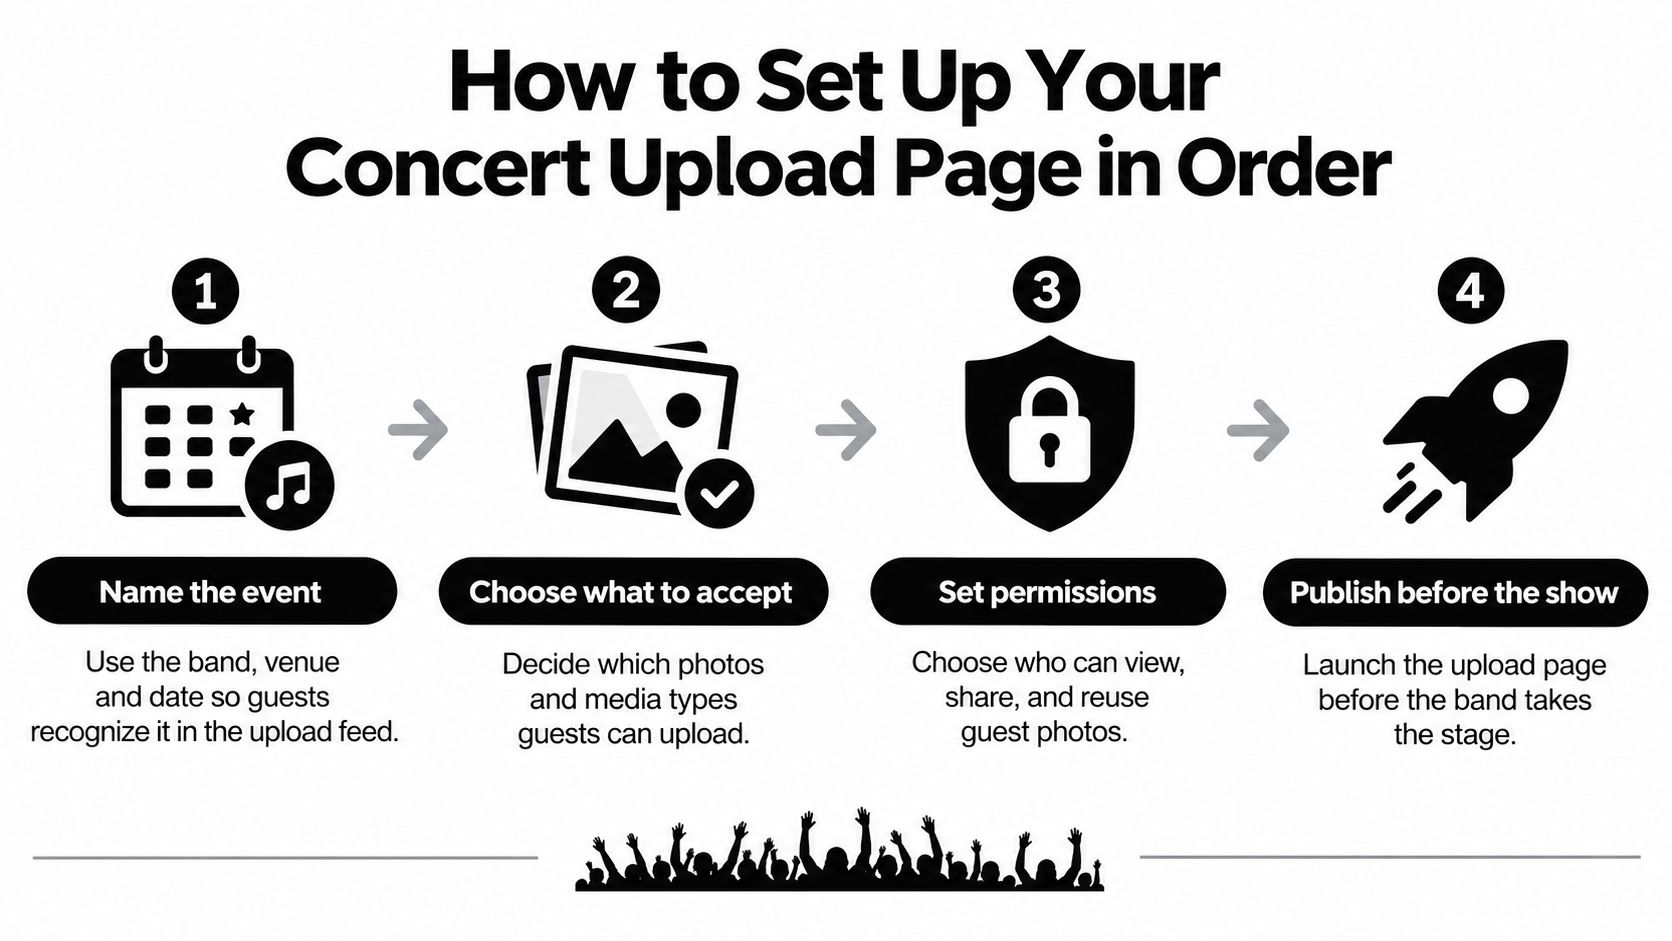
Build the page guests will recognize
- Name the event clearly. Use the band, venue, and date so guests recognize it instantly in the upload feed. A vague title like "Live Night" gets confused with next week's show.
- Choose what to accept. Pick photos only, videos only, or both. Photos only keeps the feed tidy and fast to moderate, while allowing video lets fans capture the encore moment that stills can't hold.
- Write a short welcome message. Tell guests exactly what to send, such as the opening song, the crowd, or their own view of the stage. Specific prompts produce usable uploads, not random pocket shots.
- Set your colors and logo. A branded page feels like part of the event, not a generic form guests hesitate to trust. Match the poster or wristband colors so the page looks familiar.
Test before you print
- Generate the unique QR code and test it from two phones. Use one iPhone and one Android because cameras, browsers, and file handling differ between them. A code that works on your phone can still fail on half the room.
- Print the code large enough to scan from arm's length. Place it at the entrance, merch tables, and the bar, where guests pause and have a free hand. Don't put the only copy beside the stage where nobody can stand still.
- Upload a test photo from your own phone. Confirm it appears on your dashboard within a minute. If it stalls, fix the connection, link, or print quality now, not during the first song.
Readiness check: If the test photo arrives quickly from both phones and the QR code scans from a few steps away, you're ready for doors.
I would not skip the two phone test to save ten minutes. That's the cheapest insurance you get all night.
Set Consent Rules Before Guests Upload
Before doors open, decide what permission each kind of use requires. An upload is visible in the organizer's dashboard, not to other guests. Guests can browse and download only albums the organizer chooses to publish on the event link.
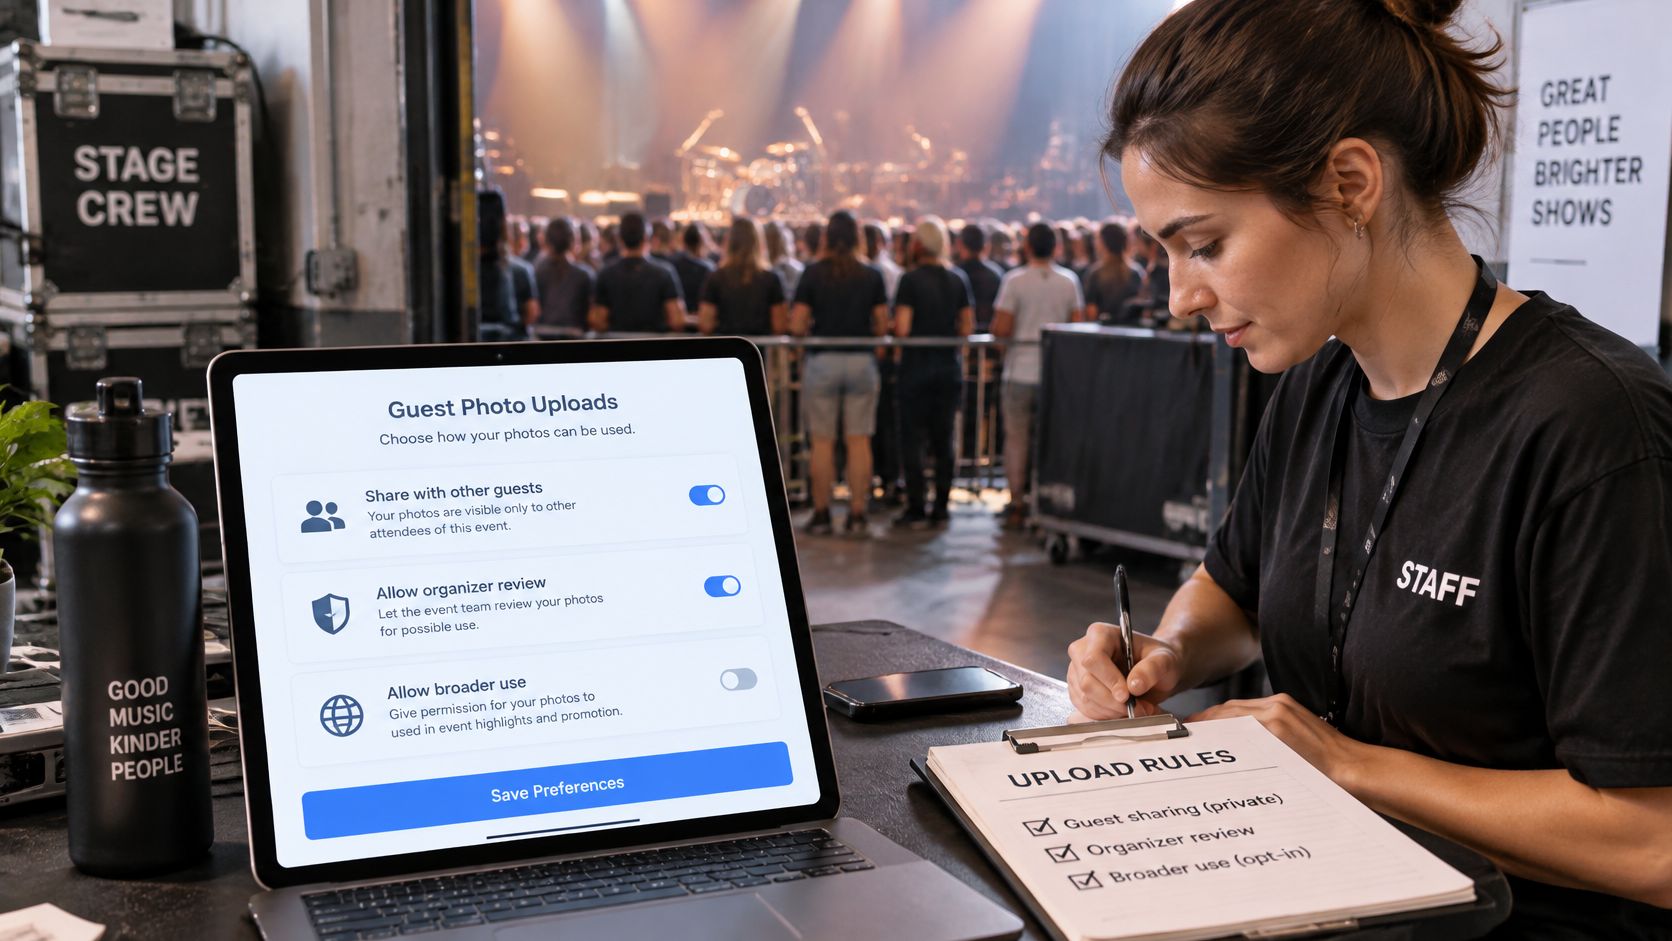
Keep three permission tiers distinct. Private collection means uploads stay in the organizer's dashboard unless an album is published. Publishing makes that album visible to anyone with the event link. Editorial or press use covers a media outlet using a photo in coverage. Promotional use covers marketing by the artist, sponsor, or venue, where the intended purposes, channels, duration, territory, and advertising use should be stated. Get a separate agreement before using an identifiable person's image in promotion.
| Tier | Who it covers | Consent required |
|---|---|---|
| Private collection and published albums | Uploads are visible only to the organizer until an album is published; guests can browse and download published albums from the event link | Explain the visibility settings and how publishing changes access |
| Editorial or press use | Media outlets covering the show | Written consent for each photo or album |
| Promotional use | Artist, sponsor or venue marketing | Named purposes, channels, duration, territory and advertising use, with separate agreement for identifiable people |
Put the notice where guests enter
Post a visible notice at the entrance, with a QR code linking to the full rules. Explain how guests can opt out or request deletion, and distinguish permission to host a performance from permission to reuse guest recordings. Open Music Business guidance on recording and venue contracts explains that hosting a performance does not automatically authorize recording, reproducing, transmitting, distributing, or monetizing performance material.
Give guests a deletion contact and a stated response time, such as two working days. A clear route for requests helps staff respond consistently instead of improvising at the door.
Keep venue camera systems separate from guest uploads in your notice. Resources on introducing MV22 and MV72 cameras can help you consider what venue systems record.
Use a one-page policy for each event, with the rules for private collection, editorial use, and promotion clearly separated. Link guests to practical guidance on whether you can take pictures at a concert so they understand expectations before taking photos.
Collect Photos During the Show
Most attendees aren't hunting for photo opportunities, so a QR code on the merch table alone won't collect much. In Eventbrite's TRNDS 2024 research conducted with MarketCast, 66% of event attendees said they did not pay much attention to photo opportunities at concerts and festivals in 2024. You have to prompt people at the moments they're already reaching for their phones.
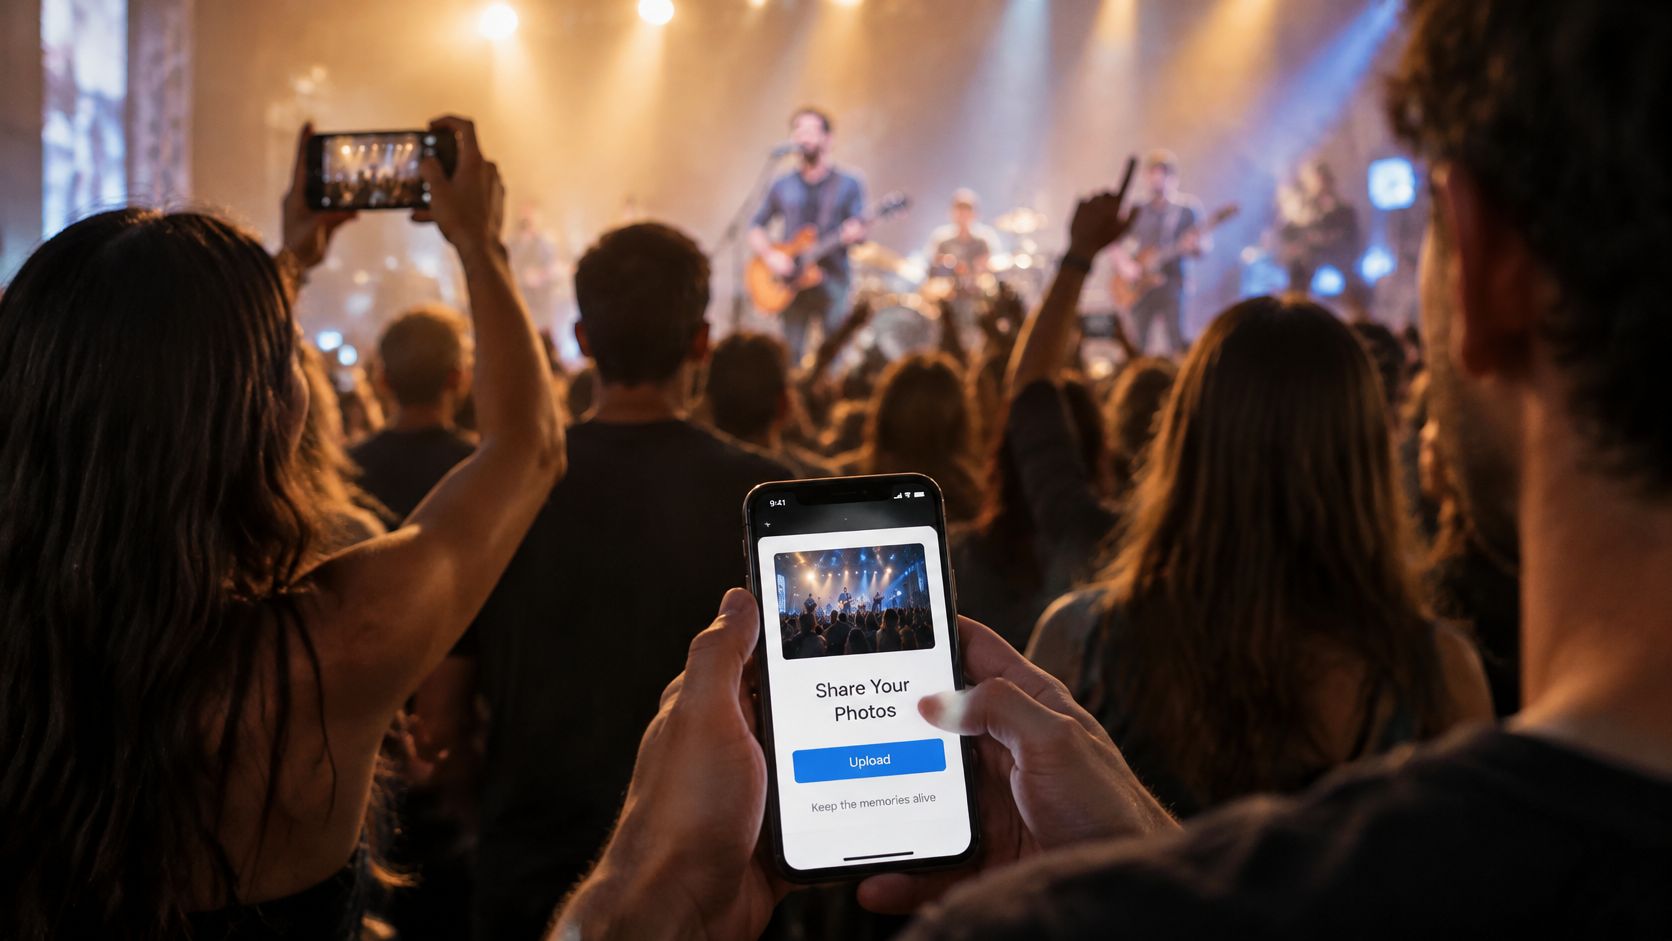
Place the prompt in three spots. Put a pre show reminder at the entrance, a short prompt card at the bar or merch area, and a stage announcement during the final song. Each spot catches a different guest at a different pause in the night.
Use specific prompts and break time timing
- Best encore moment: Ask for this just before the band returns, when phones are already up.
- Your view of the stage: This gets you varied angles from the pit, balcony, and back wall.
- Crowd singalong: This invites the wide, emotional shots a single photographer can't be everywhere to catch.
Time reminders around the band's breaks, when guests are most likely to lift their phones, check messages, and upload. Repeat the stage announcement once during the encore. Don't nag between every song, because guests tune out and the artist's flow suffers.
Stress that guests need no app or account. Attendees upload photos and videos straight from their phone using the unique link or QR code you've shared, so a grandparent or casual fan follows the same steps as a superfan. If your venue is also rethinking guest connectivity, identity-based networks for sports venues show how larger entertainment spaces manage identified access, though your upload page shouldn't depend on guests joining anything complex.
For multi stage events, the same approach scales to festival photo collection from the whole crowd, where prompts matter even more across scattered stages. During the show, send prompts rather than watching the dashboard constantly. You'll review in batches at set changes, which keeps your attention on the room.
Moderating Live Uploads Without Stopping the Show
Set your moderation rules before doors, not during the second song. If you're inventing criteria while uploads pile up, you'll either approve everything in a panic or freeze and review nothing. Write the rules where your second in command can also find them.
Make only three decisions live
- Keep: Clear, well framed moments that fit the event and your guest policy. These can move toward the final album.
- Hold for later: Good photos that need a closer look, such as a shot with a stranger's face in the foreground or a video that needs trimming. Don't decide these under time pressure.
- Remove: Duplicates, badly blurred frames, out of focus pocket shots, and anything that breaks venue rules. Remove these promptly so they don't clutter later sorting.
That short list is deliberate. Live moderation isn't curation. You're removing clear problems and parking uncertain files, not building the perfect gallery between songs.
Work in batches around the set
Review uploads in batches during set changes, not after every upload. Check the feed once when the headliner starts so you aren't flooded mid song, then put the phone away. A batch rhythm gives you enough files to spot patterns, such as ten copies of the same blurry frame, without turning you into a full time screen watcher.
Live moderation removes clear problems. Choosing favorites happens after the show, when you can compare similar frames side by side.
Know when to pause uploads. Pause during a sensitive part of the show, a quiet acoustic section, or when the venue asks for phones down. Tell guests you'll reopen uploads at the break, then reopen them and announce it once.
Assign one person to this job if you can. The organizer running the door, the bar issue, and the artist liaison shouldn't also be the only moderator. If you're solo, the batch rhythm is what makes it survivable.
Watch for the early warning signs in your first batch. If half the uploads are dark or off topic, your prompt is unclear, not your guests. Fix the wording at the next break instead of deleting your way through the whole night.
Keep a short note of anything you held and why. Two words per file, such as "face foreground" or "trim start," will save you rewatching everything from scratch tomorrow. I would rather hold a borderline photo than publish it live and apologize later.
Fixing Common Upload Problems
Treat upload trouble as diagnosis, not guesswork. Find the symptom, match it to the likely cause, and apply one fix at a time. The most common failure is also the simplest. Guests can't open the link because the printed code is too small, damaged, or taped behind reflective plastic.
| Symptom | Likely cause | Fix |
|---|---|---|
| Guests cannot open the link | Printed QR code too small or damaged | Retest from two phones and reprint at a larger size |
| iPhone uploads fail | HEIC photo format not accepted by the browser | Convert with the free HEIC to JPG converter or ask guests to set their camera to the most compatible format |
| Uploads stall mid-set | Weak venue signal | Ask guests to switch to mobile data or wait for the set break |
| The same photo appears many times | Guests uploading the same frame or several copies | Run the duplicate photo finder before publishing |
| Feed fills with blurry or off-topic shots | No clear prompt for guests | Post a specific prompt card and announce it at the next song |
| Videos fail or are too large | Long clips over the upload size | Ask guests for 30-second clips |
Match the tool to the cause
We offer free tools including a QR code generator, a HEIC to JPG converter, a duplicate photo finder, an event photo storage calculator, and a Wi-Fi QR code generator. Use the converter when iPhone files won't pass through a browser, and run the duplicate finder before publishing so guests don't scroll past the same frame five times.
For stalled uploads, don't tell the whole room to retry at once. That creates a second surge on weak signal. Ask guests to switch to mobile data or wait for the set break, when movement and network load change.
Blurry clutter is usually a prompt problem, not a guest problem. If your card just says "share your photos," you'll get everything. Replace it with one specific request and announce it at the next song.
If half the room gives up, reset cleanly. Re announce the link, reprint a larger code, and reduce the request to one photo per guest. A smaller ask that works beats a big ask that fails.
Who Sees Your Photos at Each Stage
The most important row in this table is the published album. Before that point, uploads sit in your dashboard and nowhere else, unless you choose to publish an album. After that point, the link itself becomes the access key.
| Stage | Who can see it | Organizer action |
|---|---|---|
| Draft album | Only the organizer | Keep building and sorting before anything is shared |
| Live upload page | Anyone with the link or QR code, who can upload but not browse the shared feed | Pause or close uploads when the set or crowd needs it |
| Unpublished album | Only the organizer | Remove an album here if a problem appears |
| Published album | Everyone who has the upload link | Publish only moderated favorites that passed the consent check |
| Full export | The organizer, who owns the files | Save a copy to a second drive and keep originals private |
The link becomes the key
Publishing an album turns the upload page into a shared gallery visible to everyone who has the link. That's convenient for guests, because they return to a page they already know. It's also the catch. Anyone who received that link, photographed your QR code, or got it forwarded can browse what you've published.
The common mistake looks innocent. An organizer posts the QR code or link on social media during the show to boost uploads, then discovers later that strangers can browse guests' photos. The upload page was never meant to be a public announcement.
Visibility rule: Keep the album as a draft during the event, publish only after moderation and a consent check, and unpublish immediately if a photo causes a problem.
In the first hour after publishing, open the public link in a private browser window. Confirm that only the intended album appears, that held files aren't visible, and that downloads show the version you meant to share. Check it on a phone too, because that's how guests will see it.
Don't share the link more widely to celebrate publishing until that check passes. Five quiet minutes in a private window prevents the most common privacy mistake in a concert photo gallery.
Publish Albums From the Upload Link
One long feed makes guests work too hard. Group the best moments into albums by theme, such as the opener, the crowd, the encore, and guest reactions. Guests who only care about the finale can go straight there, and guests looking for themselves can start with crowd shots.
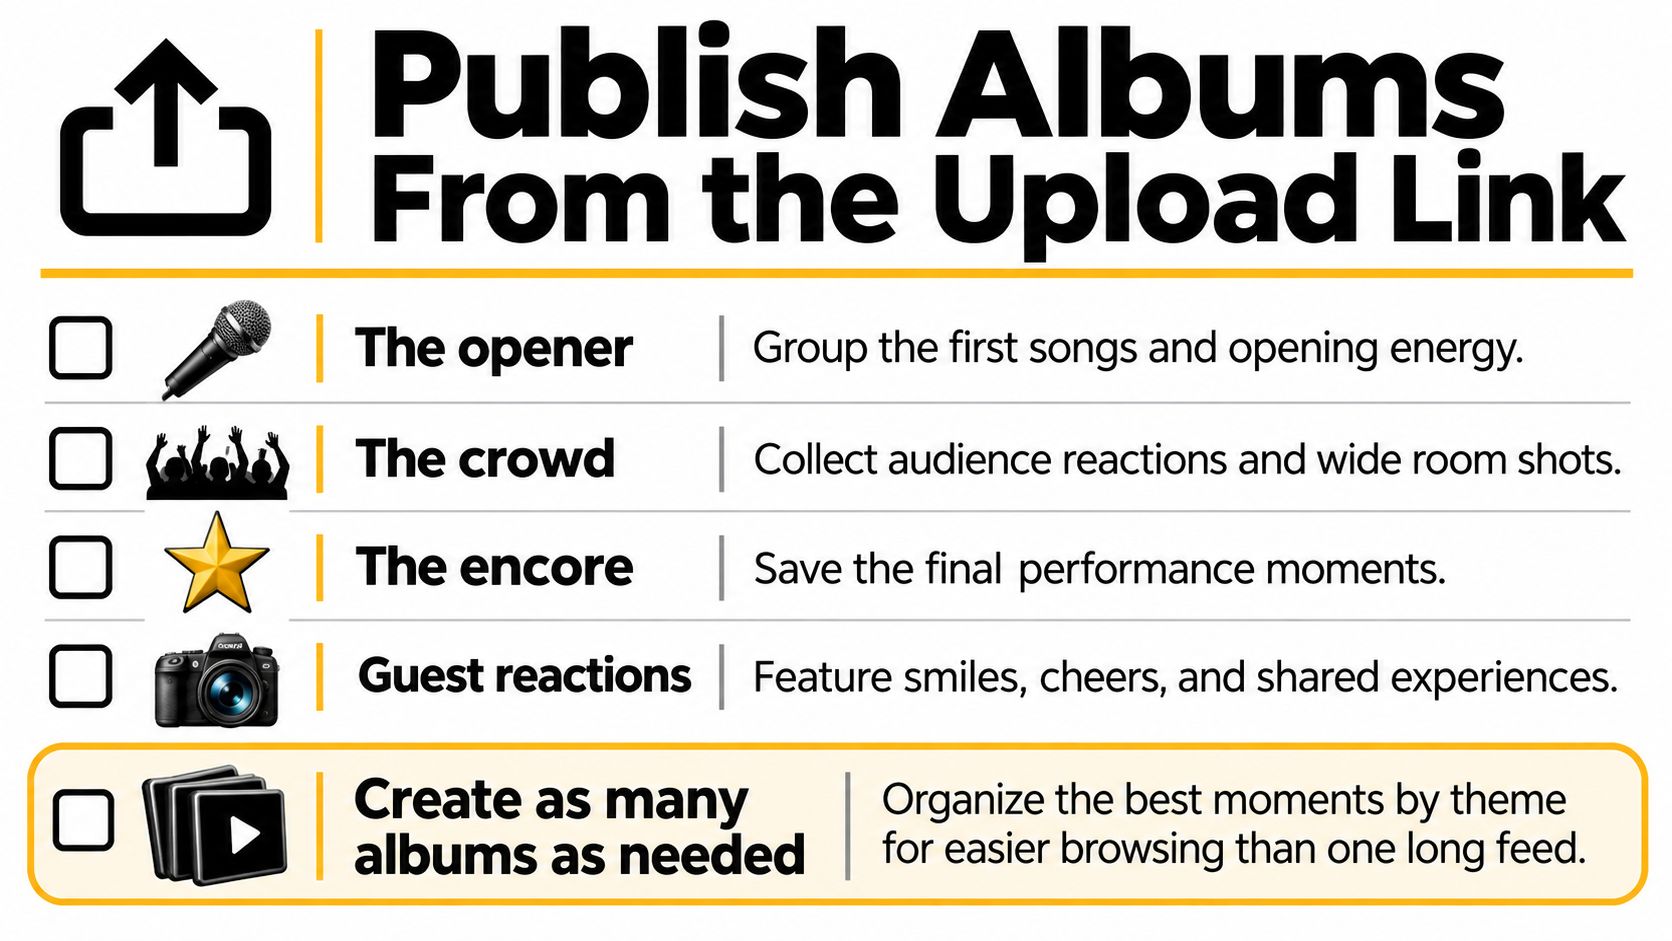
Create as many albums as you need. You can group the best photos into as many albums as you want and publish them on the same page guests used to upload, or keep them as drafts visible only to you. Drafts let you build a press selection, a sponsor selection, and a guest album without any of them leaking early.
Choose favorites after the show
Pick favorites after the show, when you can compare similar frames and remove near duplicates. You'll often have six versions of the same chorus moment. Keep the sharpest one with the cleanest background and let the rest stay in the archive.
Check each album against the consent tier it was built for before it goes public. A guest tier album can open to attendees through the event link. Promotional picks need written agreement first, even if the photo is excellent and the sponsor is impatient.
- The opener: First songs, lights up, crowd arriving at full energy.
- The crowd: Wide room shots and reactions that show scale.
- The encore: Final songs and the moments guests will search for first.
- Guest reactions: Smiles and singalongs, checked carefully for identifiable faces.
Publish the favorites on the same link guests used to upload, so nobody hunts for a second destination. If consent changes or a photo causes a problem, unpublish that album immediately while the others stay live. The gallery belongs to the person who created the event and can be downloaded in full and taken elsewhere at any time, so publishing never locks you in.
Publish only photos that passed moderation. Everything else stays in drafts, where it can still be useful for a later recap without being public tonight.
Export Originals and Close the Event
Keep the full archive separate from the public gallery. Download the complete set in original quality and save it to a second drive or cloud folder within 48 hours. You own the files, and the live link isn't a backup. If you need a refresher on the mechanics, follow the steps to download them all in one export rather than saving images one by one from the gallery.
Keep originals exactly as they arrived, with capture metadata intact, and create web copies for sharing. Use sRGB JPEG or WebP for browser display so colors stay consistent across phones and laptops. When you need an archival master with a wide gamut ICC profile, export it from the original, never from a web copy.
The common pitfall is stripping the ICC profile during resizing, which causes visible color shifts and contrast loss. Check one resized photo against the original before exporting the full album. If skin tones or stage reds look wrong on that test, fix your export settings first.
For press use, a clean archive also feeds an artist's electronic press kit, where consistent color and original files matter more than a fast social crop. Keep that press selection separate from the guest album so rights stay clear.
Run the close out checklist before you call the event done. Consent notice in place, moderation complete, albums published, full export saved. Then take one action today. Publish a single album of five to ten strong photos so guests can see the gallery is live while the night is still fresh.
Build your next concert photo gallery with one branded upload page, one QR code, and no app or account for guests to struggle with. Collect photos and videos live, publish your moderated favorites on the same link, and export everything in original quality when the show ends. Start your event today with EventUploader and have your upload page tested before doors open.